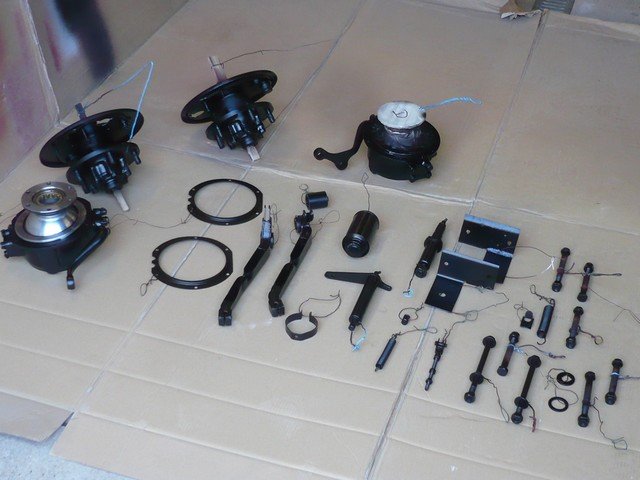
7. Reassembly.
The reassembly is always the fun part. Everything is clean. It is only a big assembly of parts.
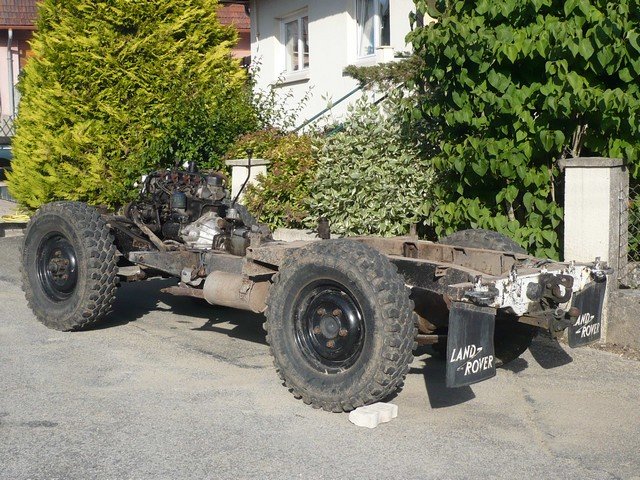
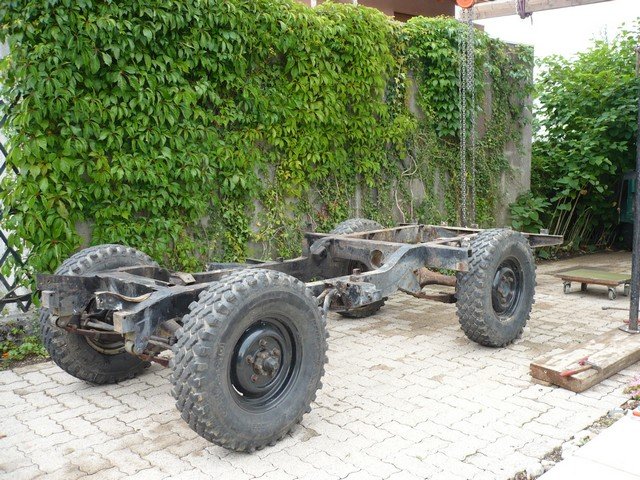
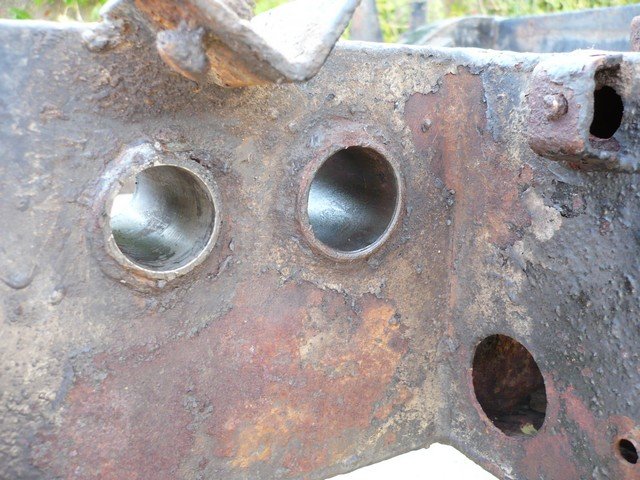
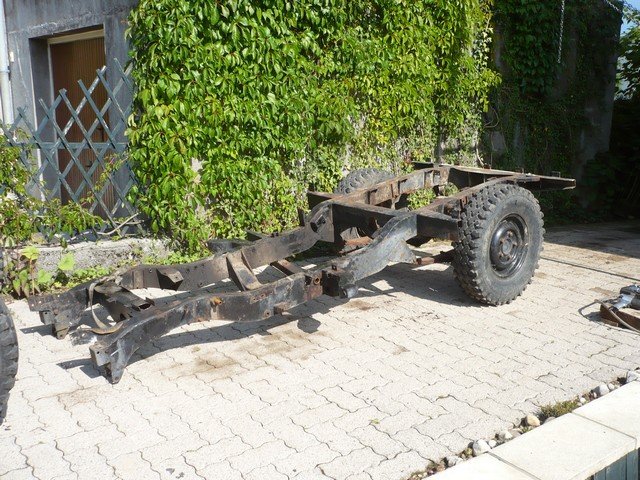
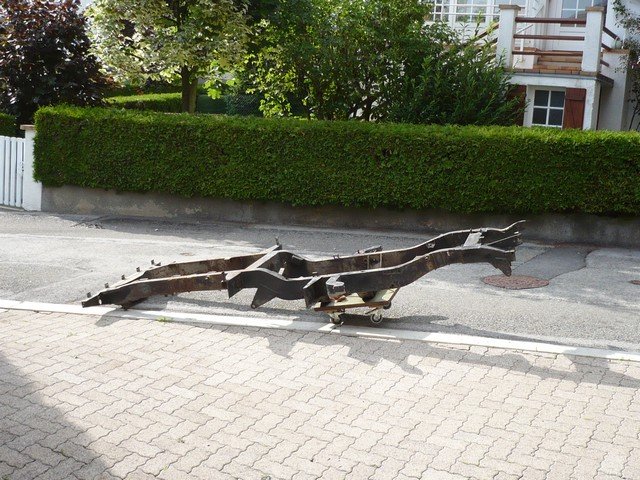
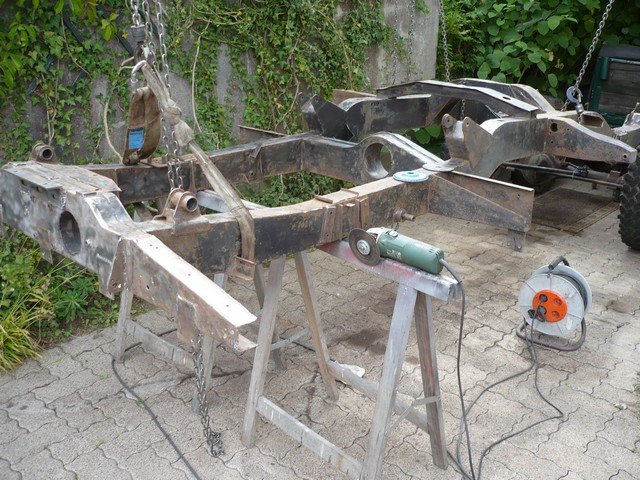
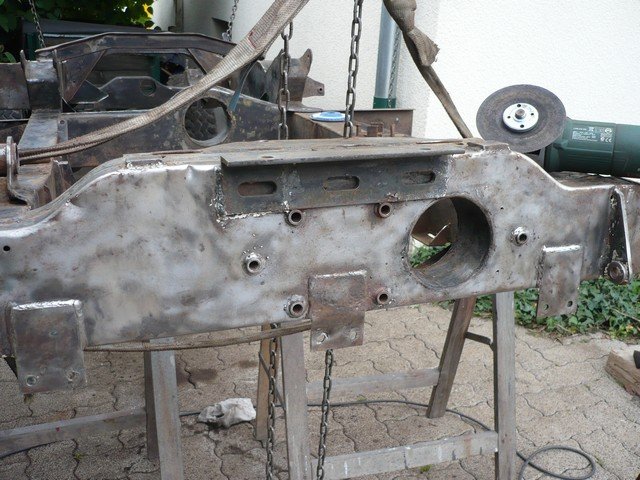
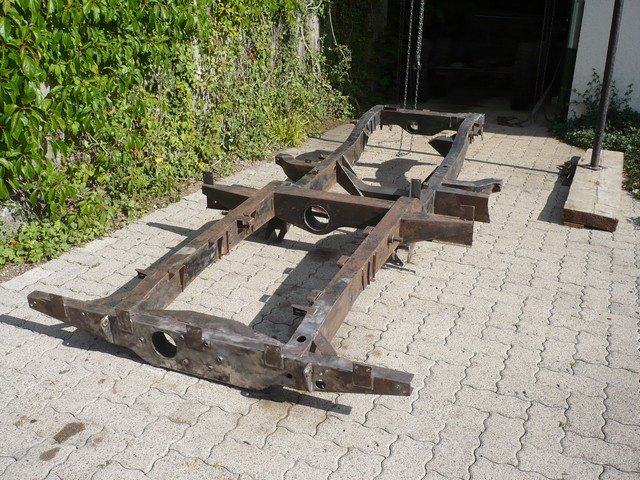
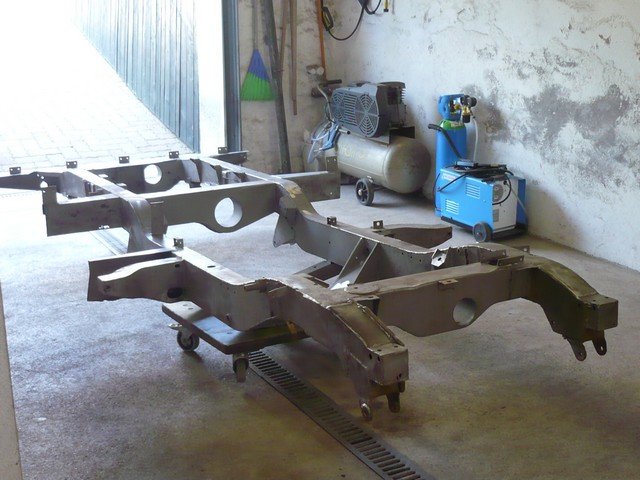
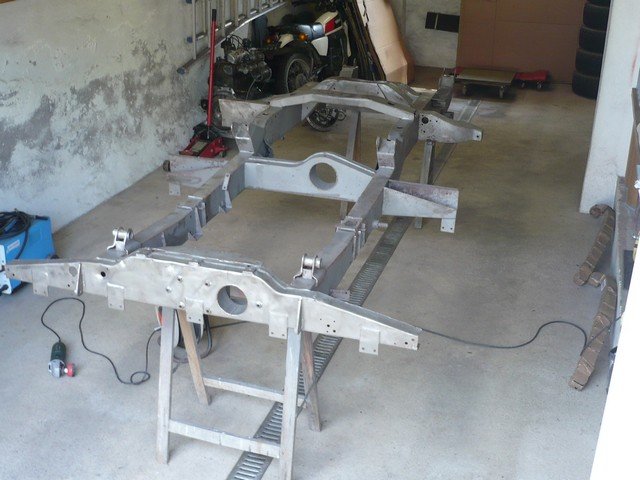
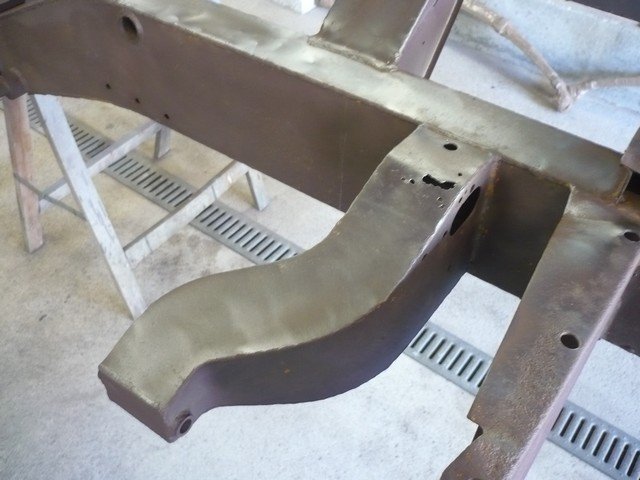
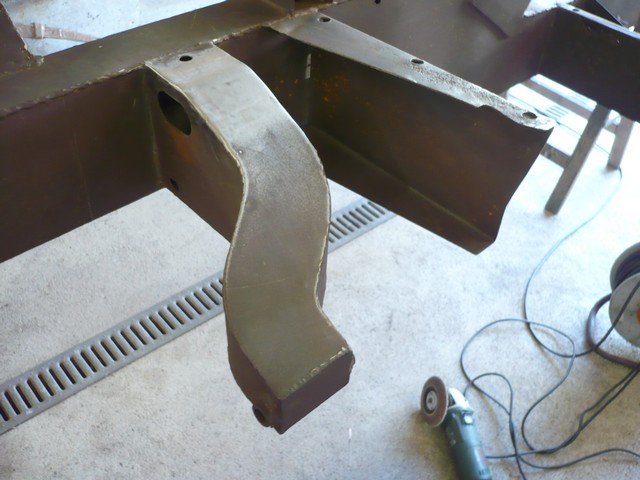
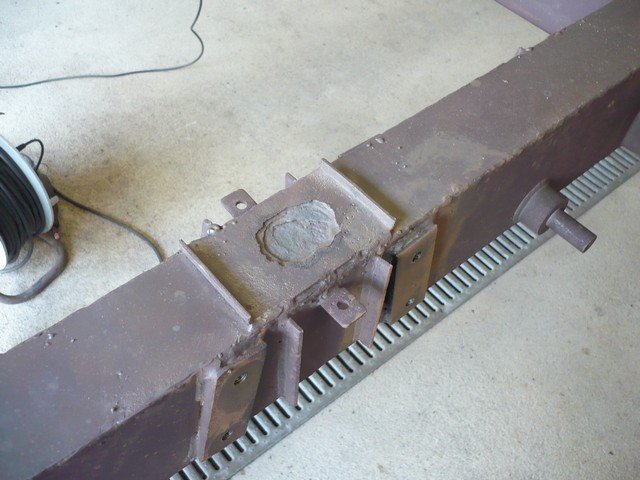
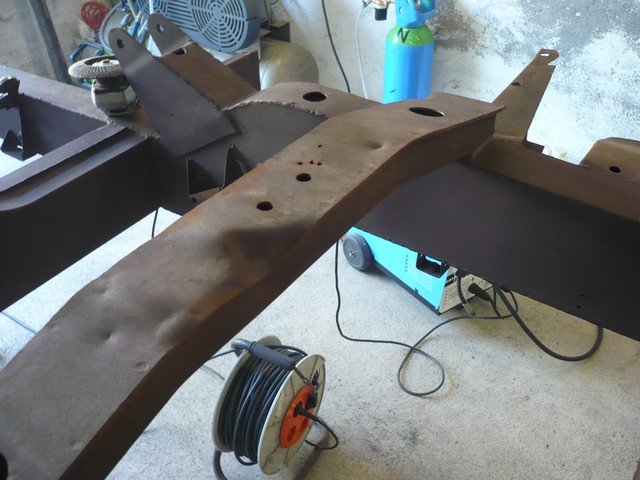
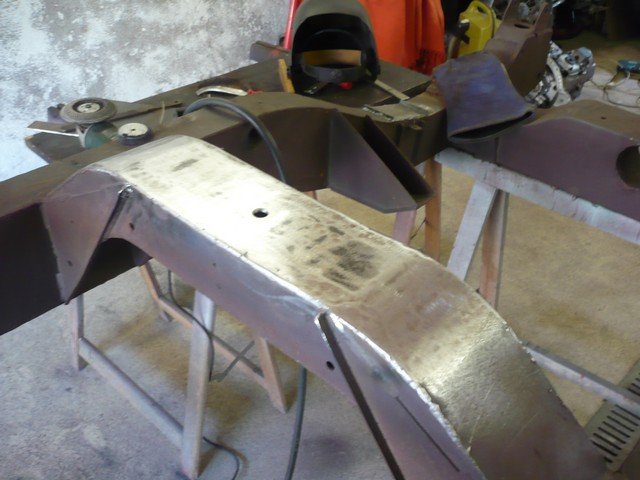
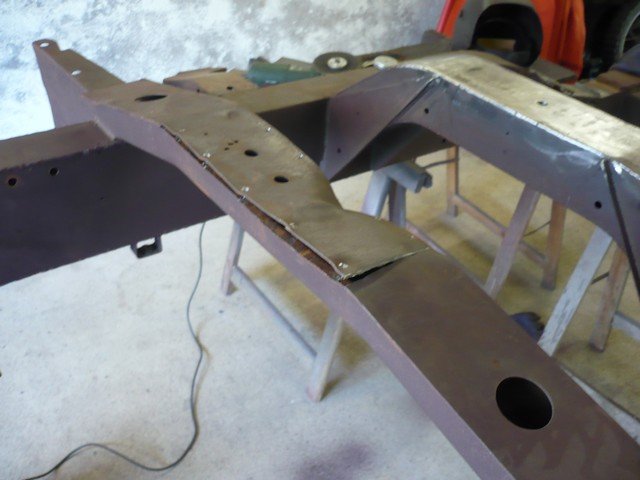
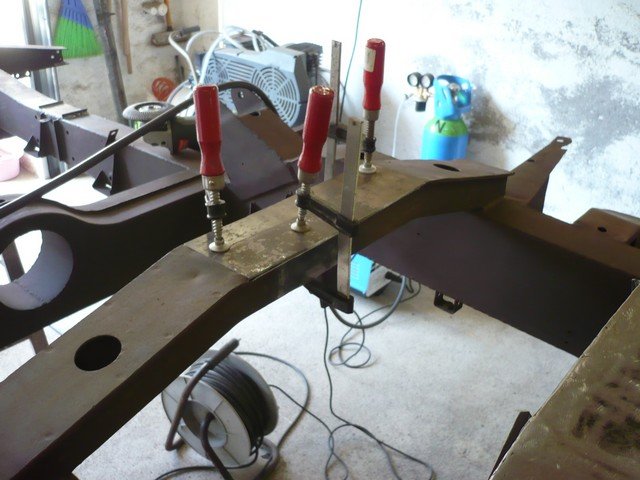
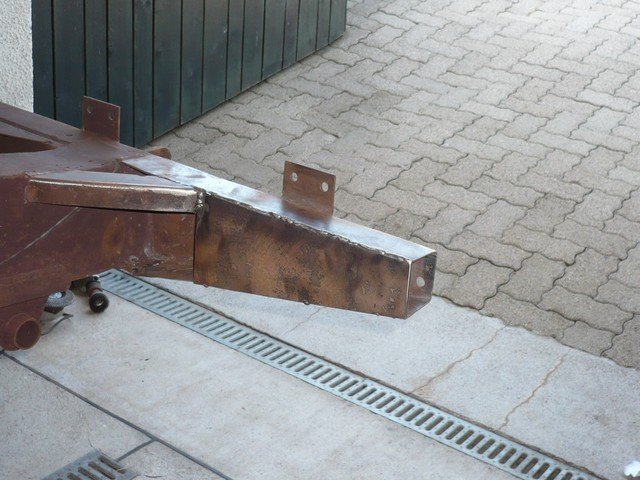
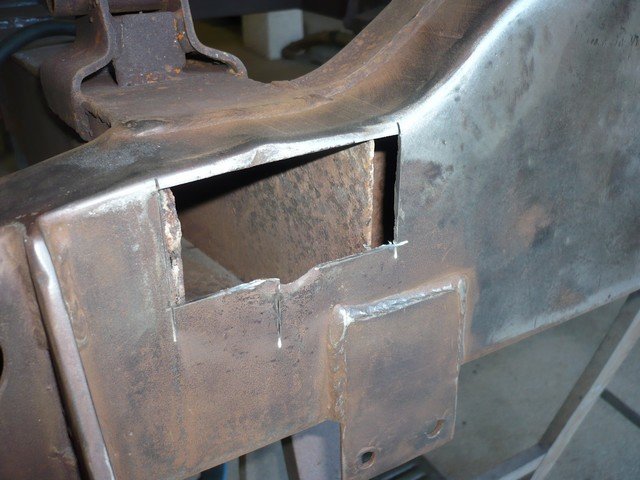
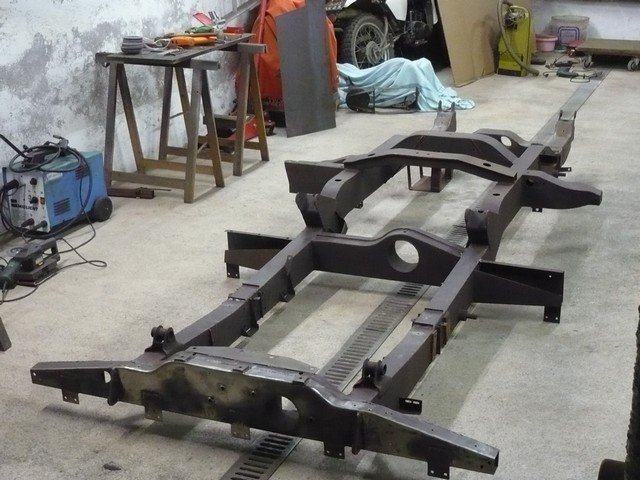
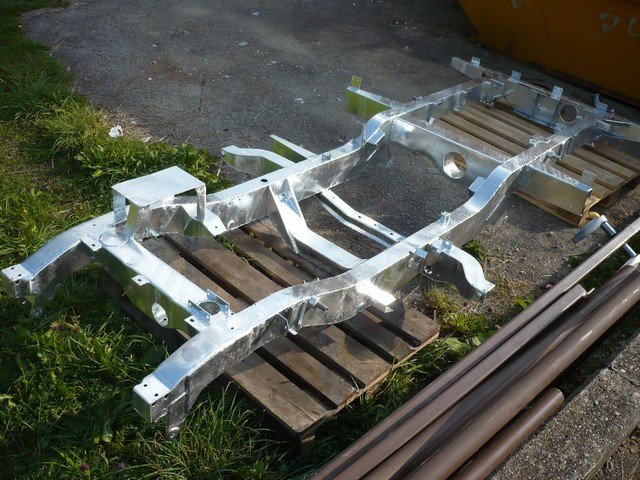
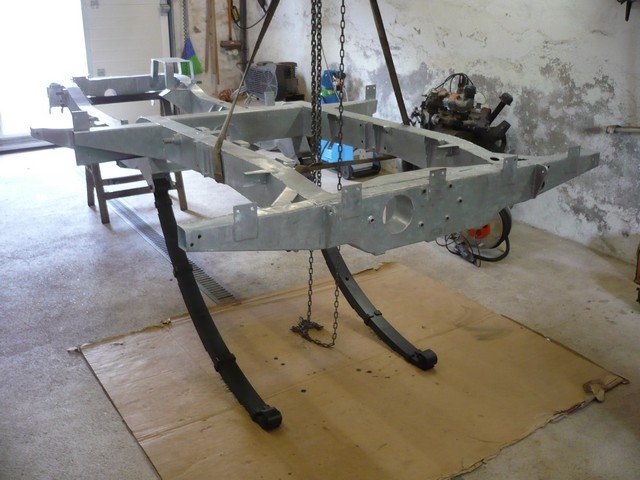
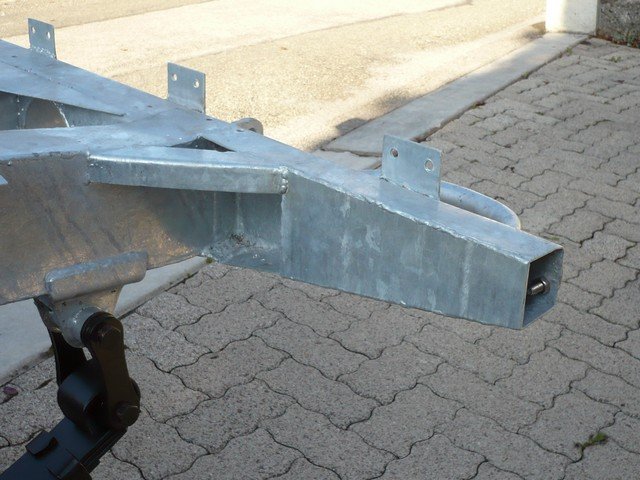
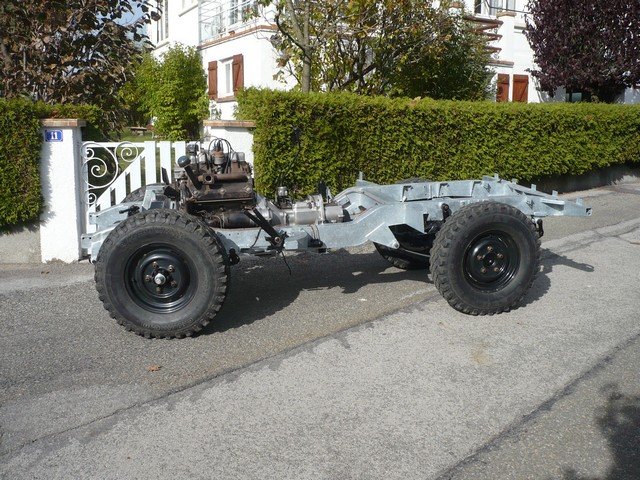
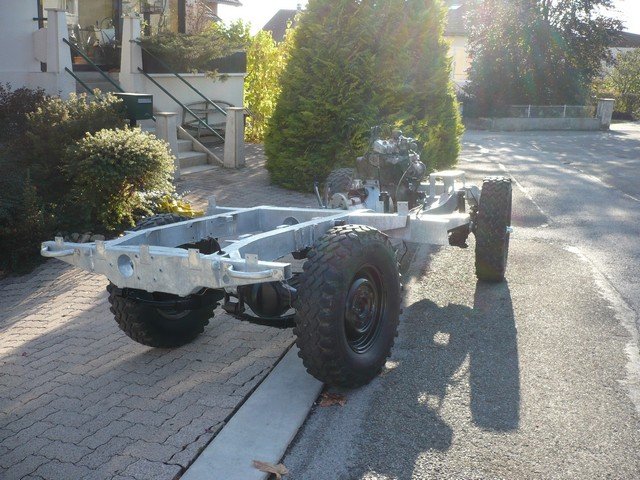
Chassis needs to be perpared.
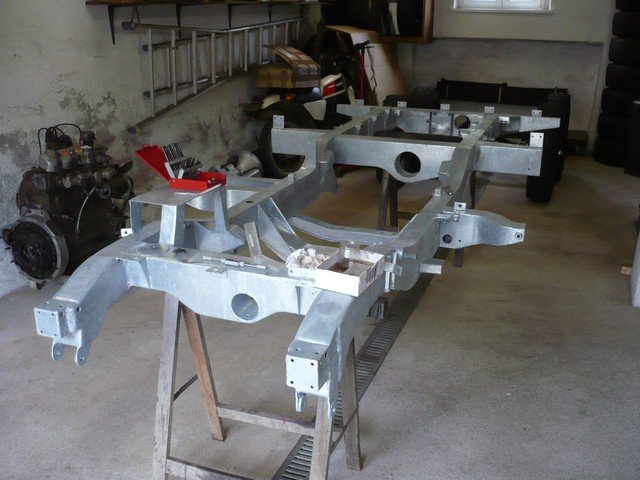
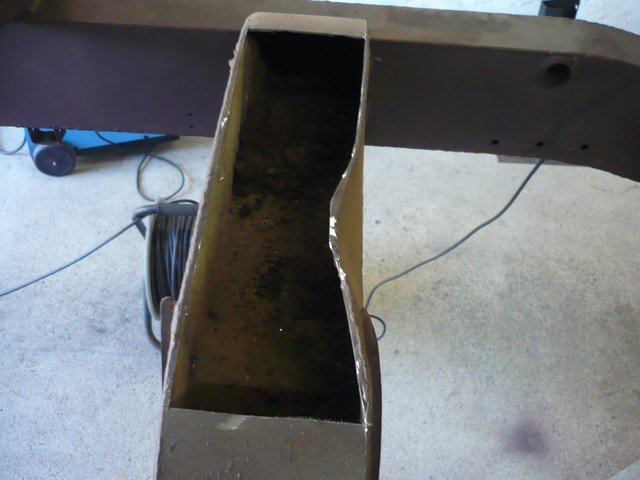
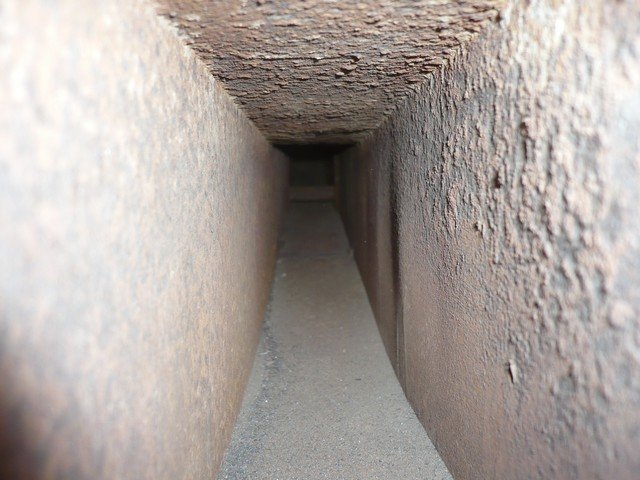
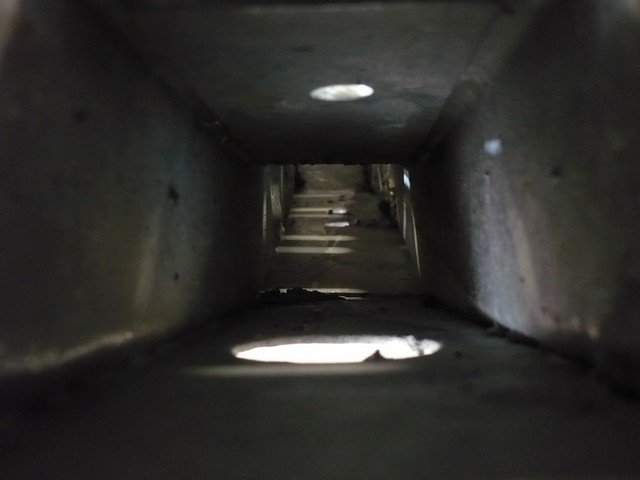
The big advantage of a hot dip galvanizing is that the zinc shoves everywhere. Therefore, inside the chassis is perfectly protected.
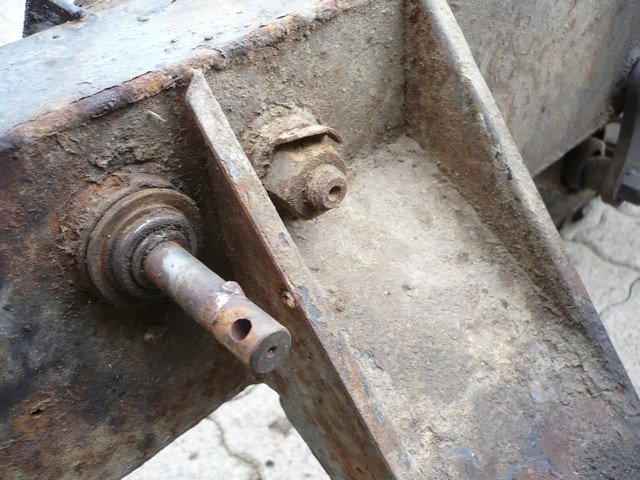
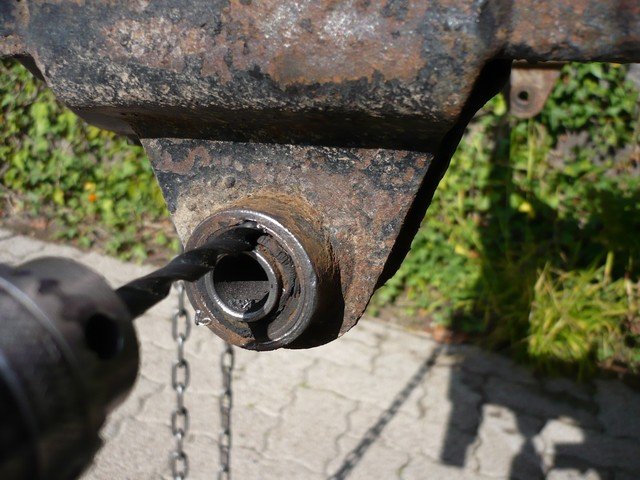
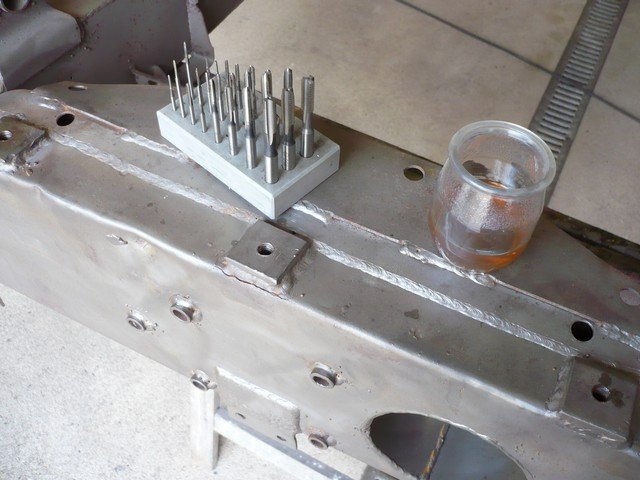
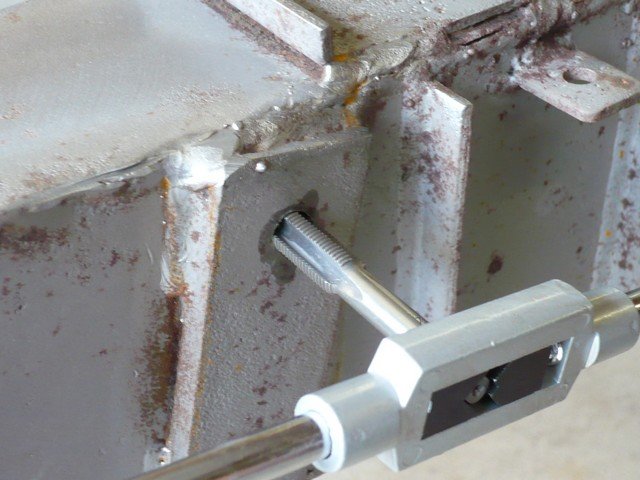
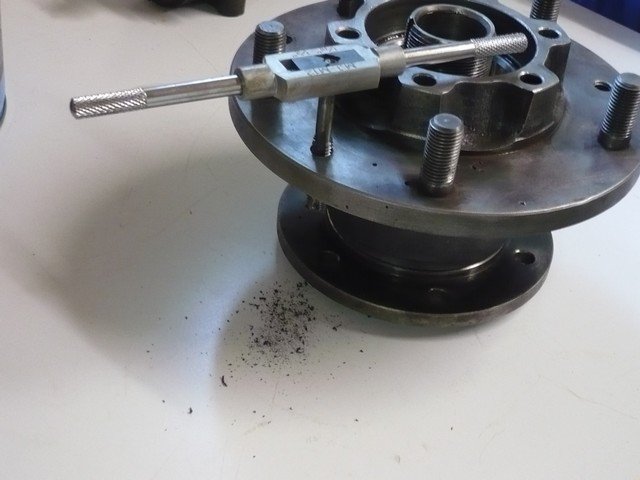
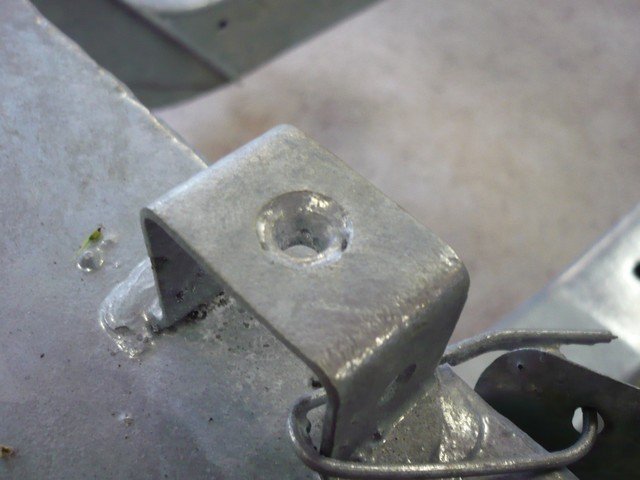
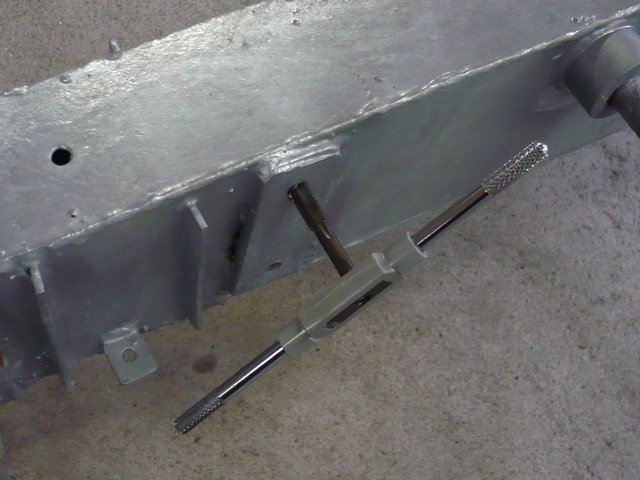
The big disadvantage of a hot dip galvanizing is that the shoves everywhere. Therefore, all the holes and threads are filled.

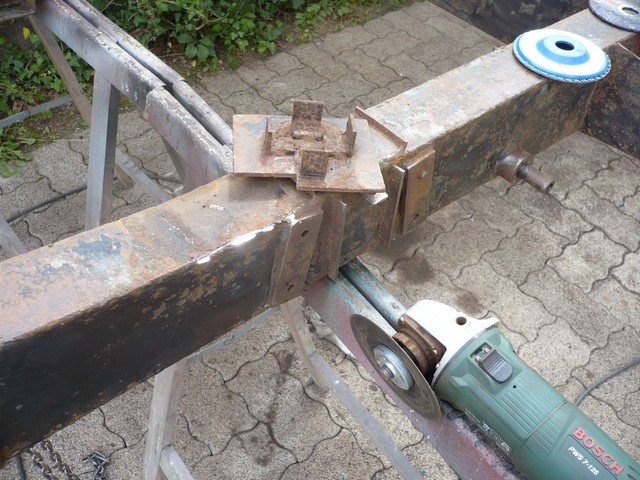
We note here the usefulness of the UNC, UNF and BSF taps, and noting the type of each threaded hole.
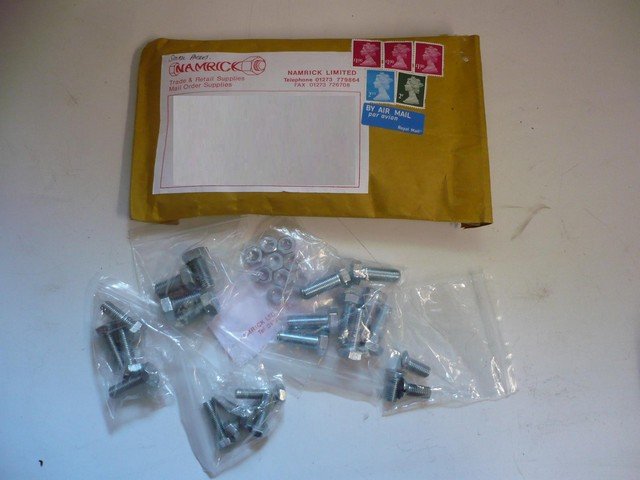
The next step is to find new screws. The UNC and UNF are fairly easily to find. The BSF is more difficult to find. In England there are some manufacturers that sell online.
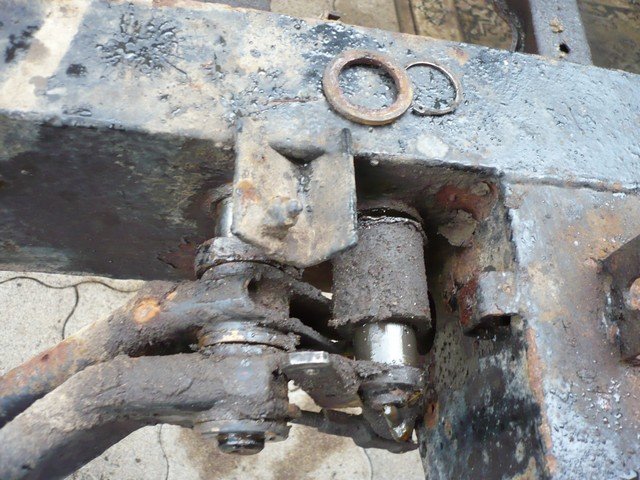
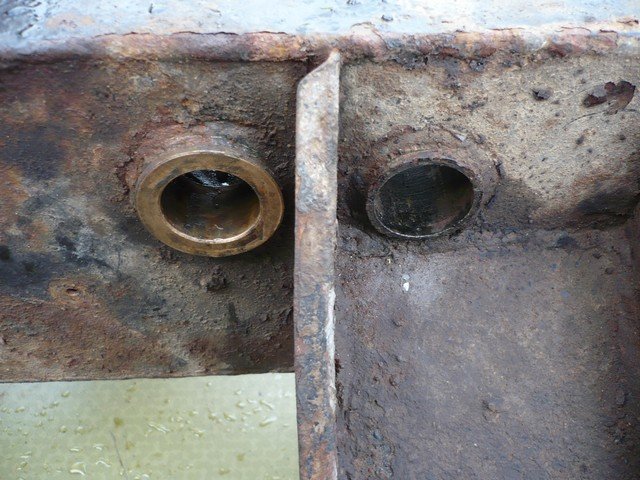
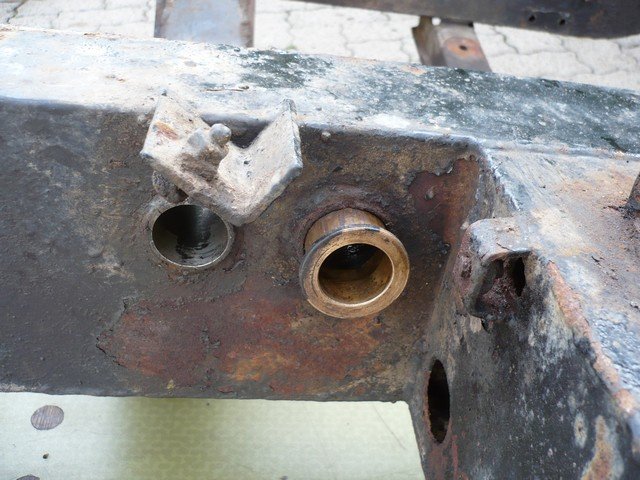
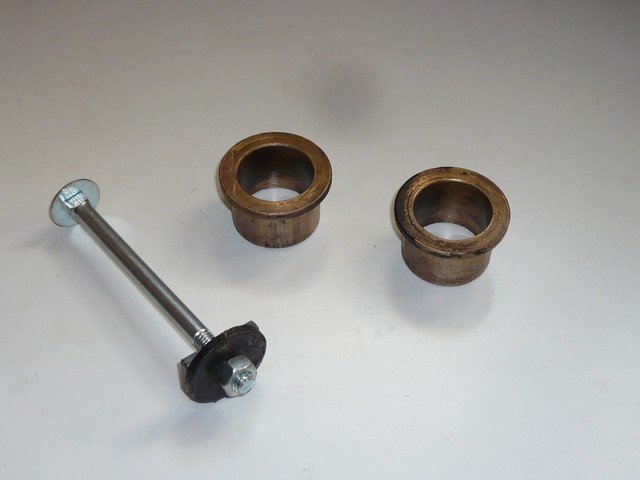
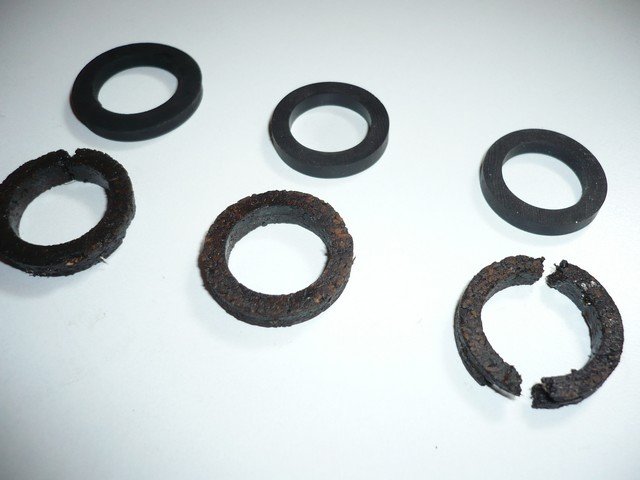
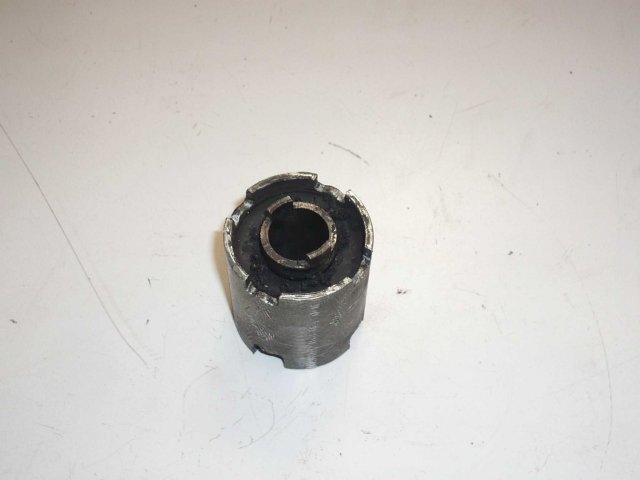
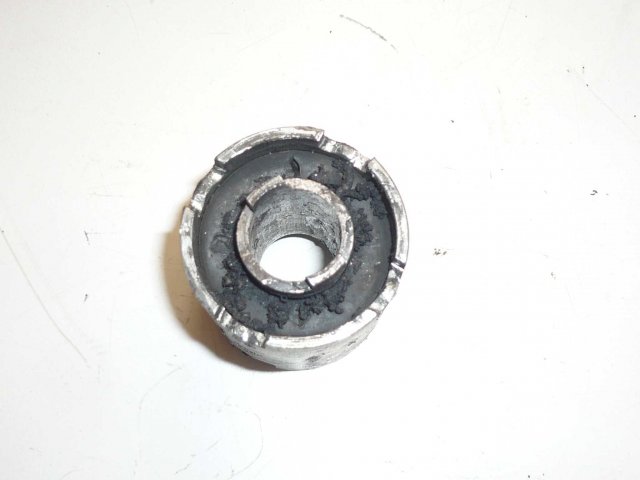
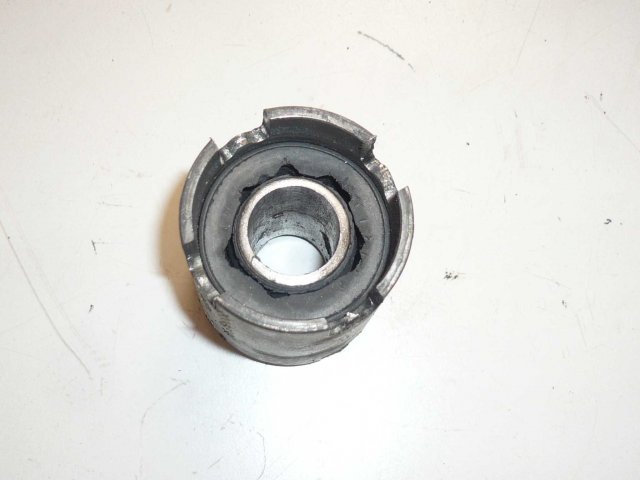
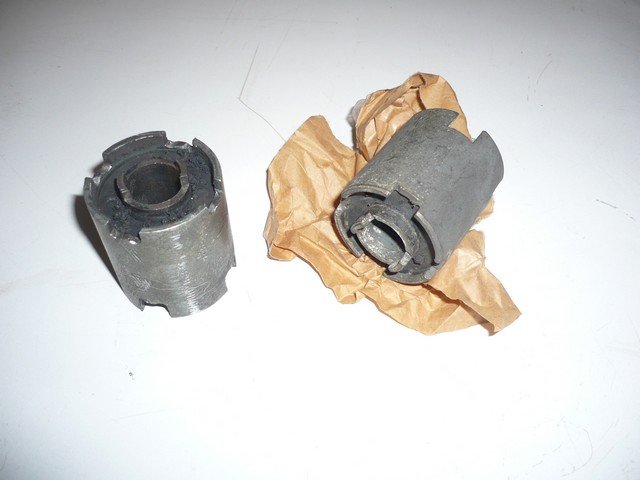
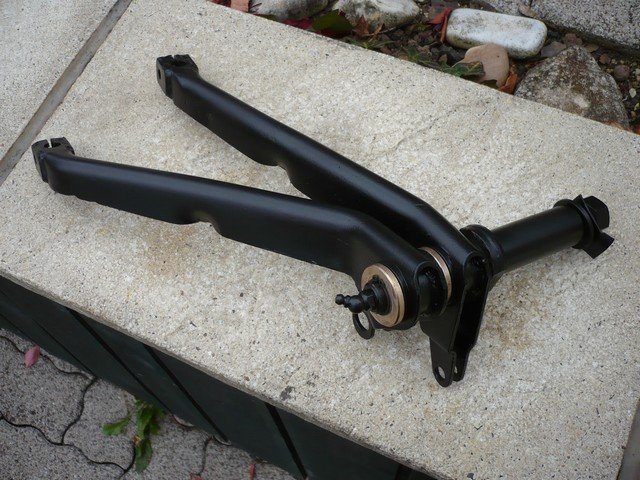
Pedals bushes are fitted :
I fitted polybushes, less boring to put on and change as the original, which should always be destroyed to leave their housing.
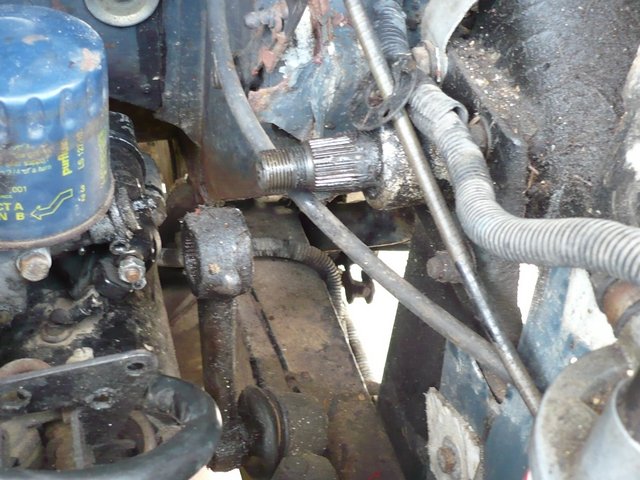
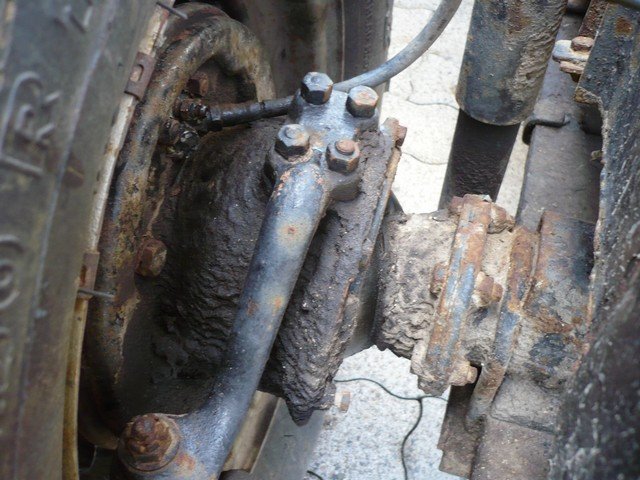
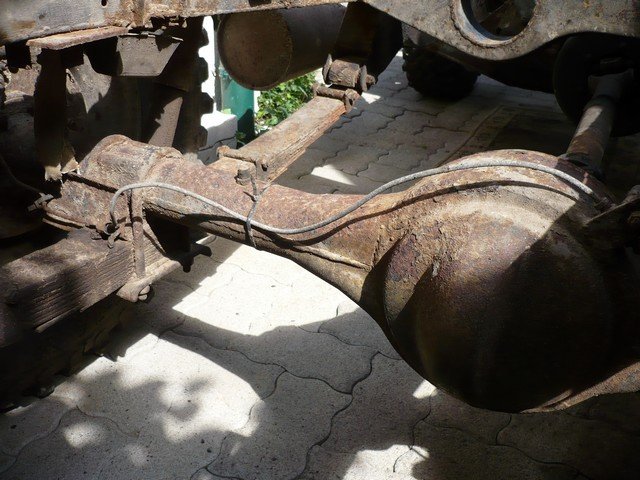
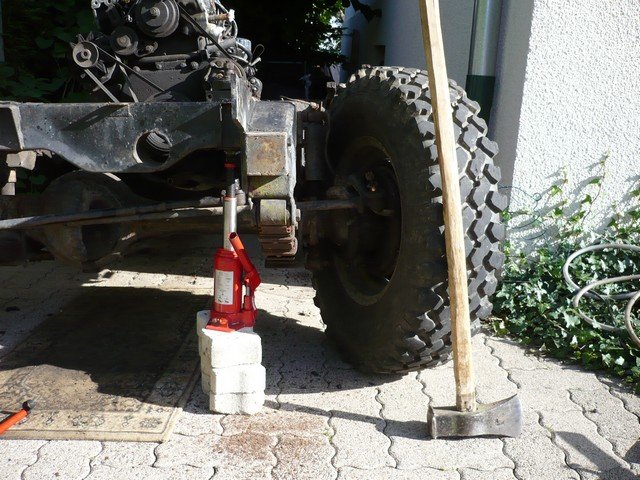
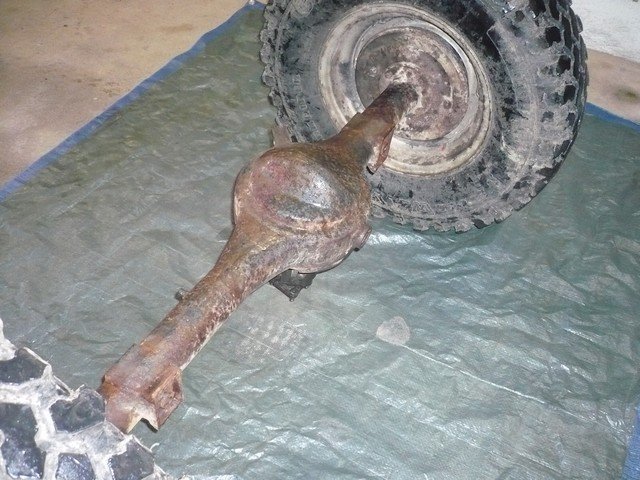
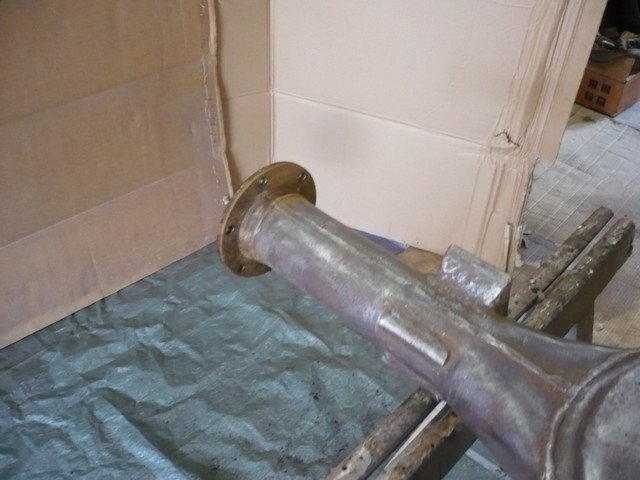
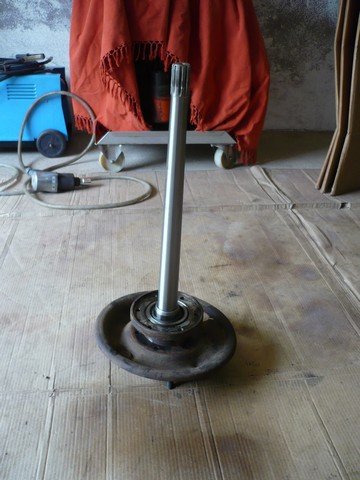
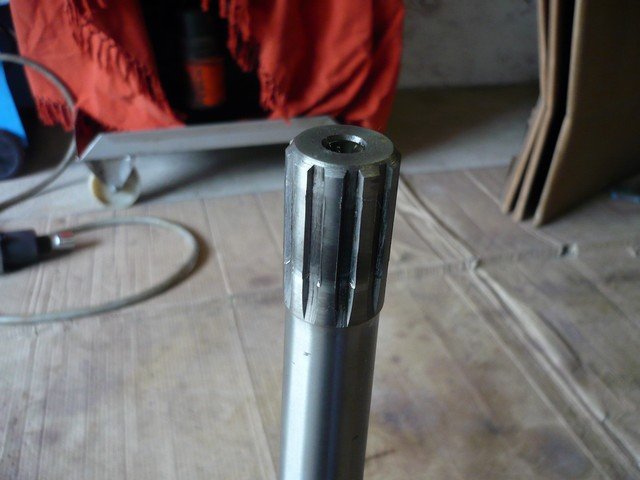
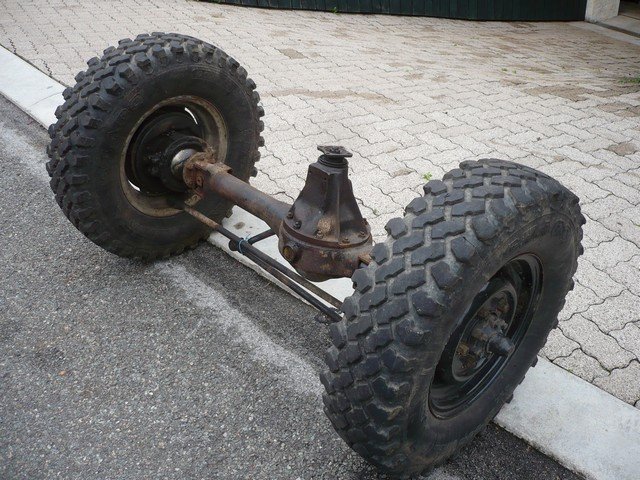
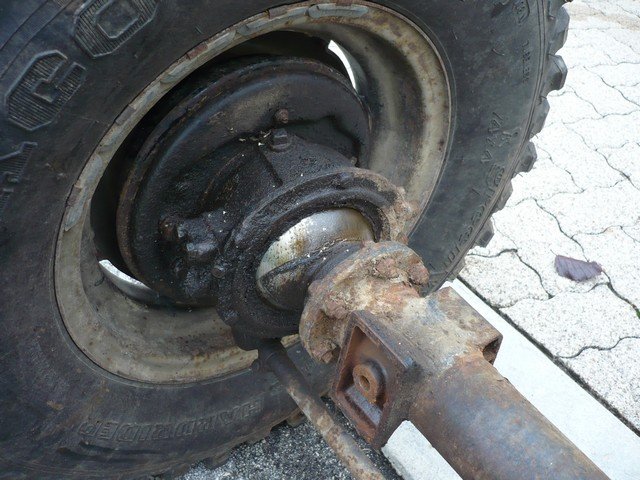
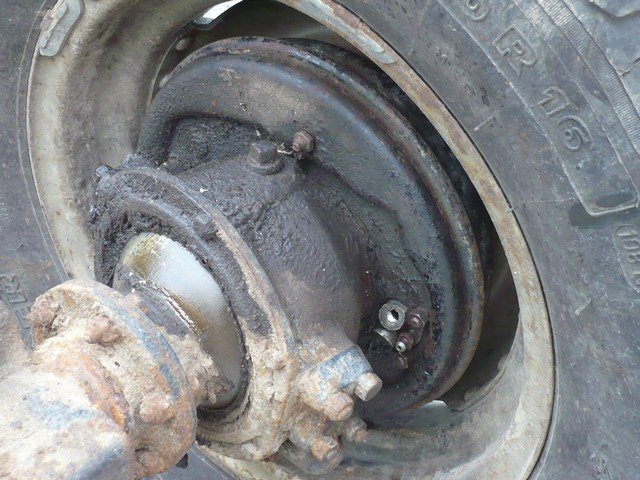
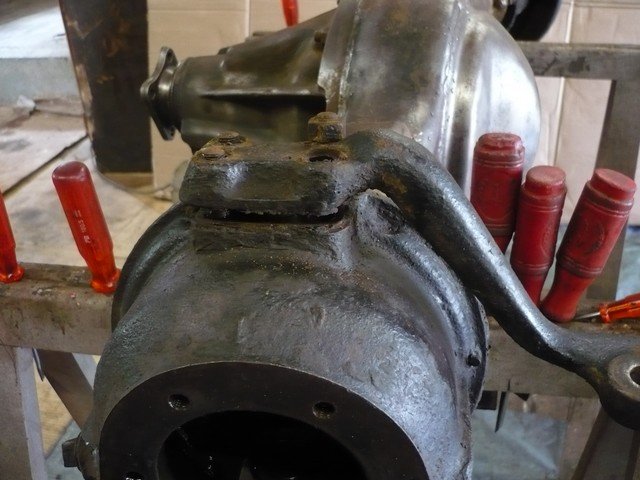
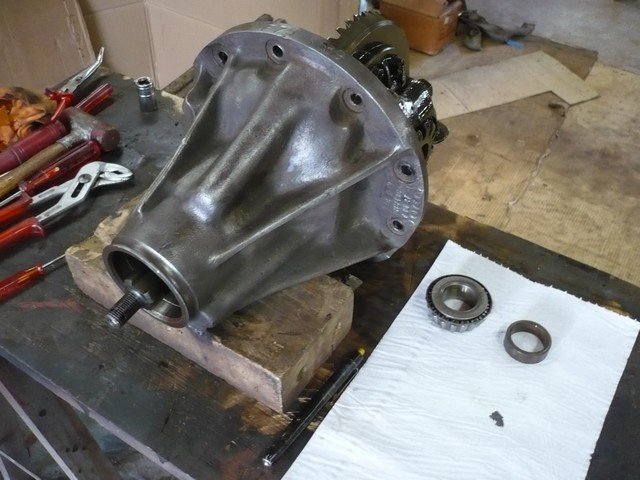
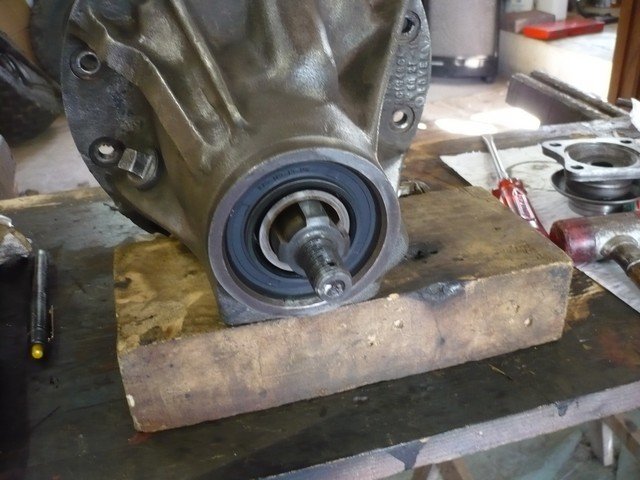
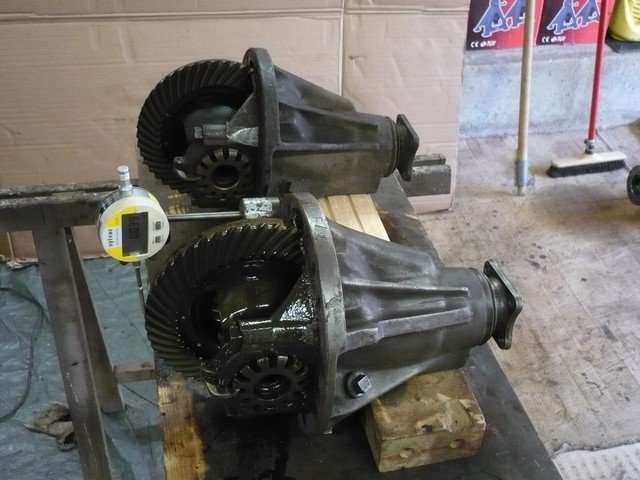
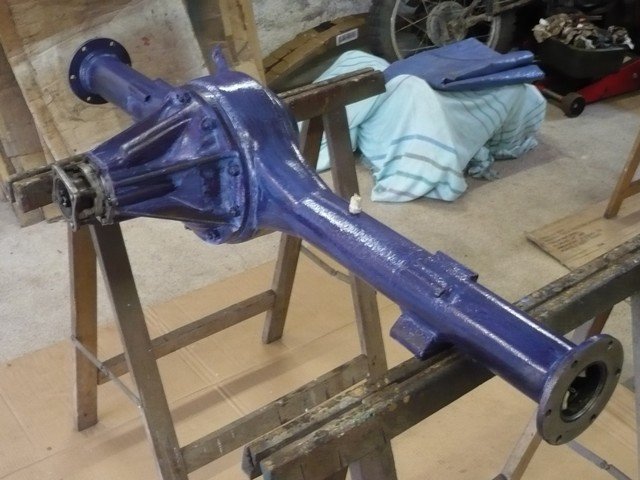
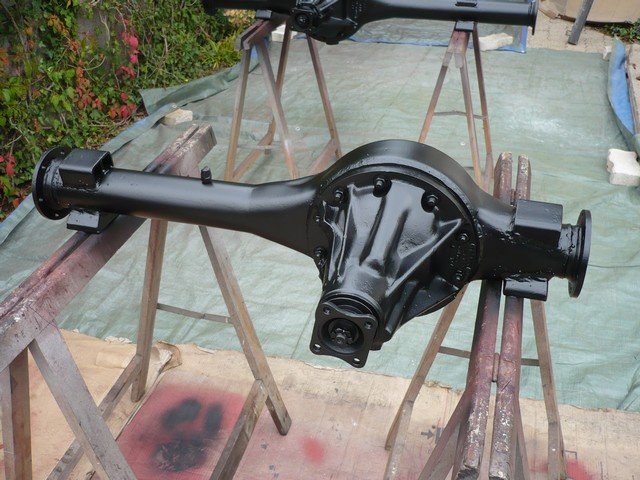
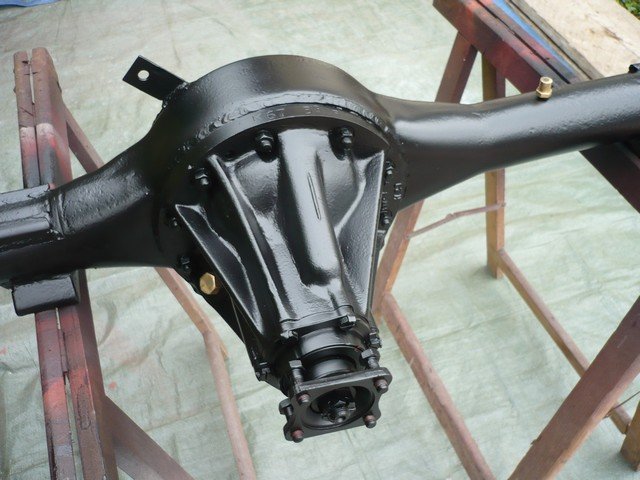
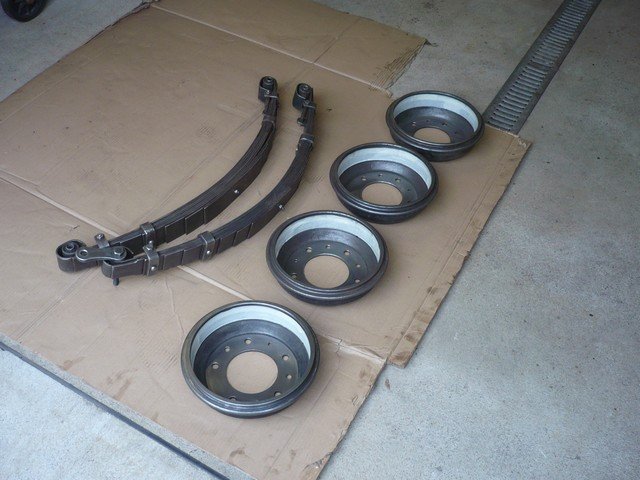
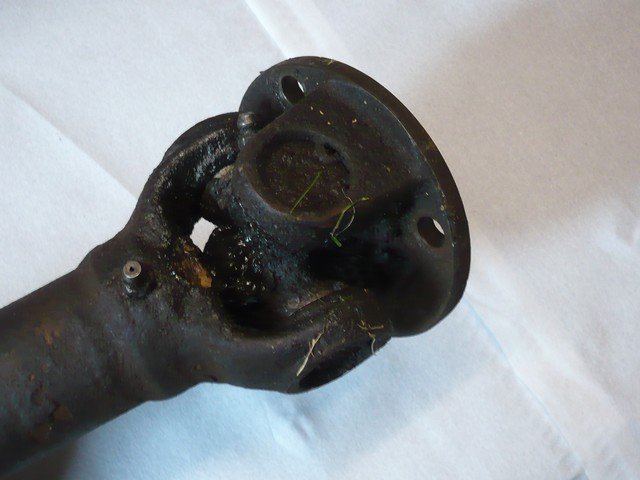
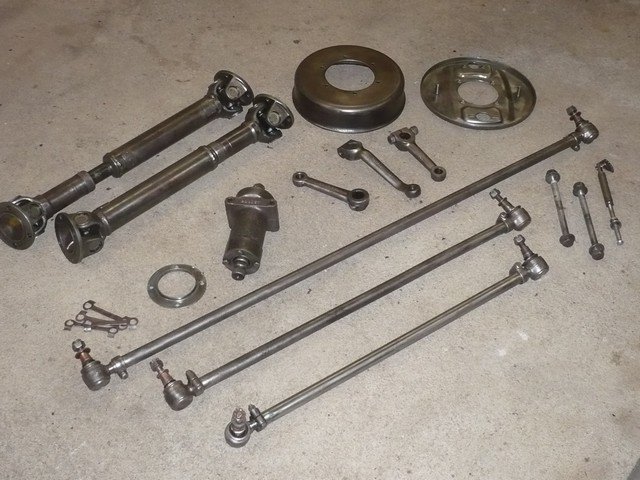
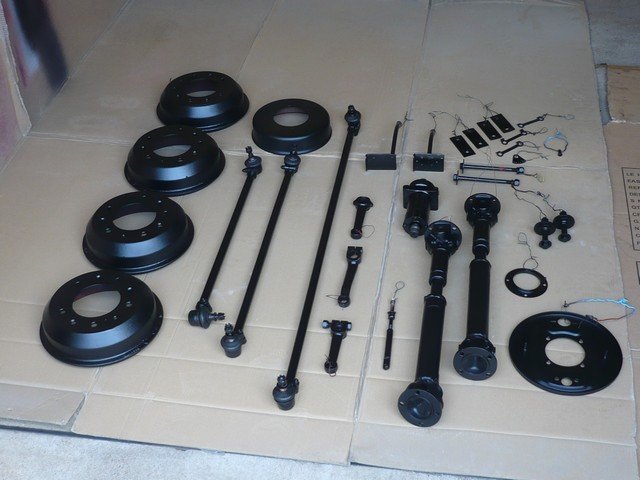
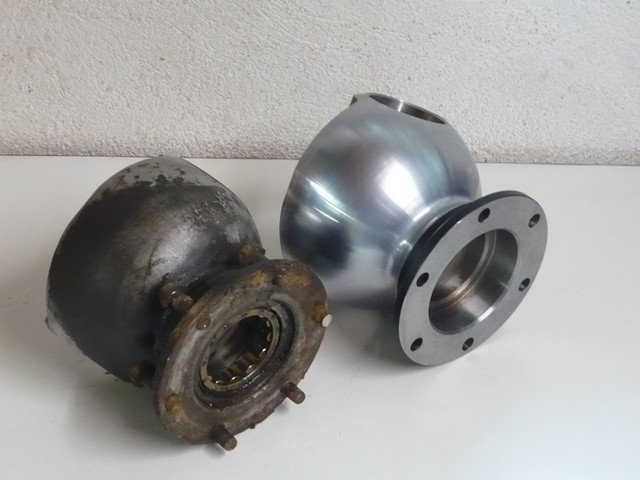
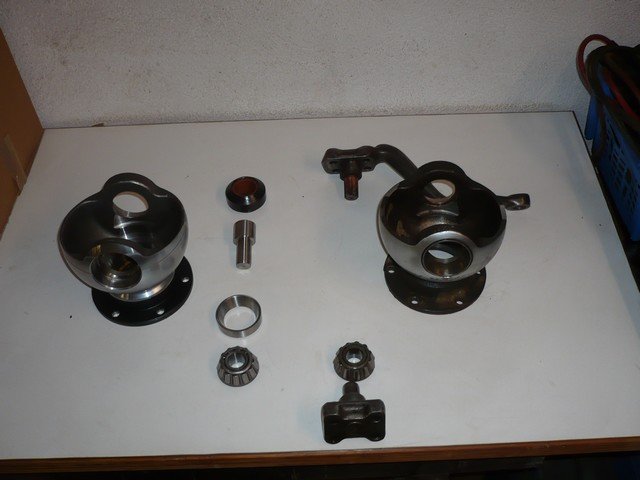
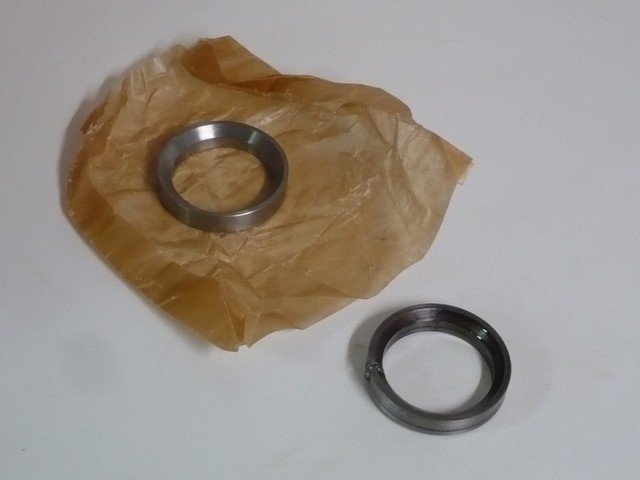
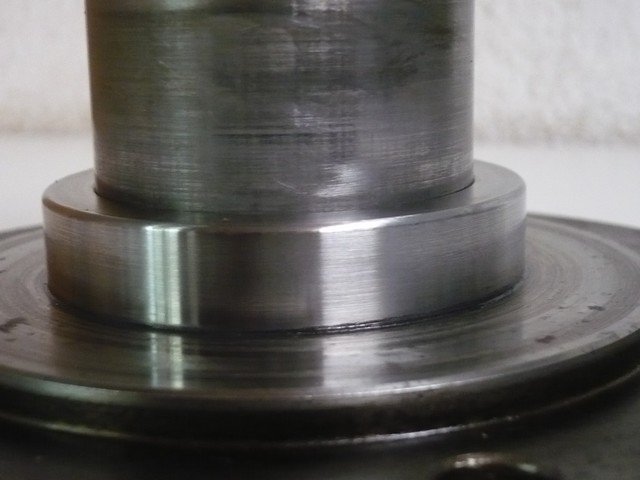
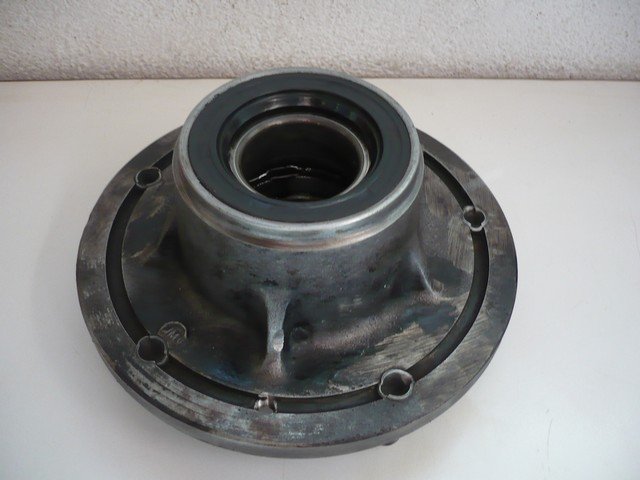
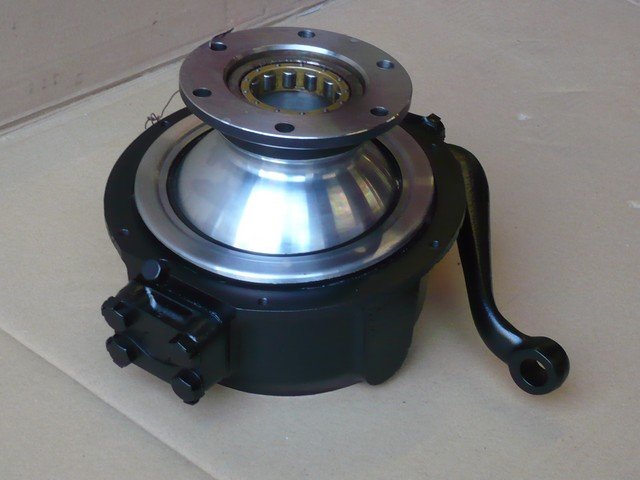
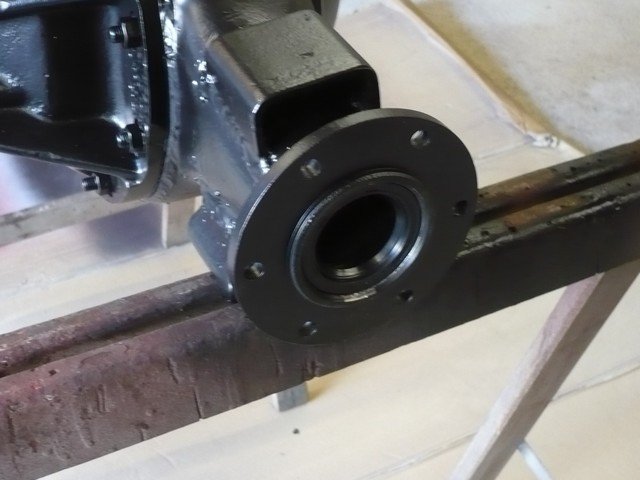
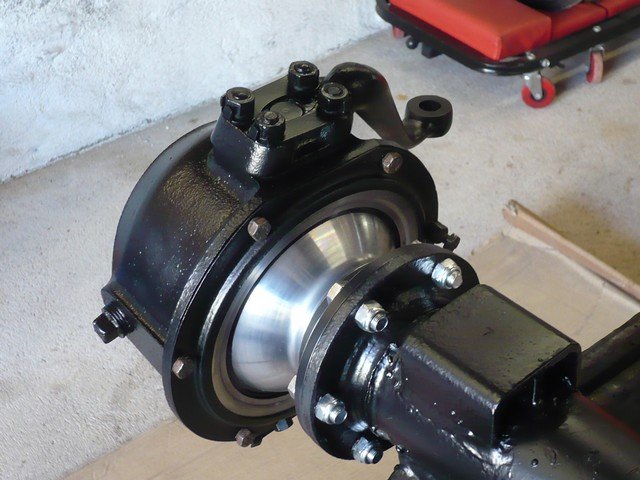
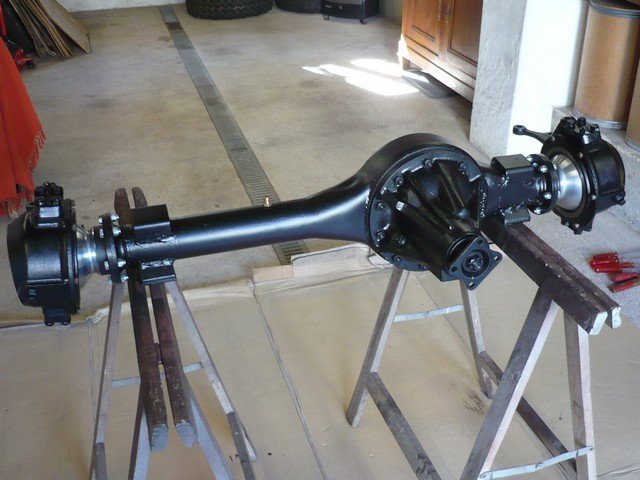
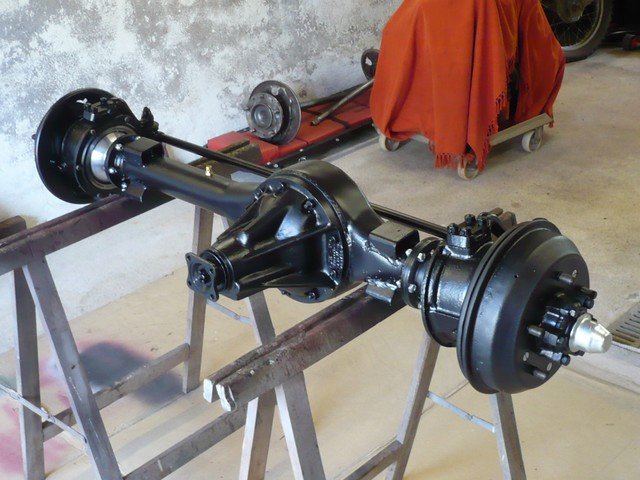
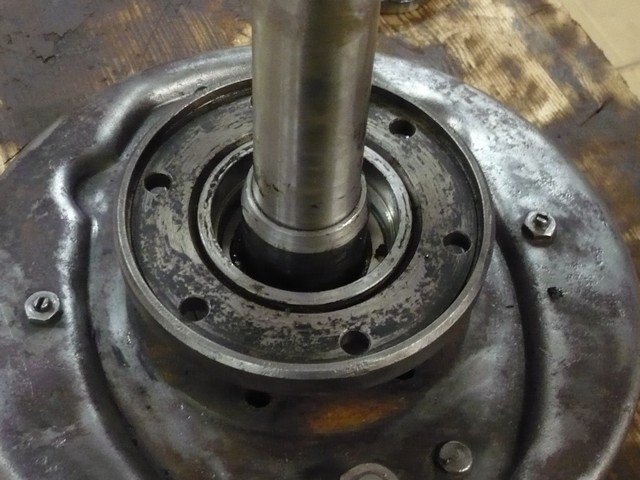
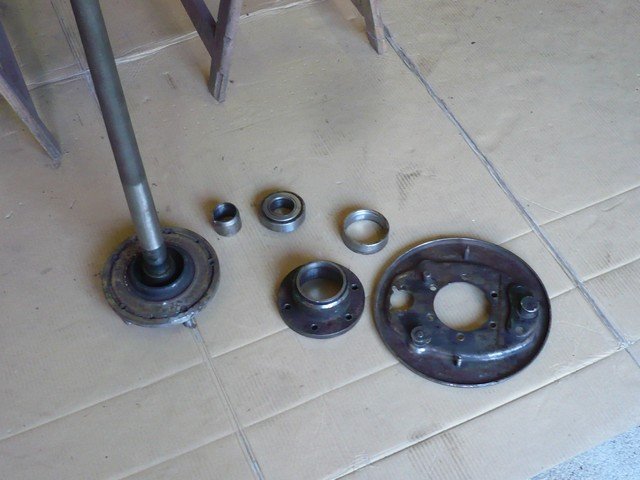
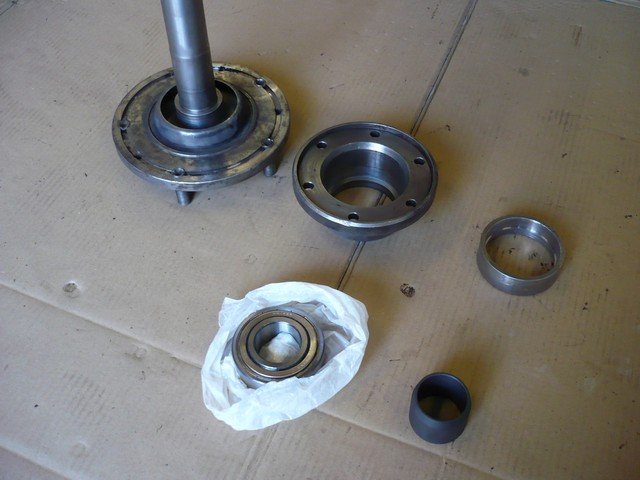
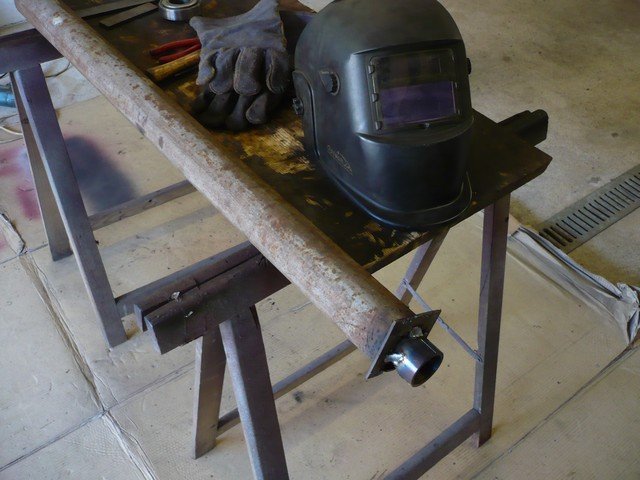
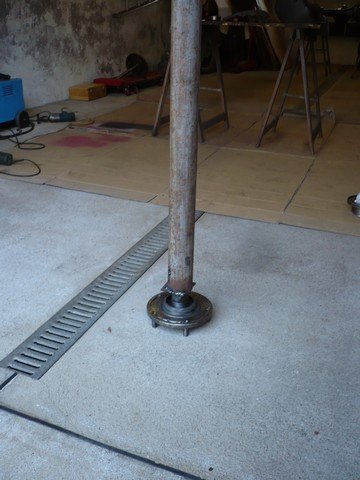
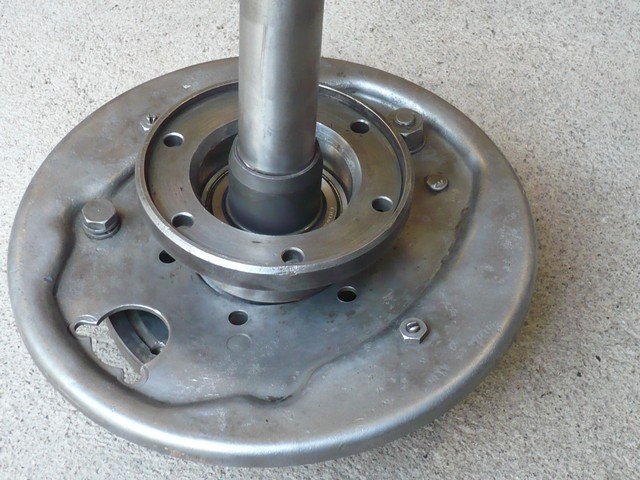
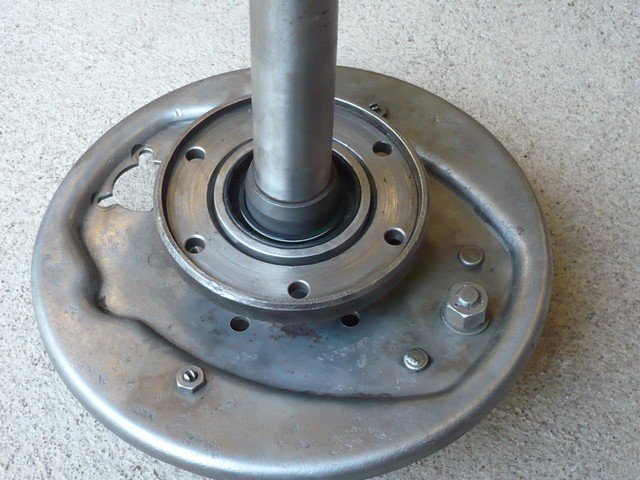
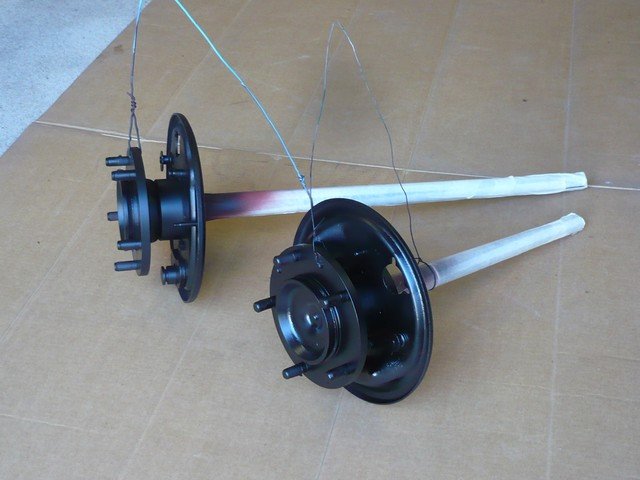
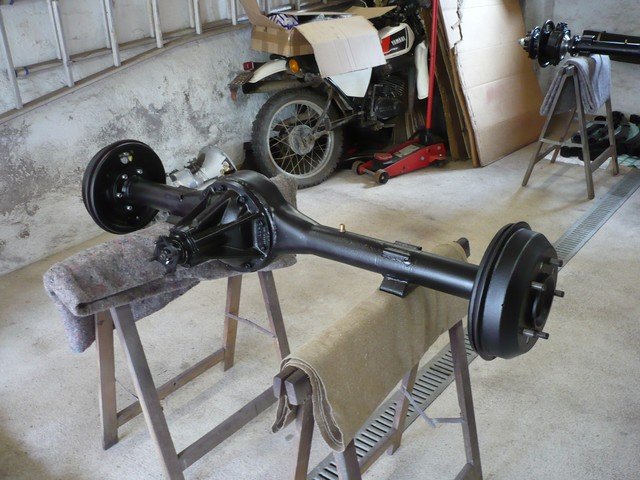
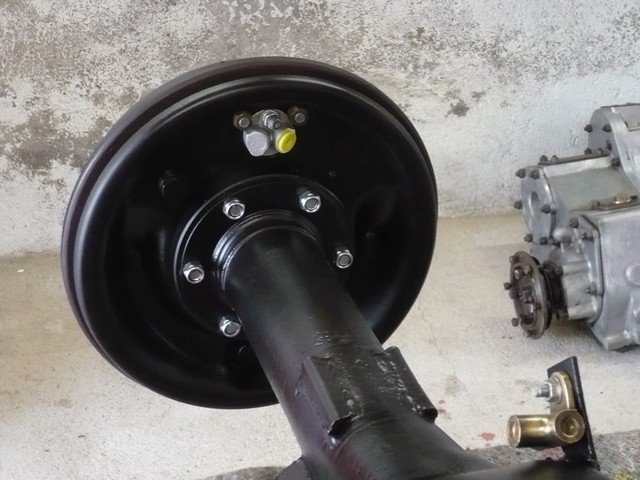
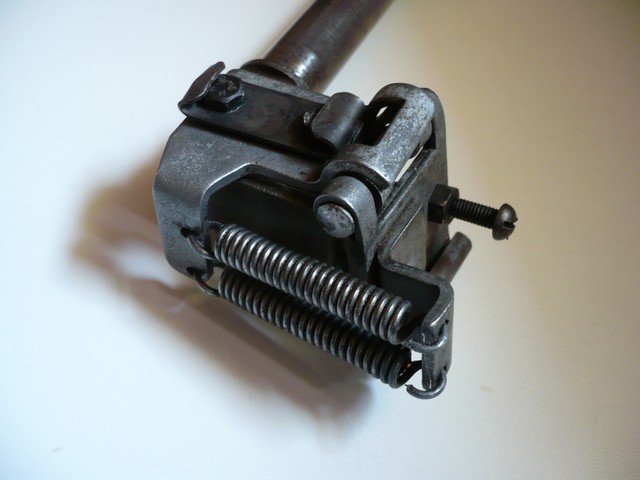
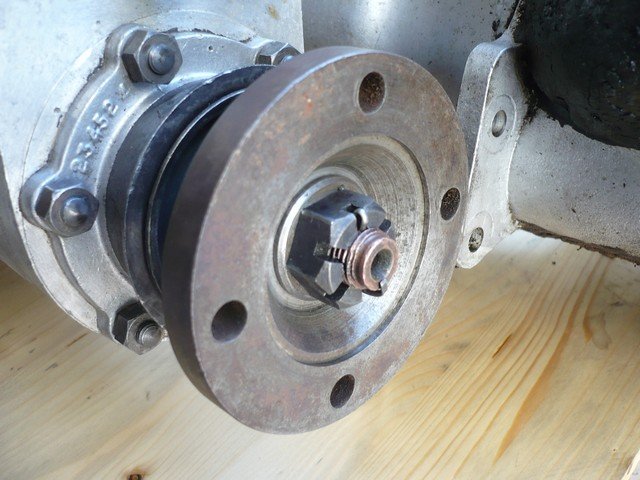
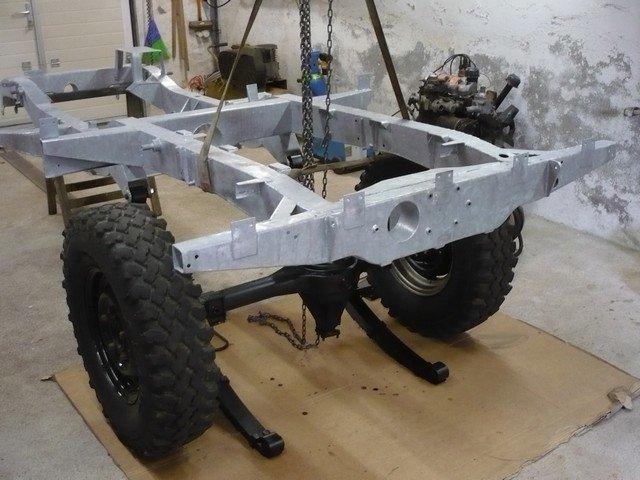
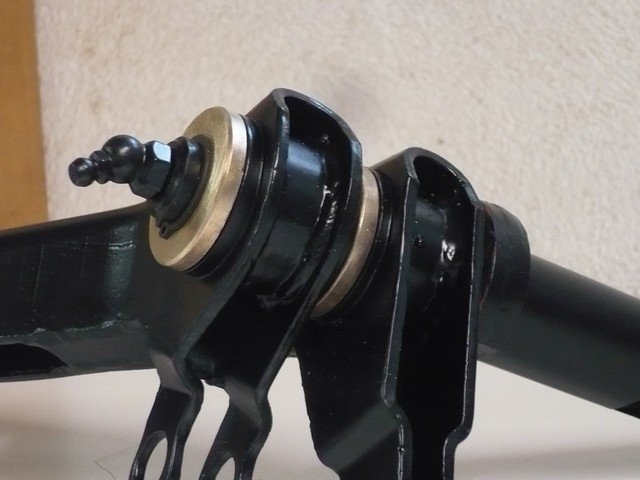
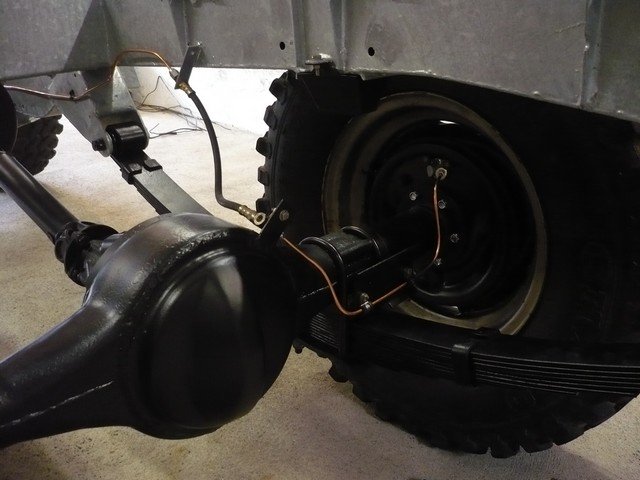
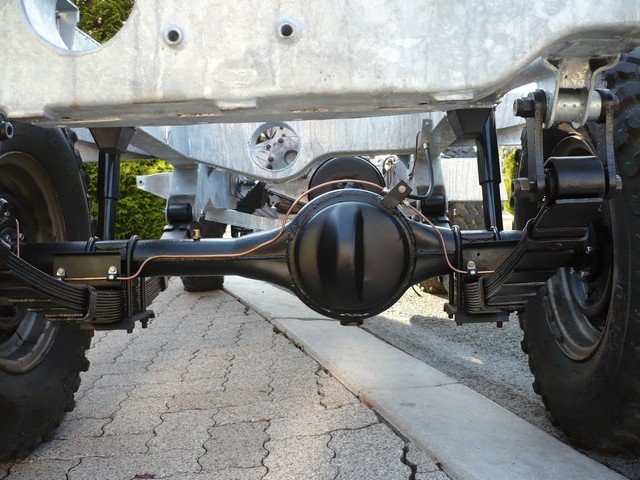
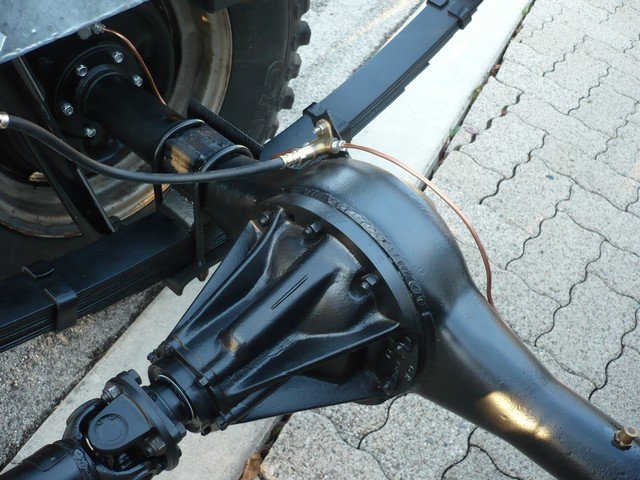
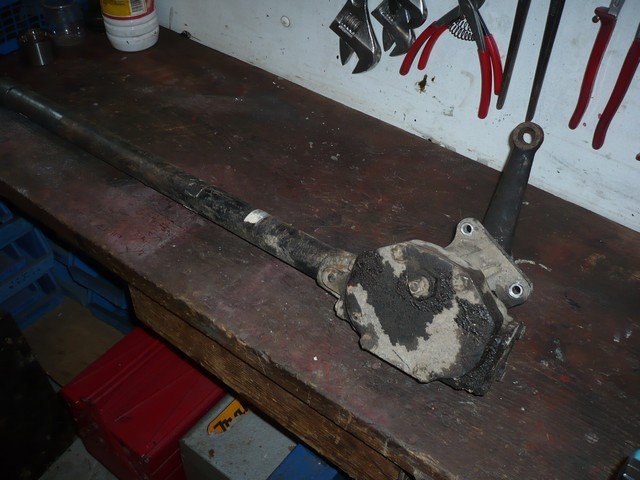
Rear axle fitting.

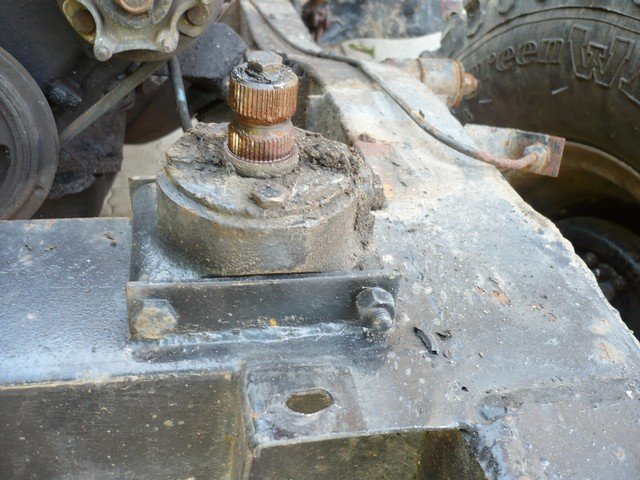
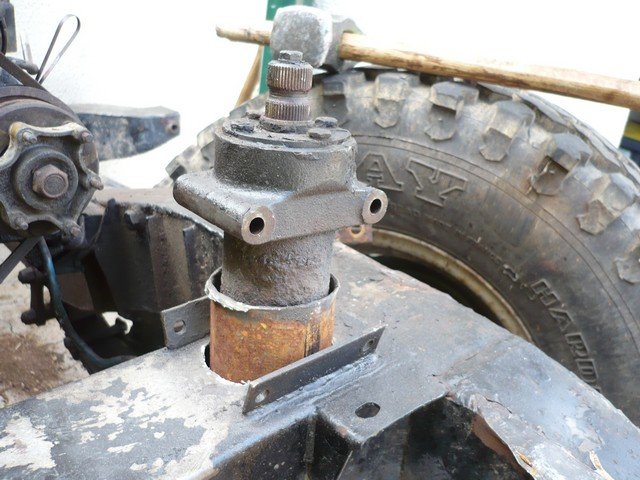
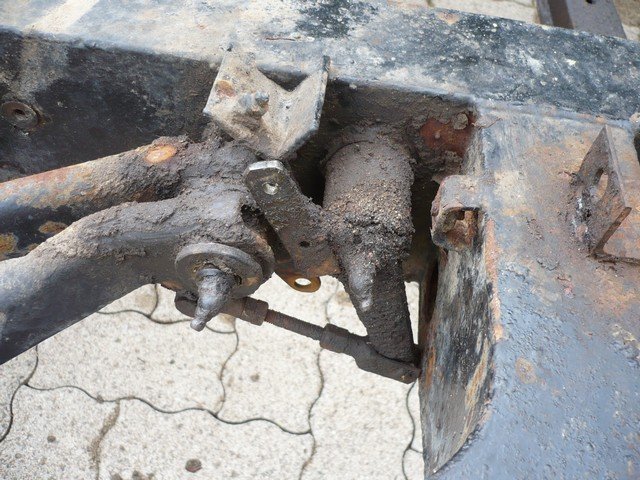
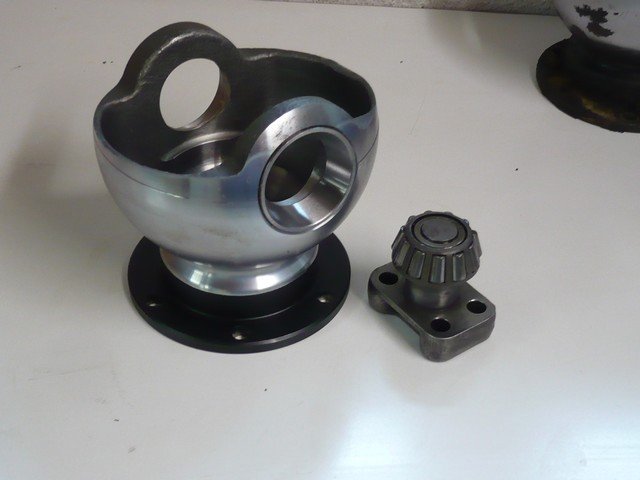
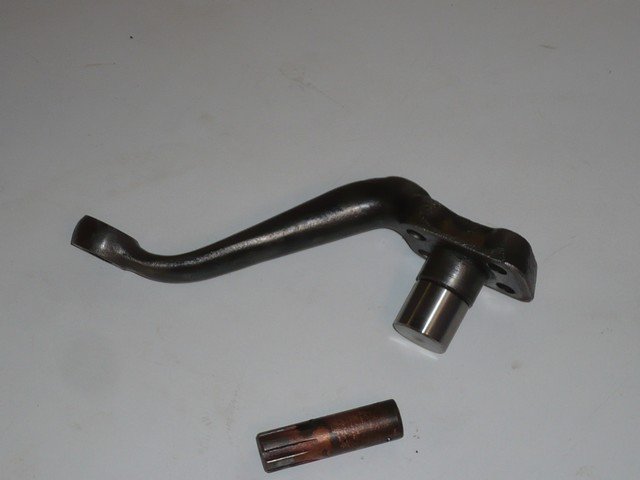
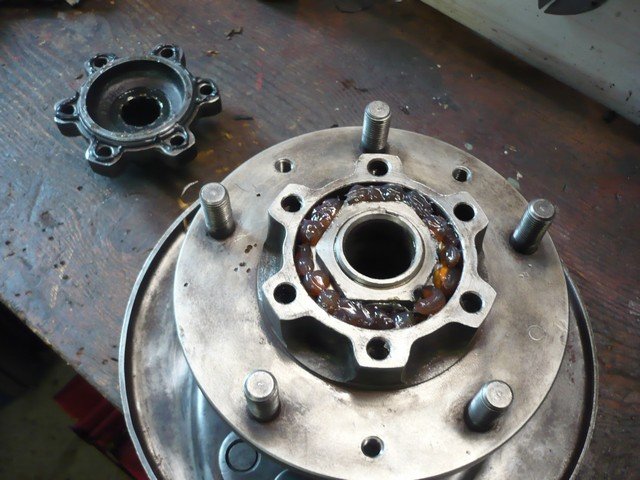
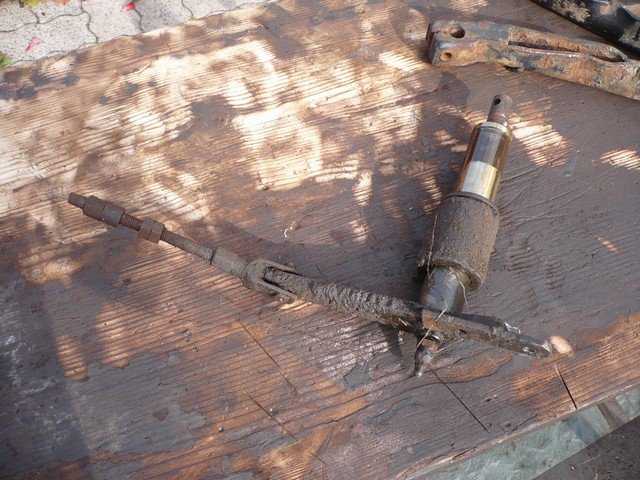
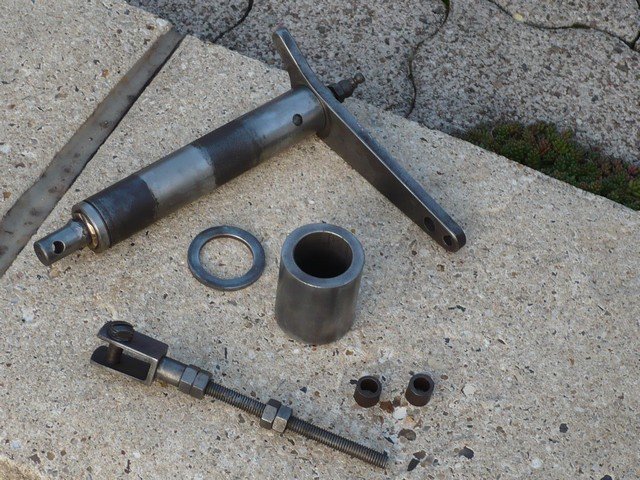
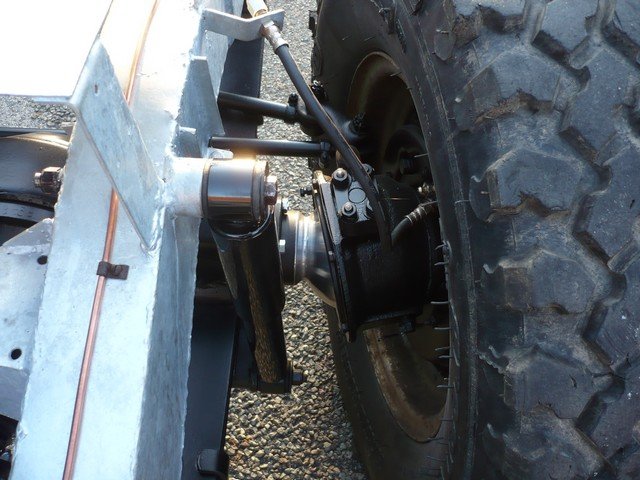
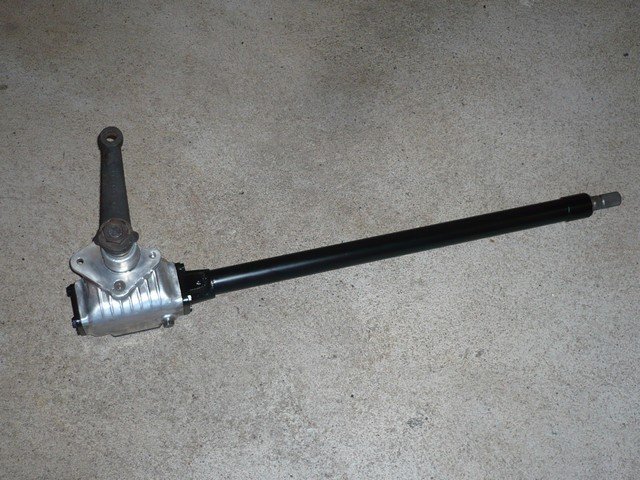
Steering relay (with a lot a grease)
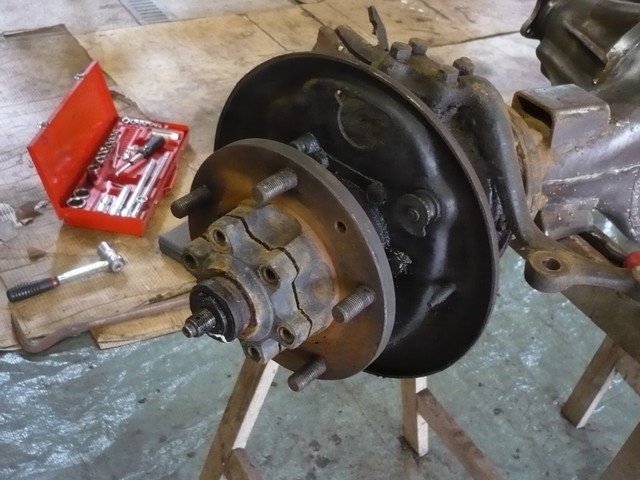
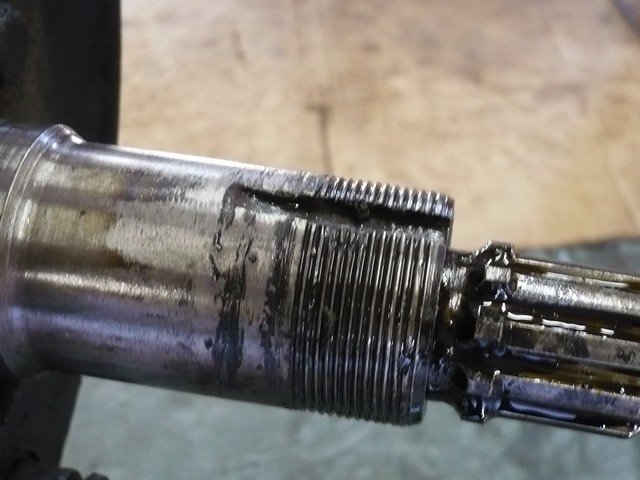
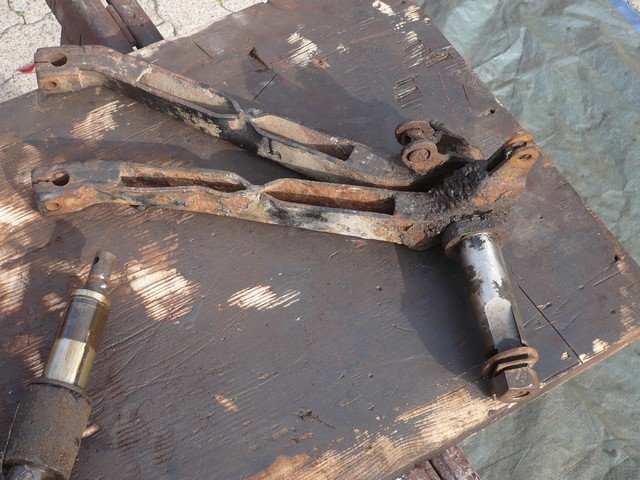
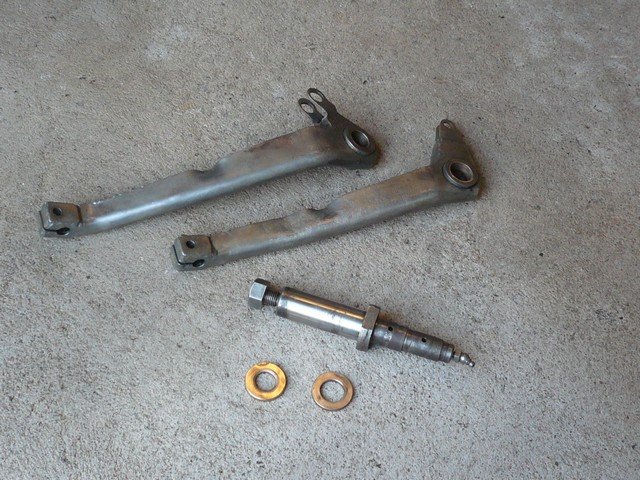
Front axle fitting.

Pedals.
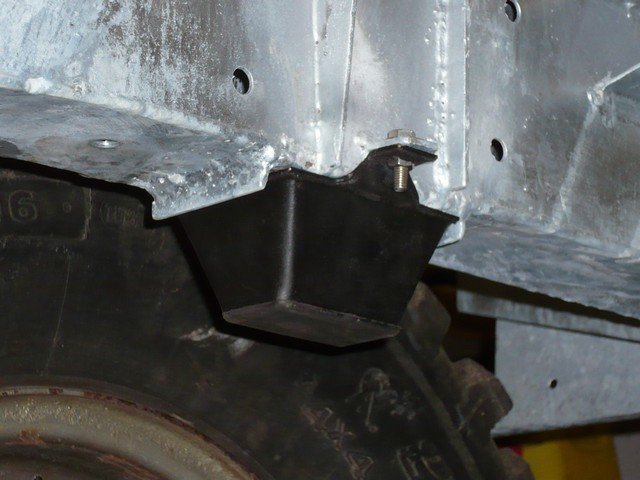
Axles bump stops.
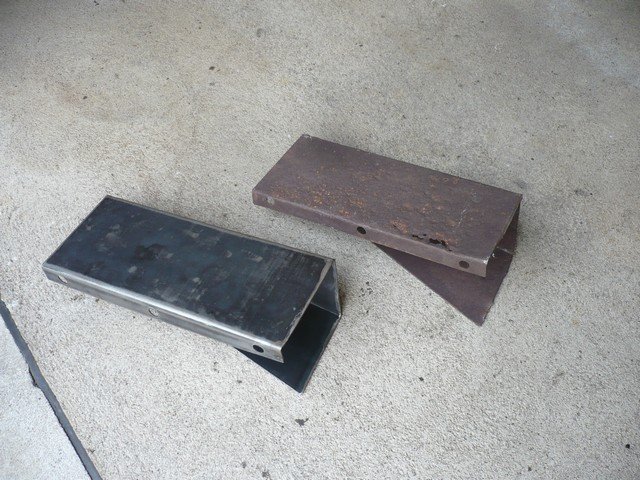
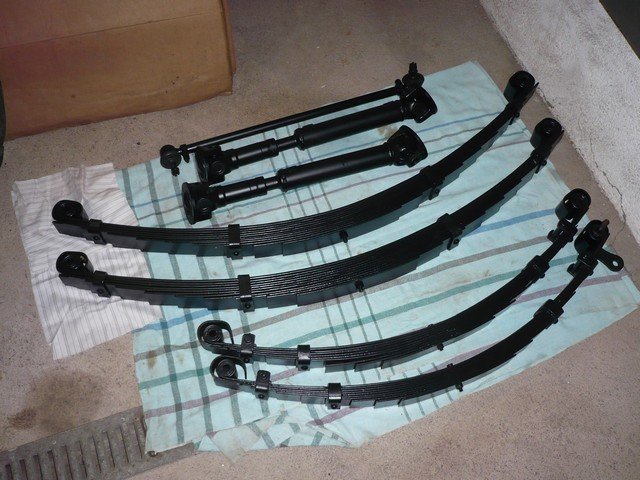
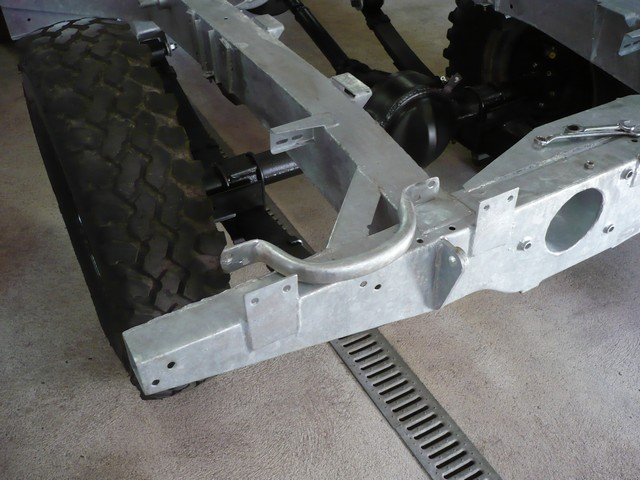
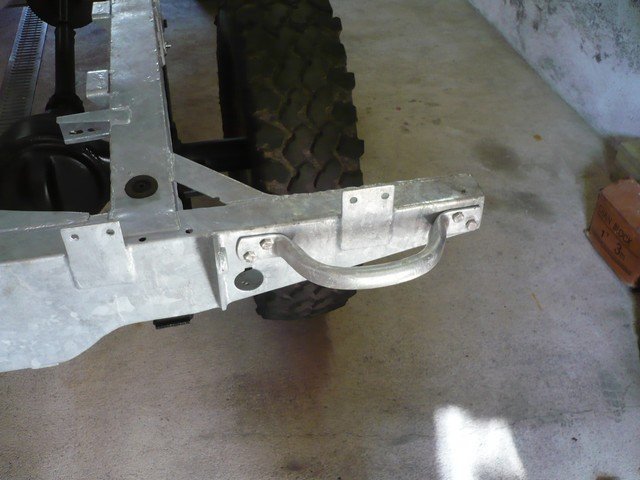
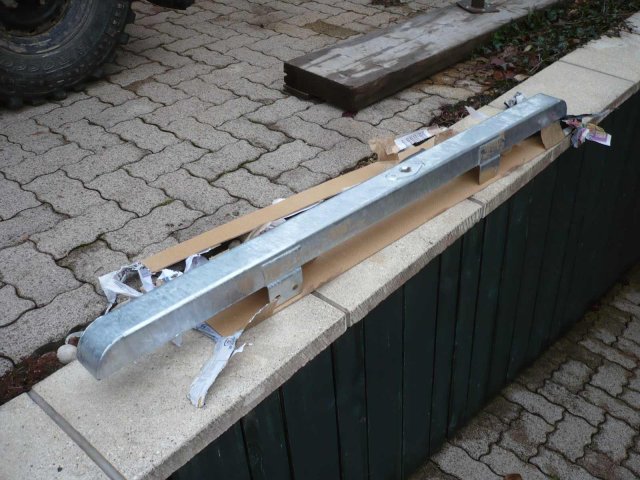
Re-galvanised rear bumpers.
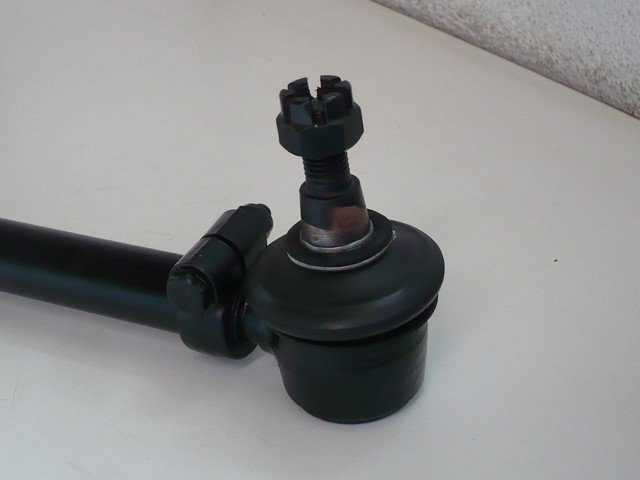
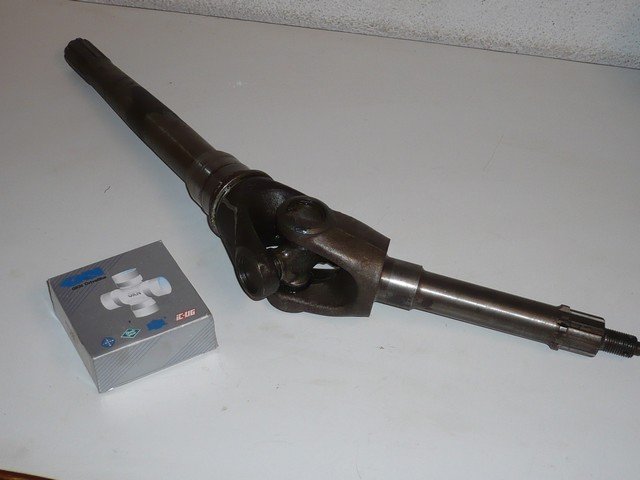
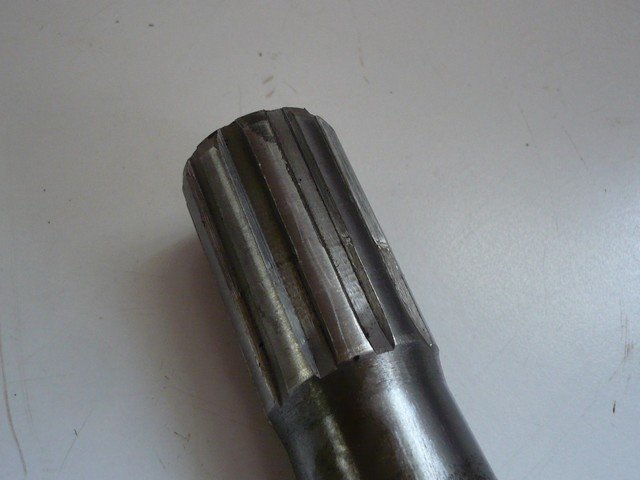
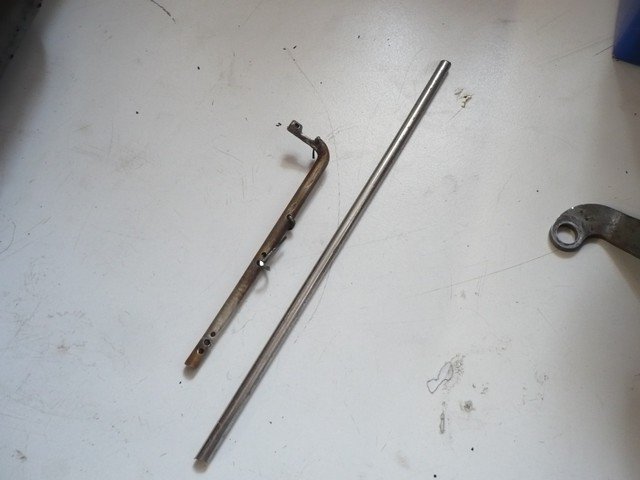
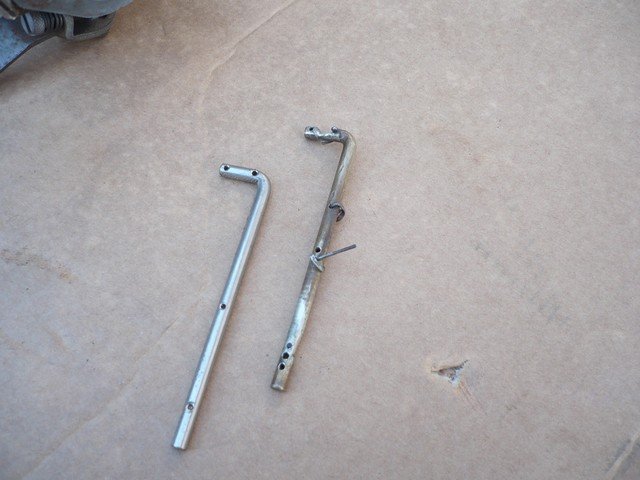
Steering rods.

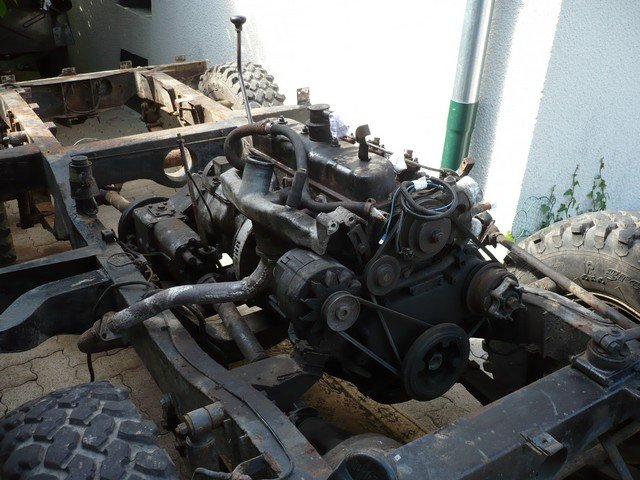
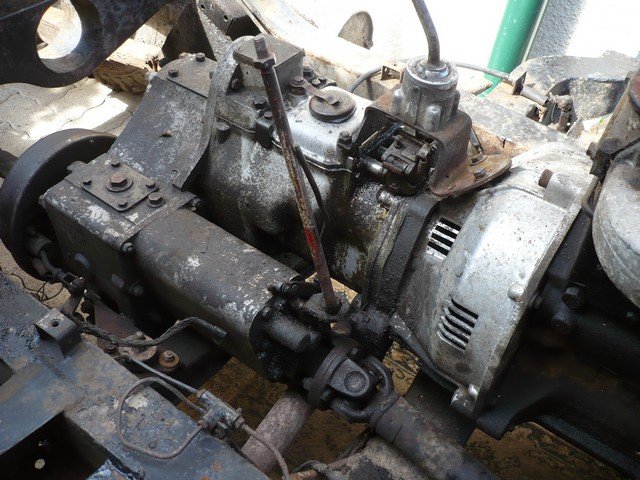
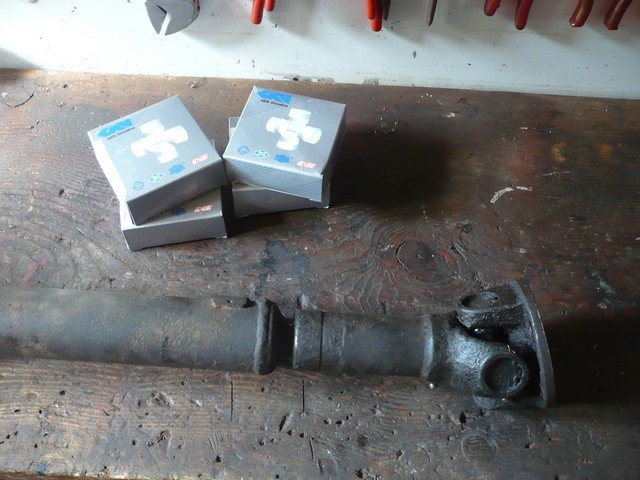
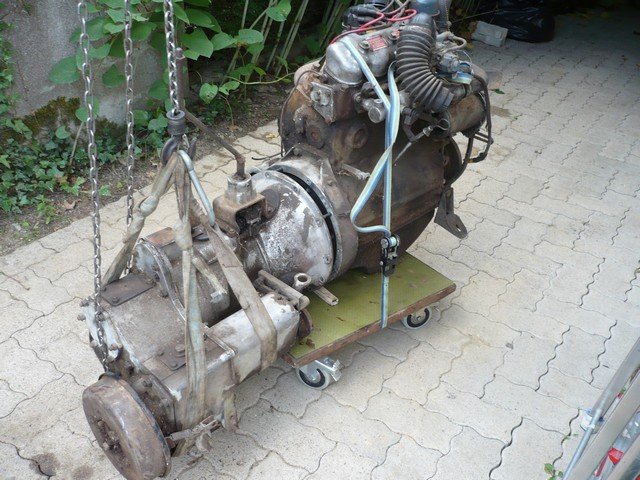
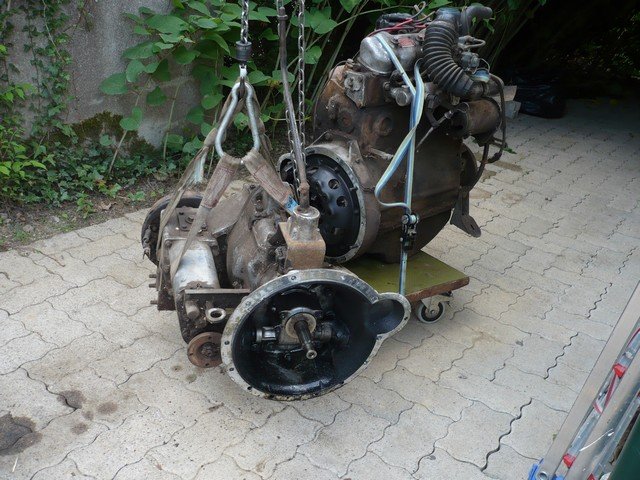
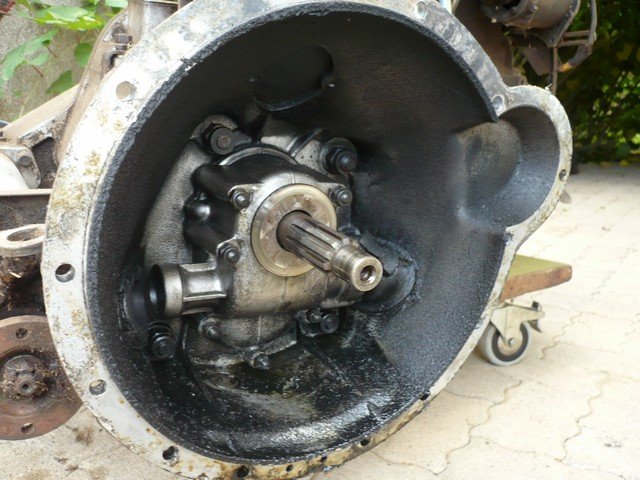
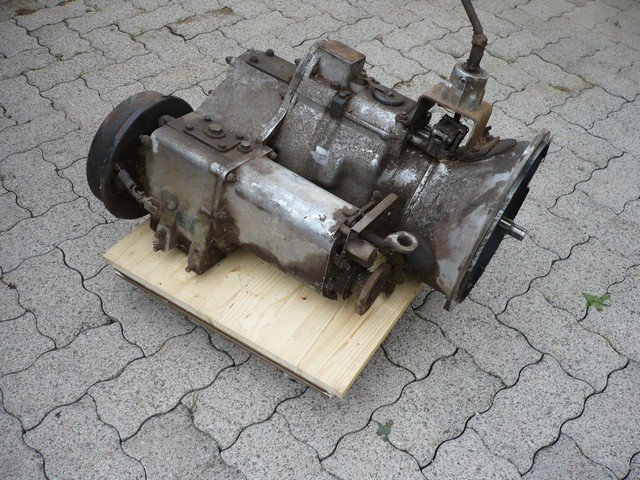
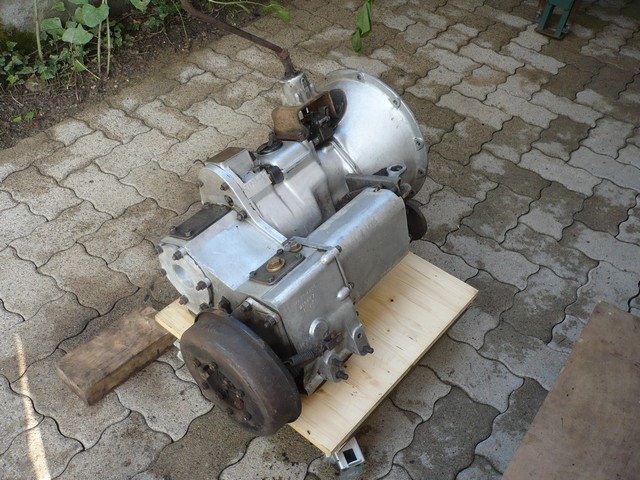
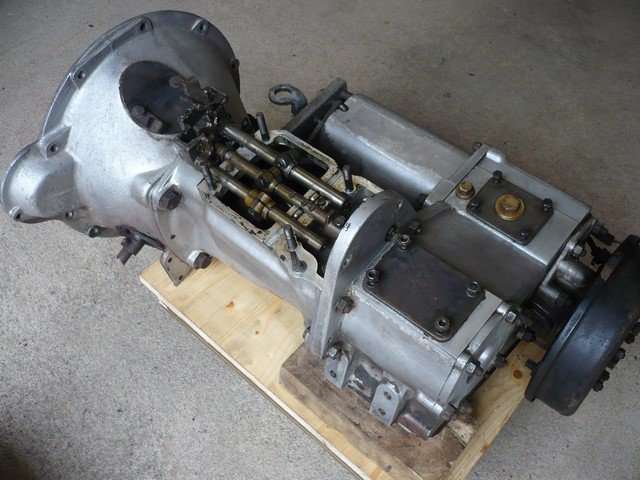
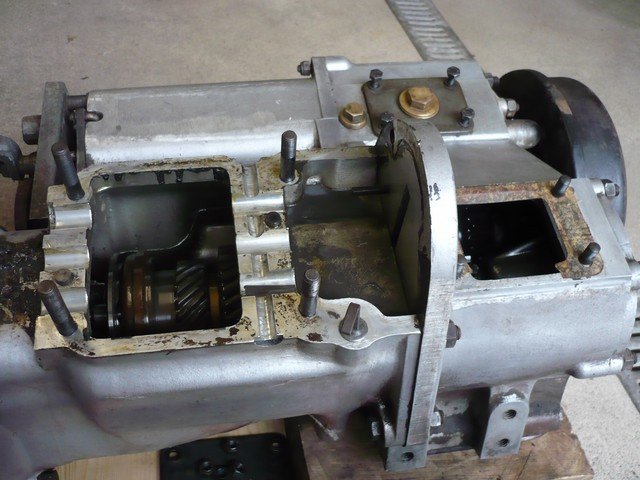
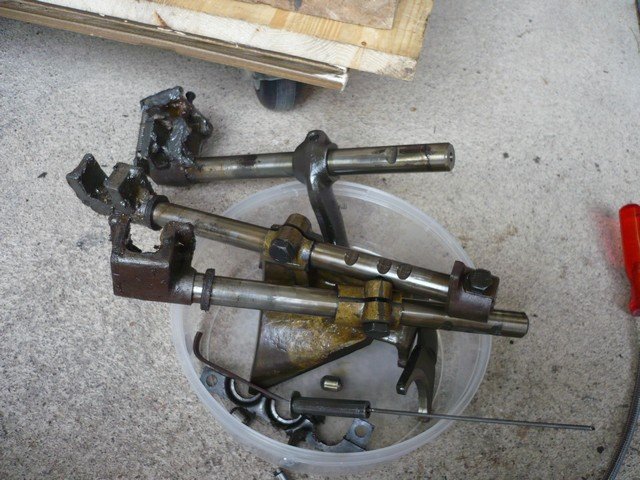
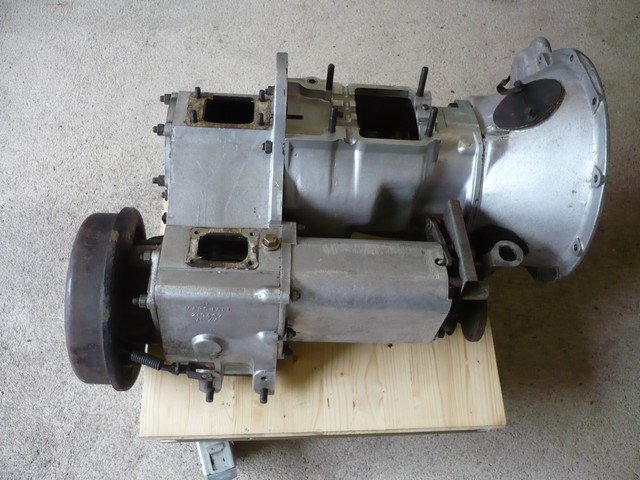
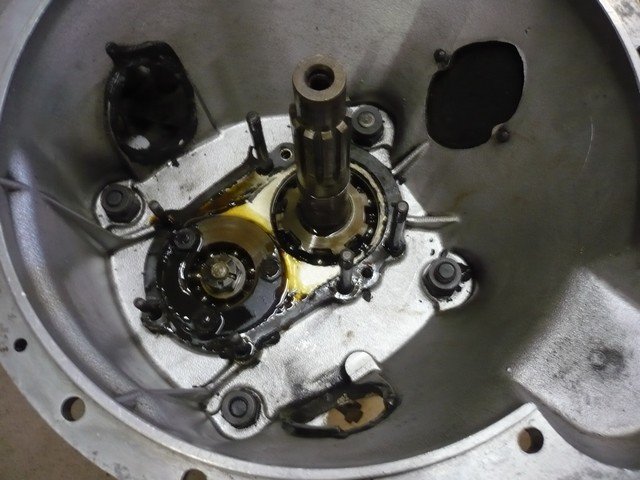
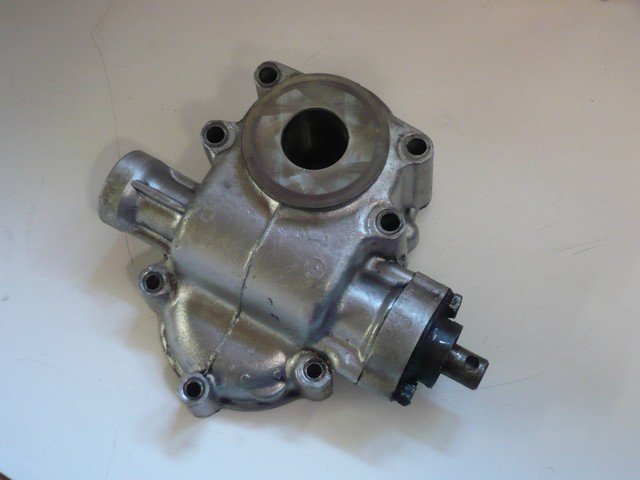
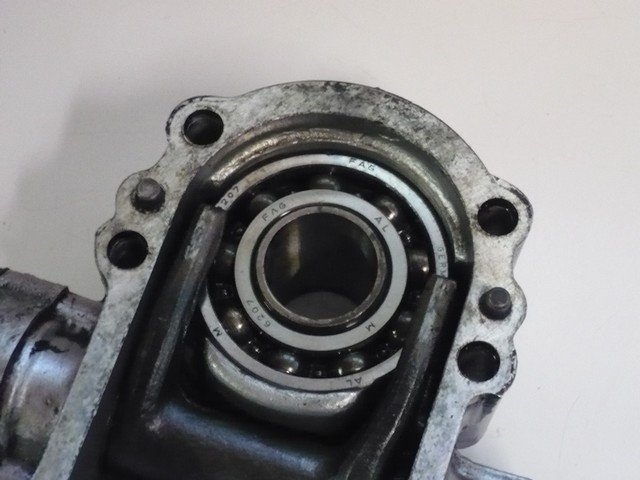
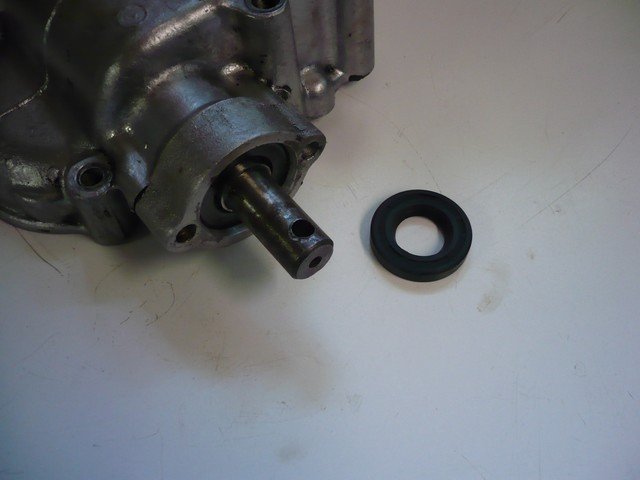
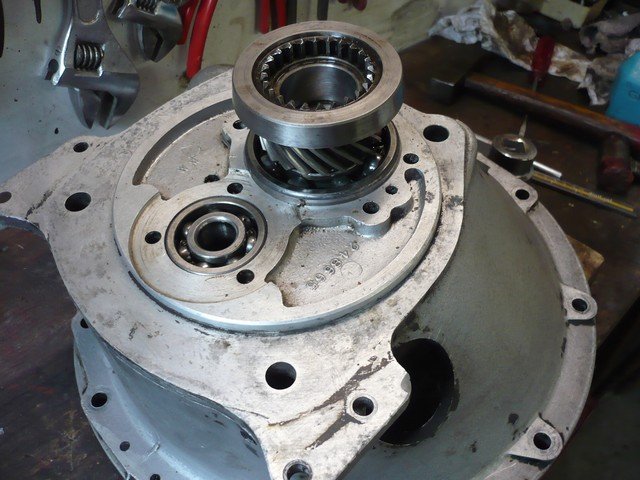
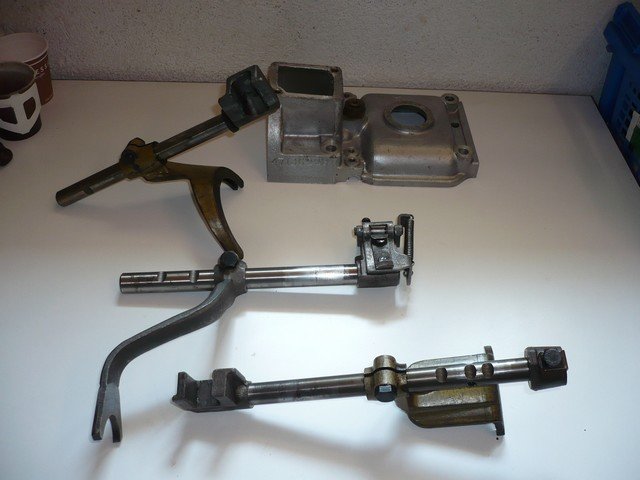
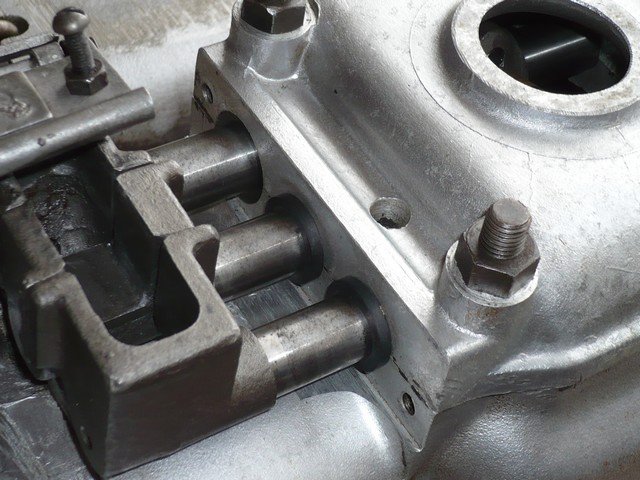
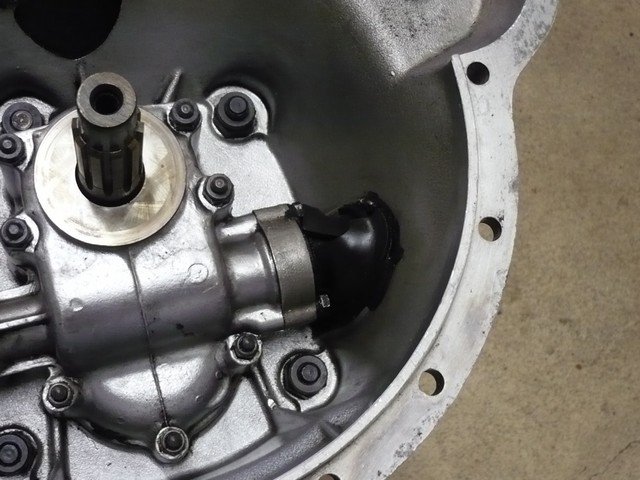
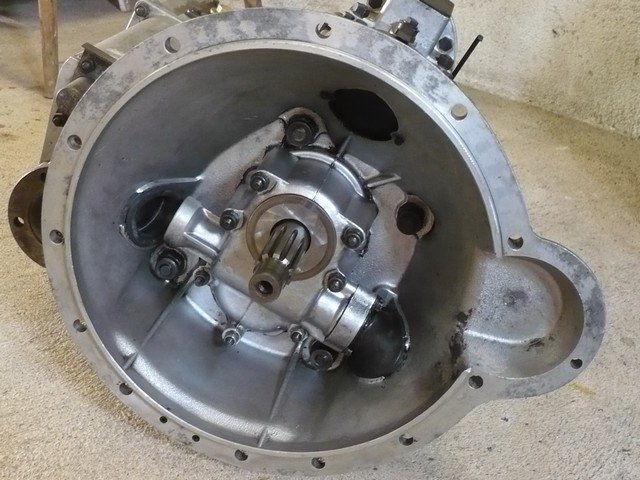
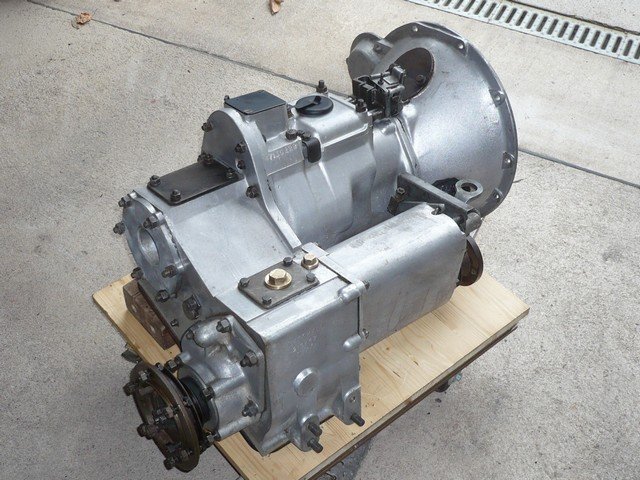
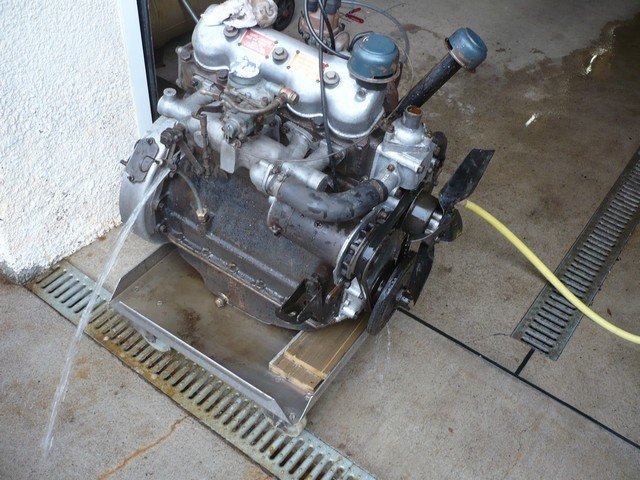
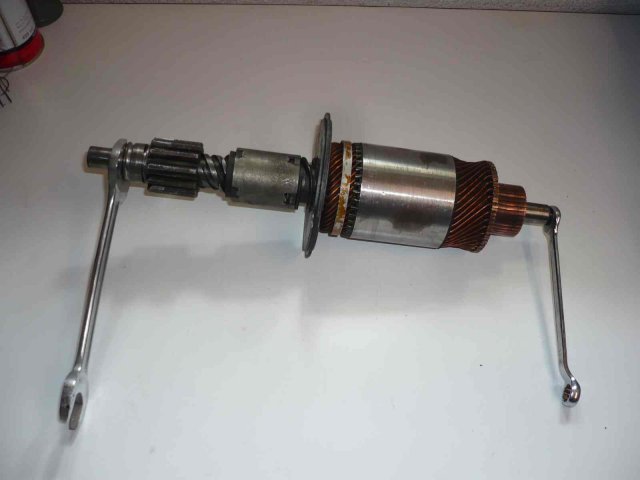
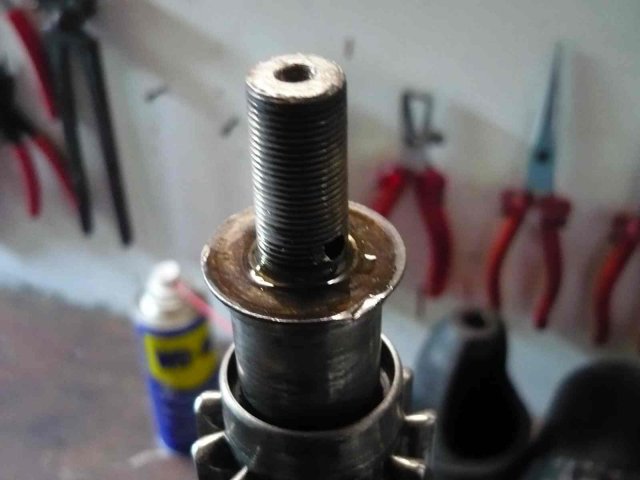
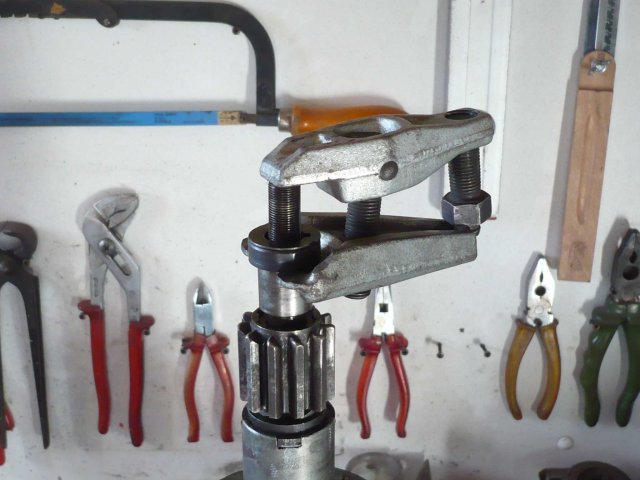
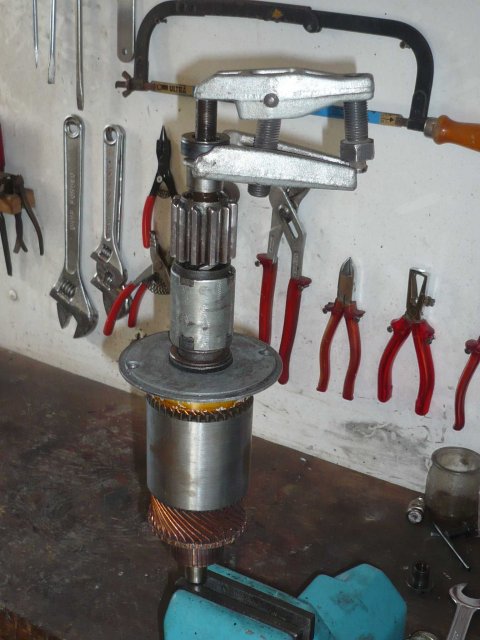
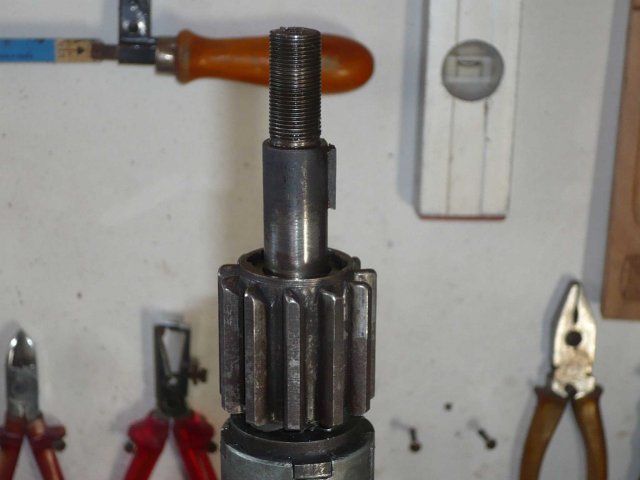
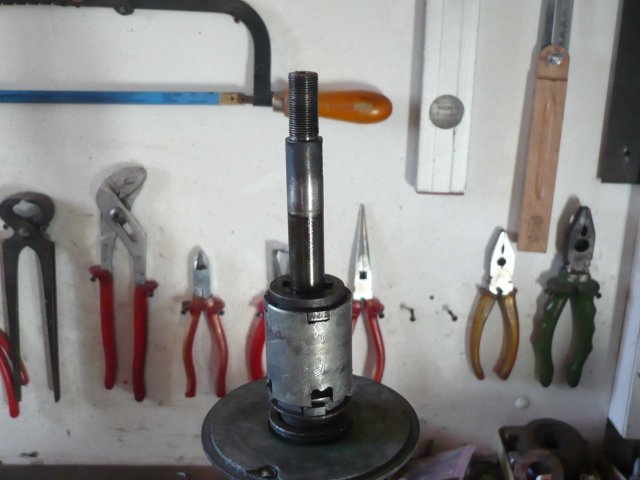
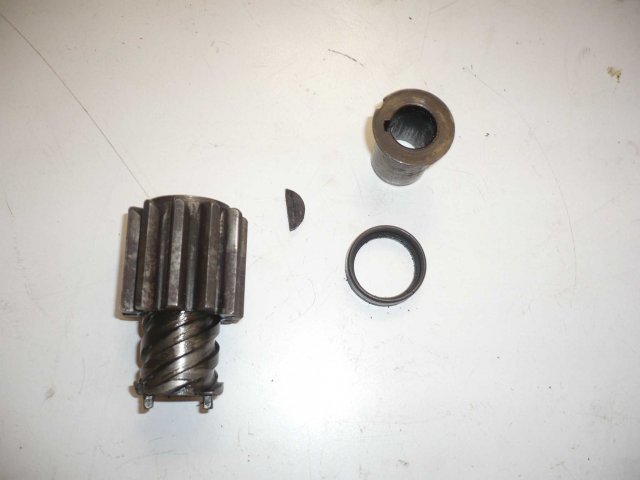
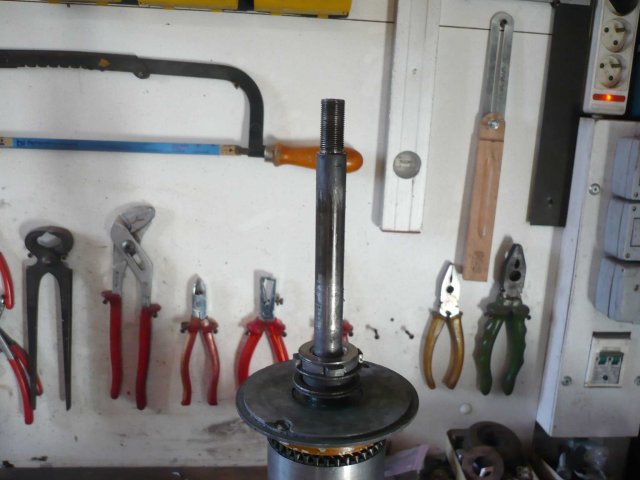
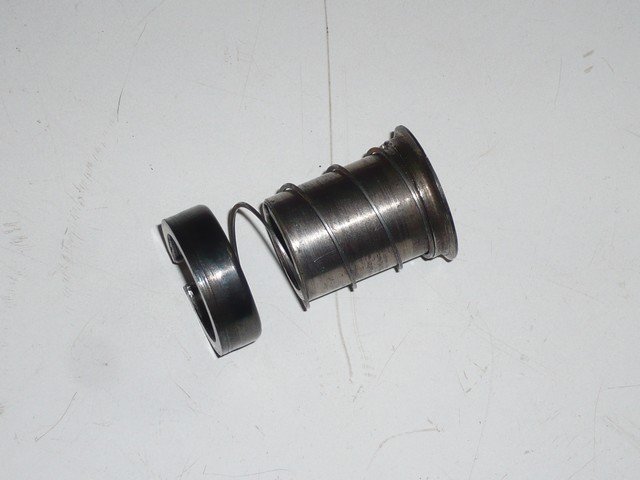
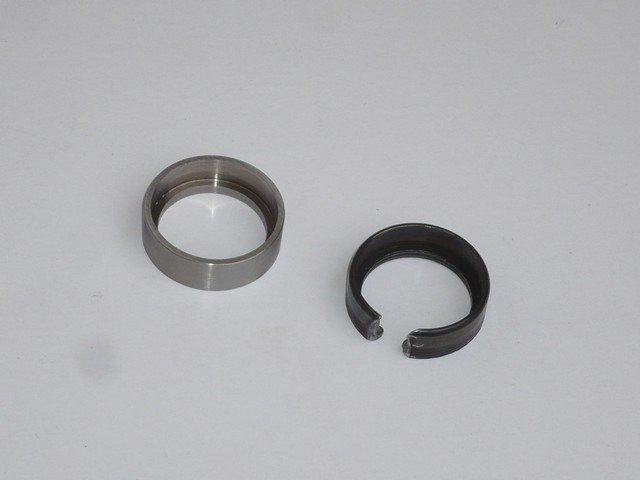
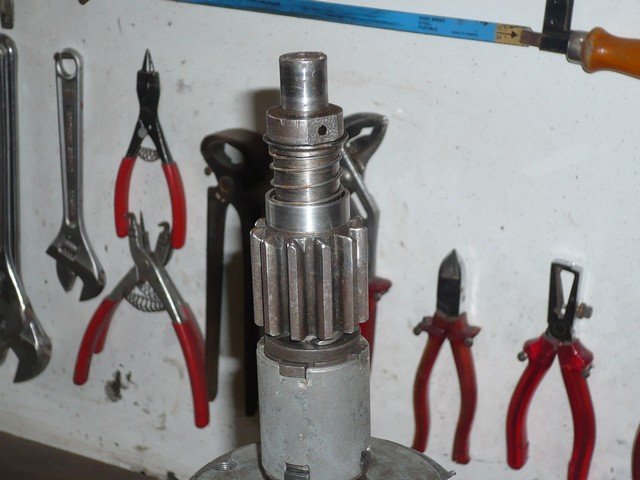
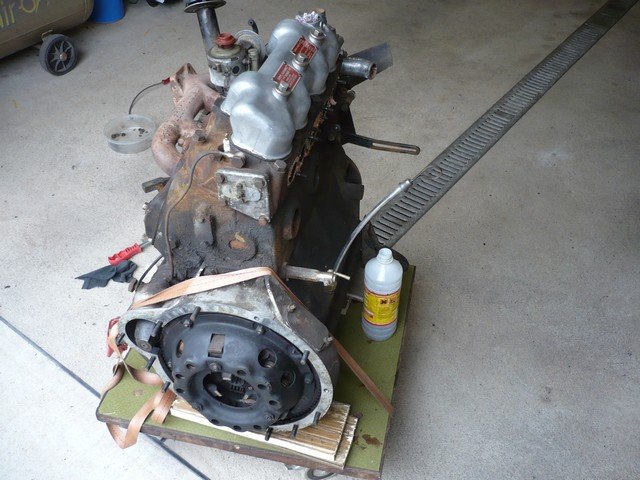
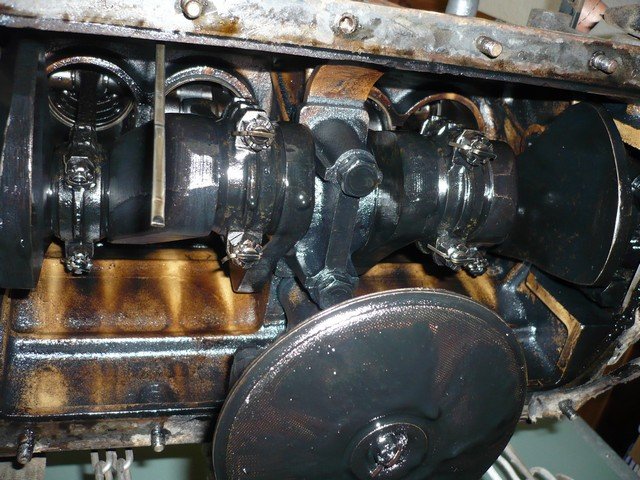
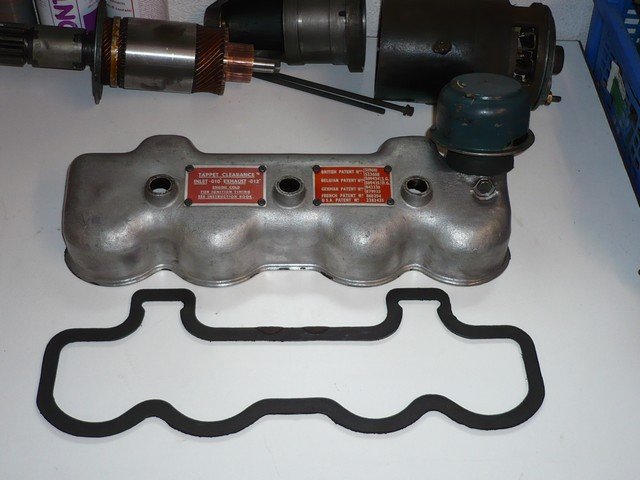
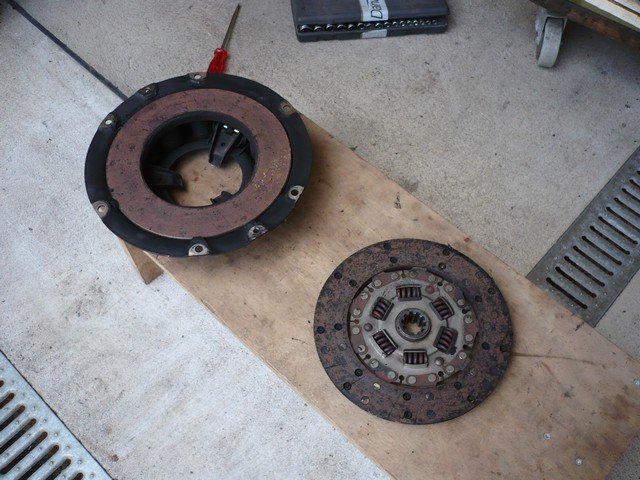
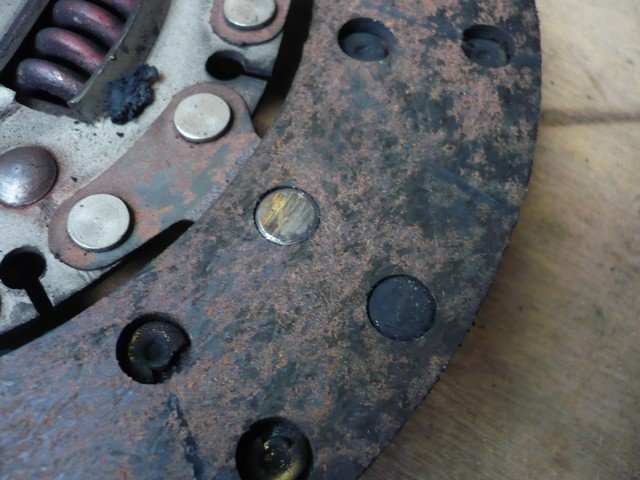
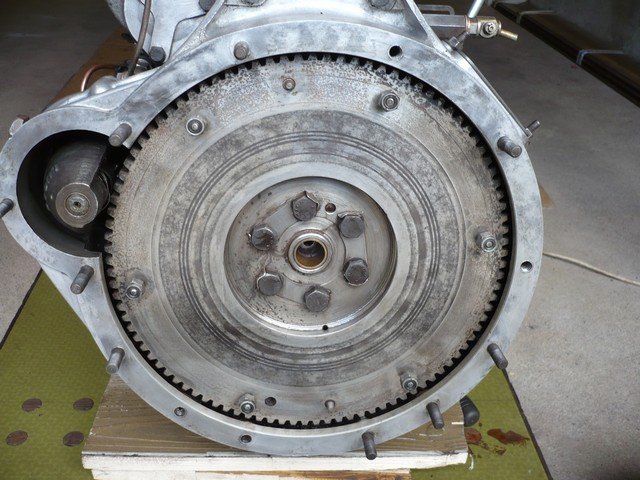
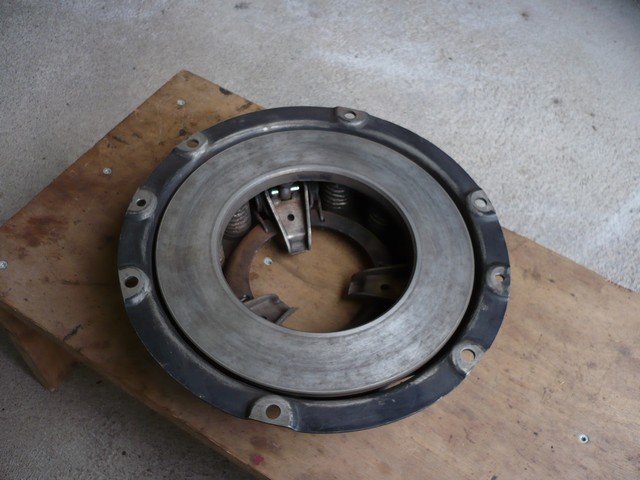
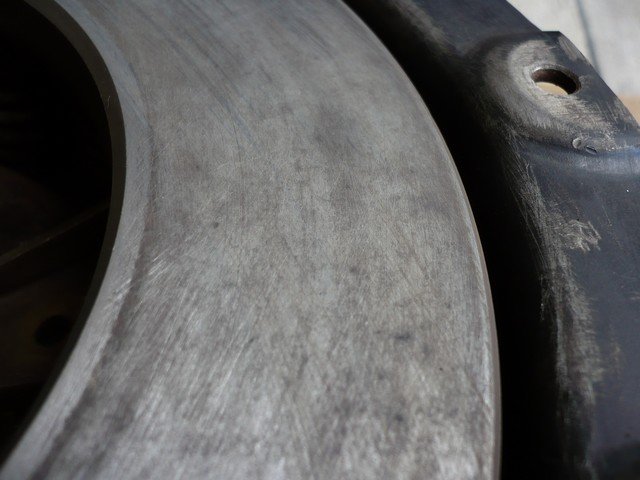
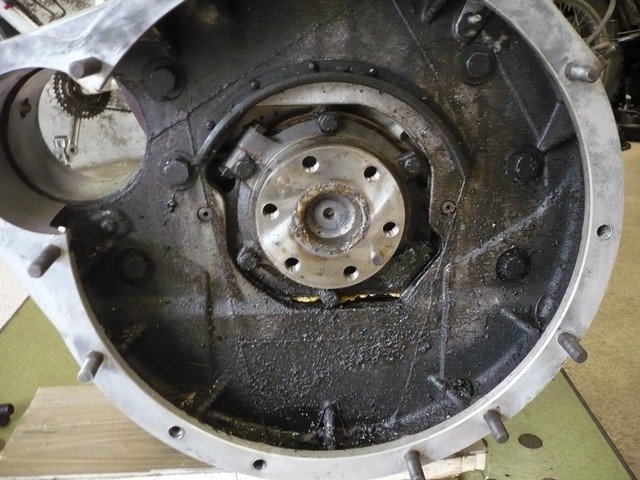
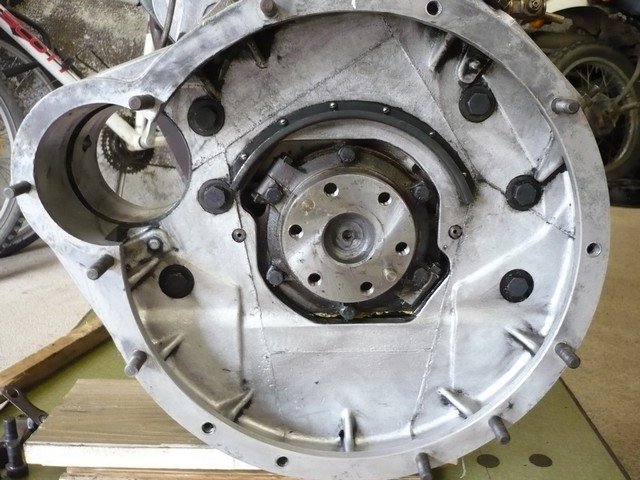
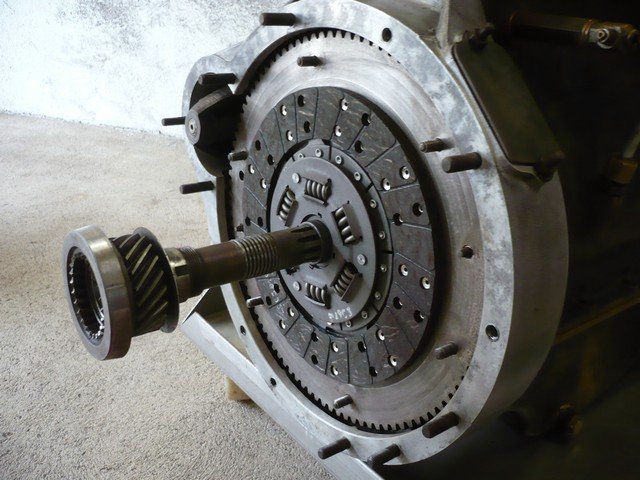
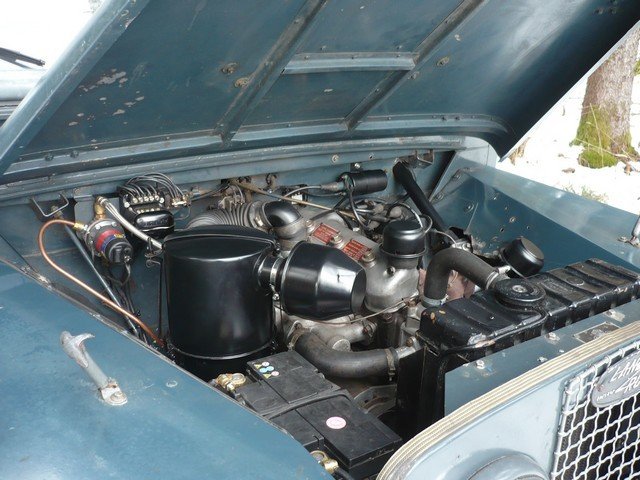
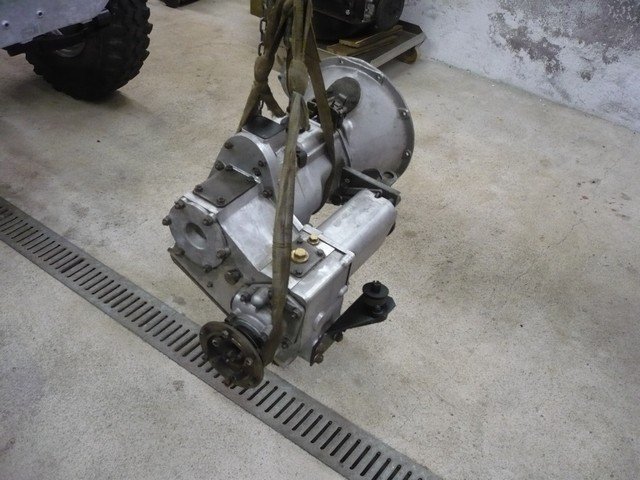
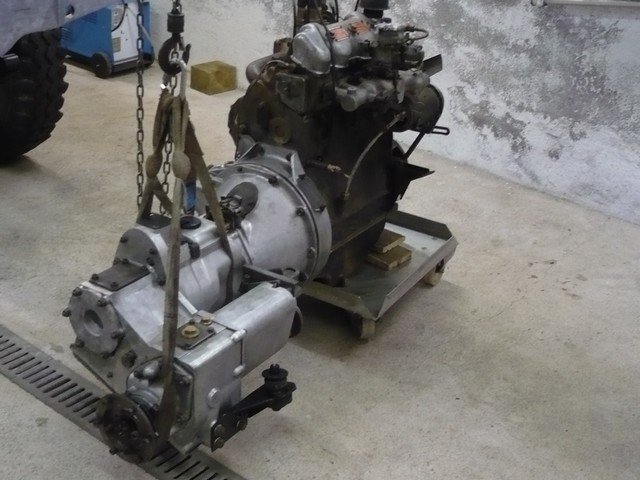
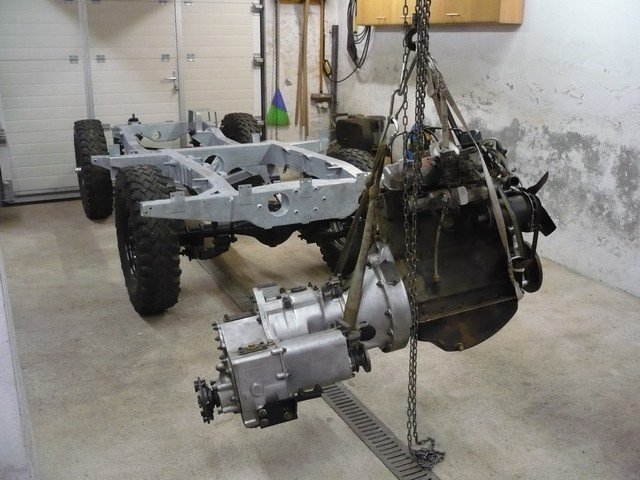
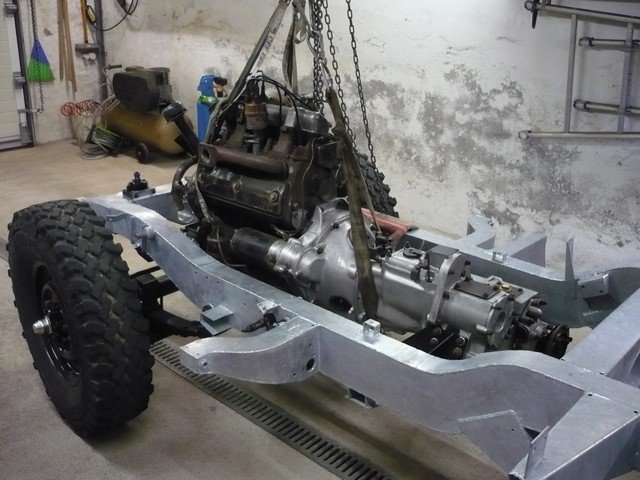
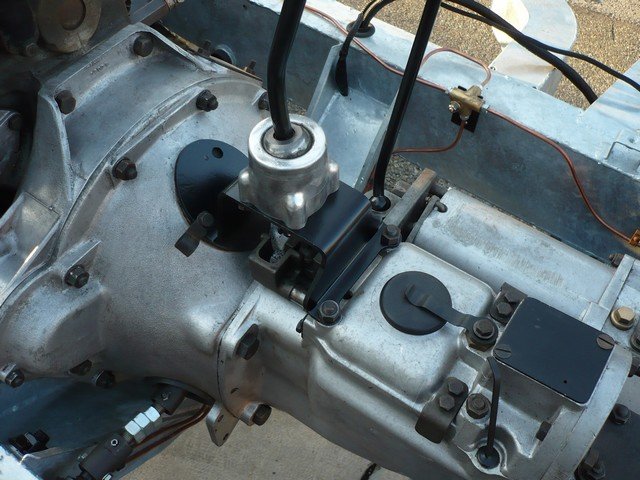
Engine and gearboxes assembly.
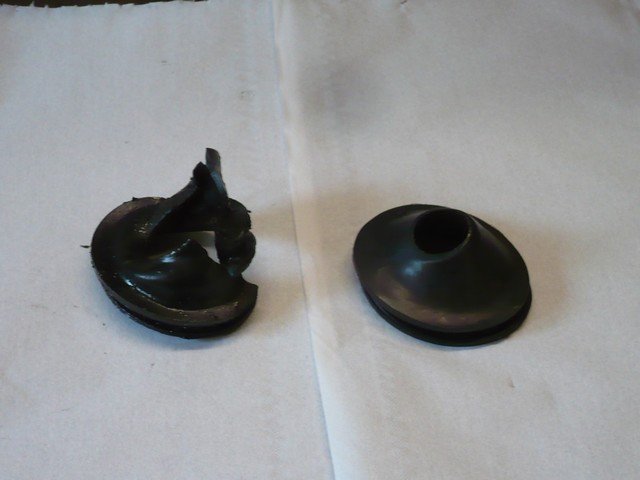
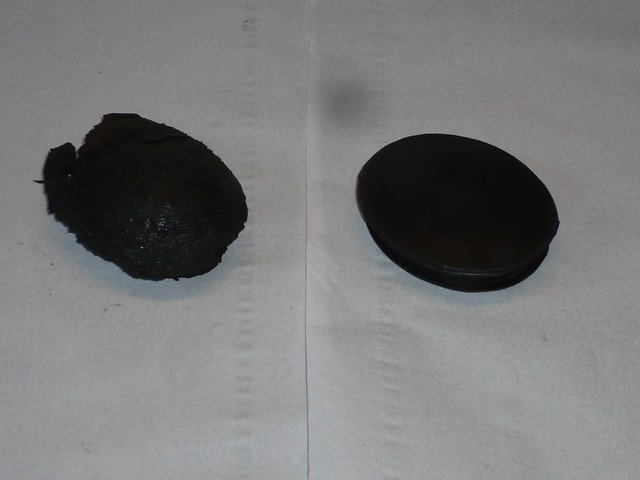
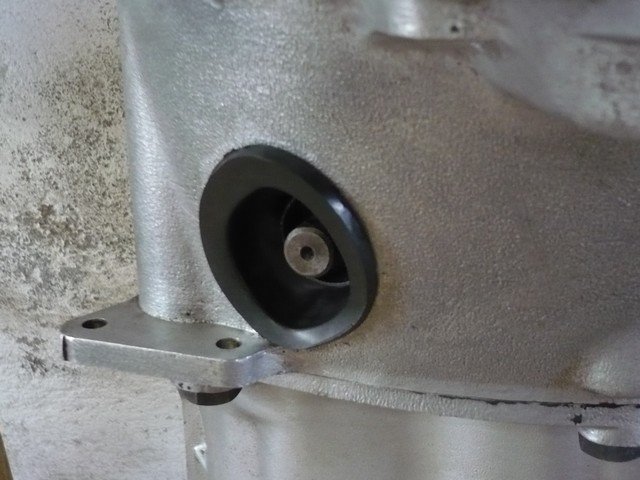
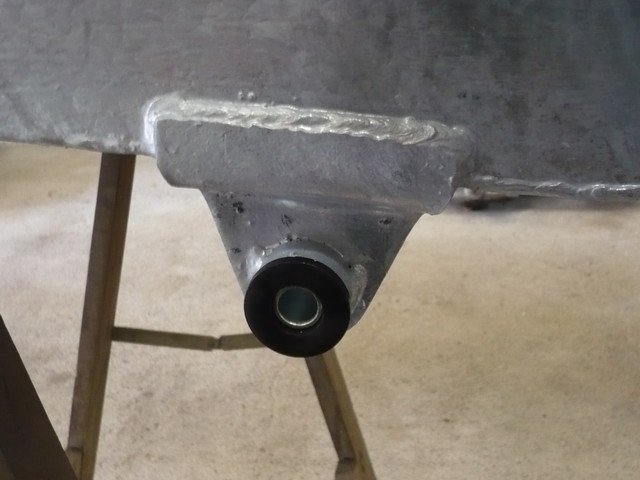
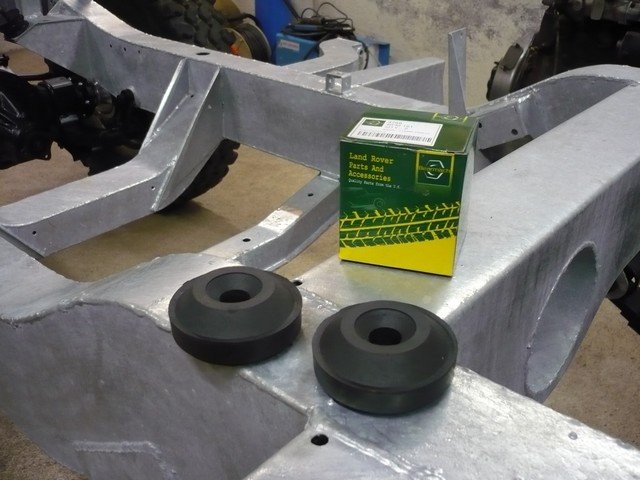
Fitting on new bushes.
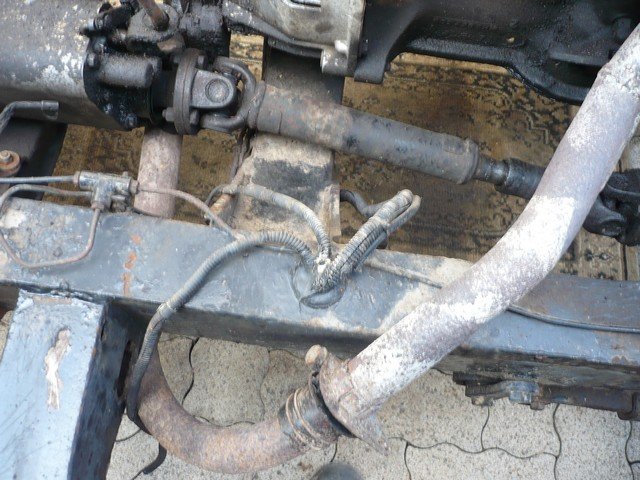
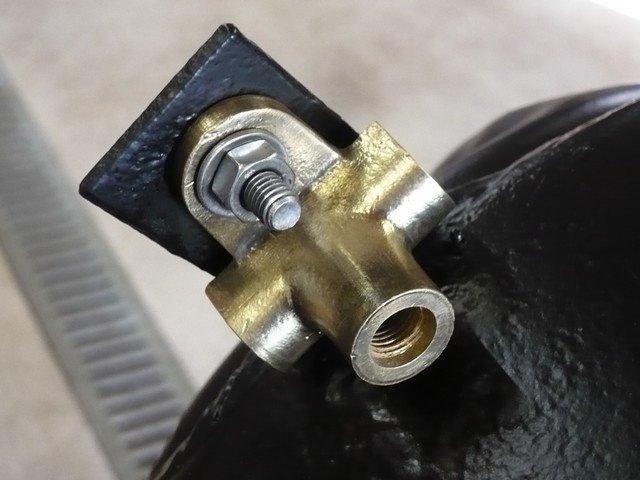
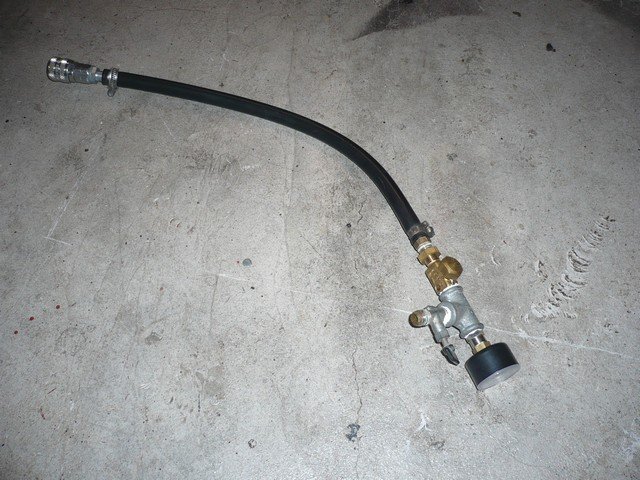
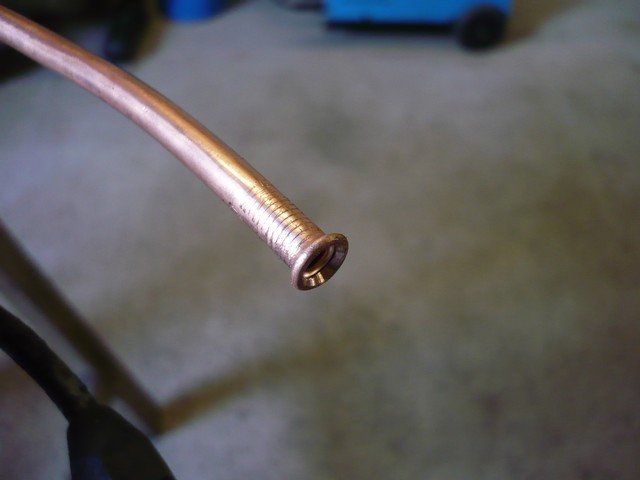
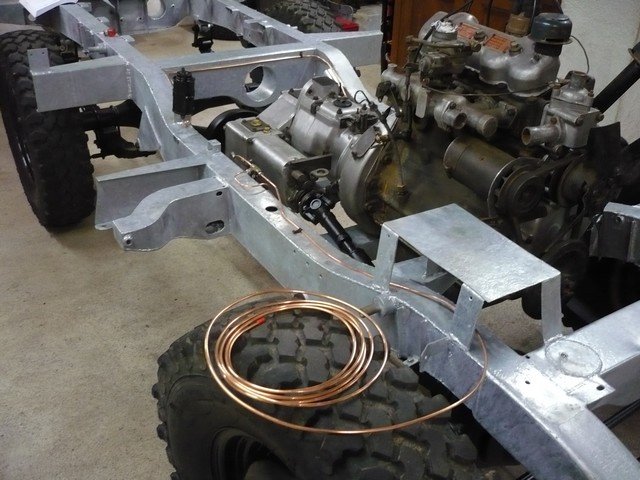
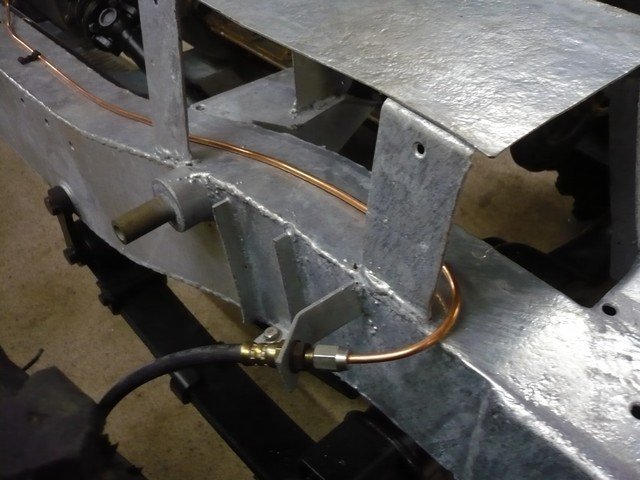
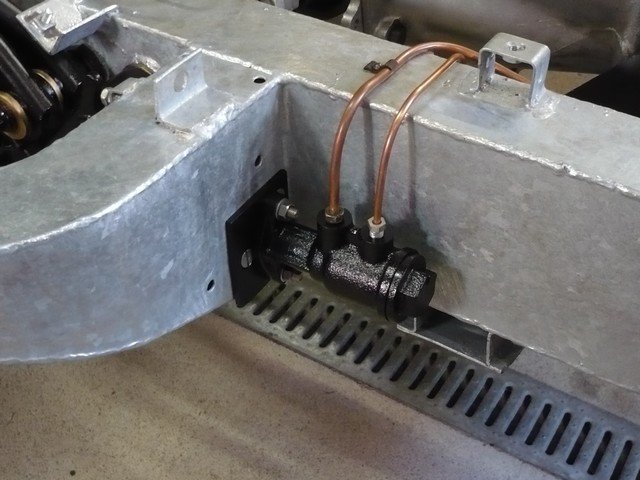
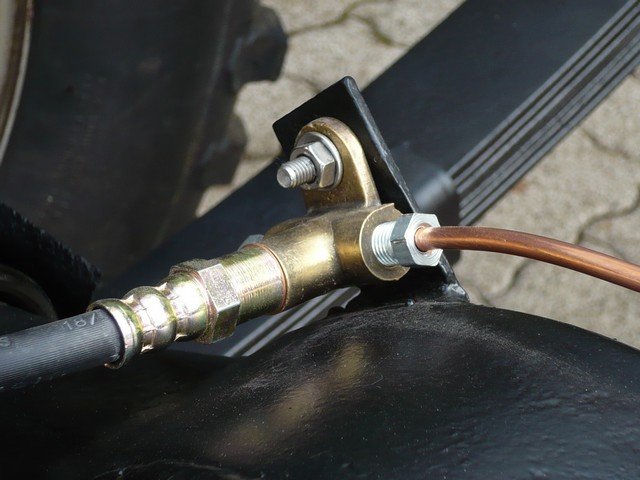
 Brake pipe manufacturing.
The old brake pipes were too damaged to be reused.
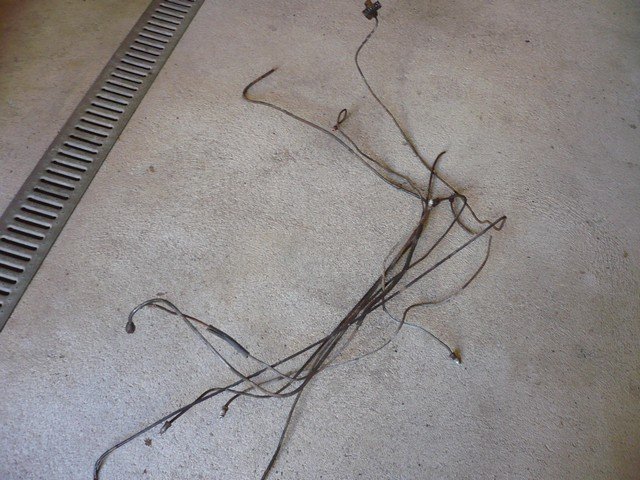
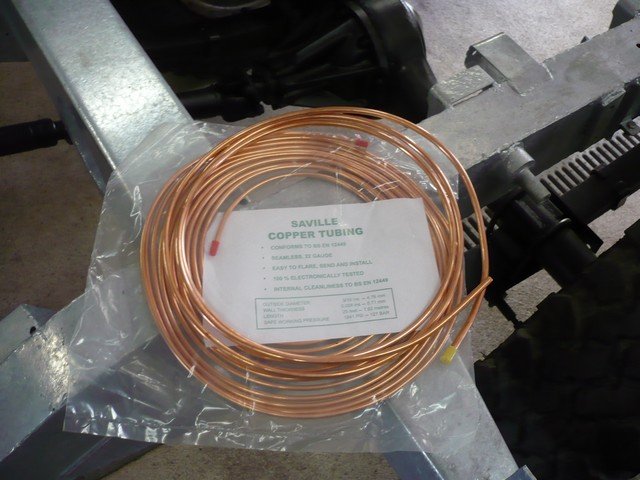
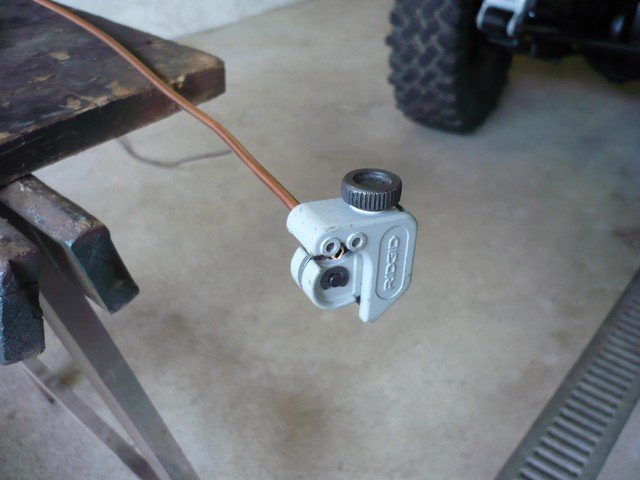
I manufacture new pipes with copper.
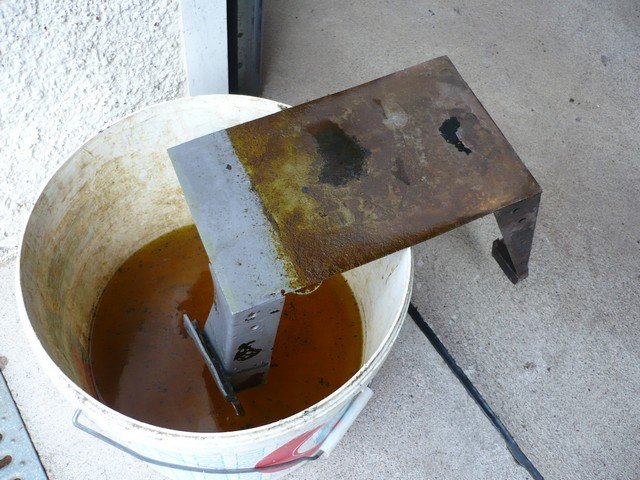
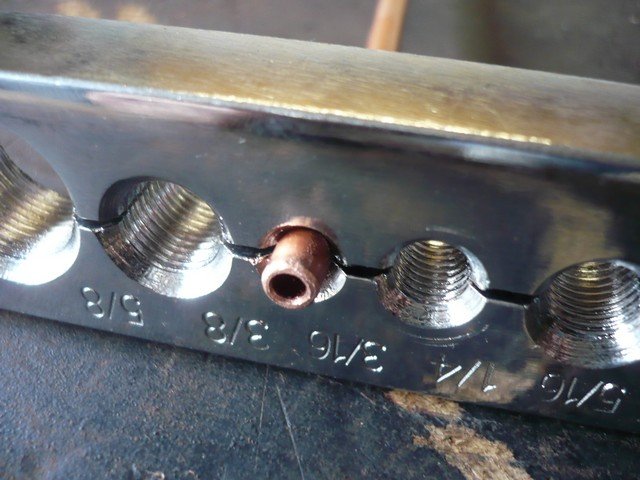
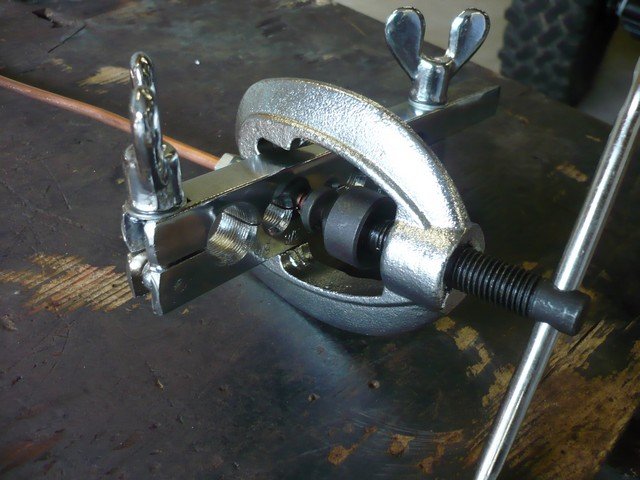
The ends of the pipes have a very specific form and you need a brake pipe flaring tool.
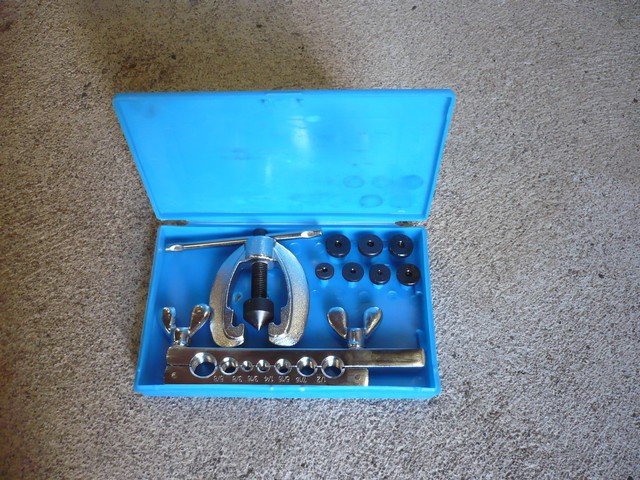
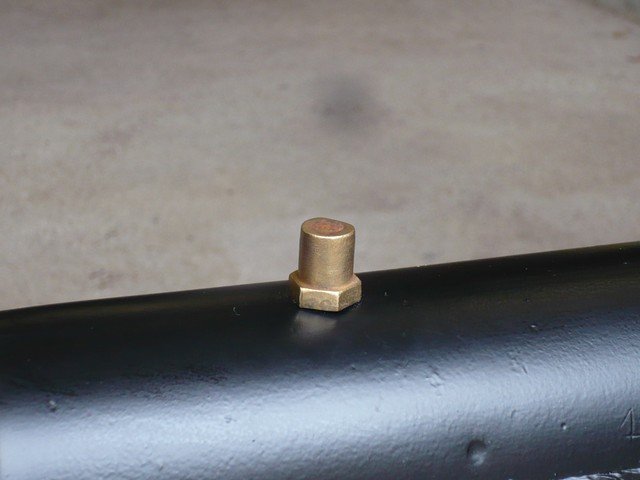
Example :
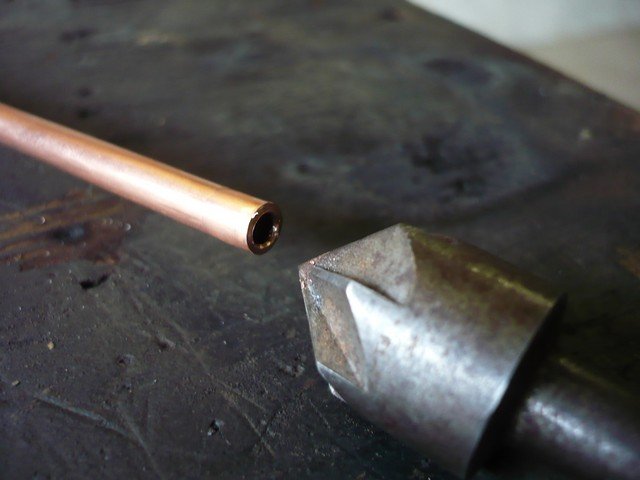
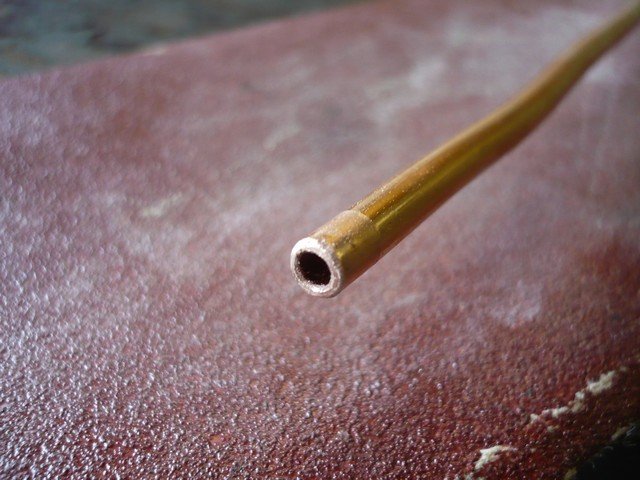
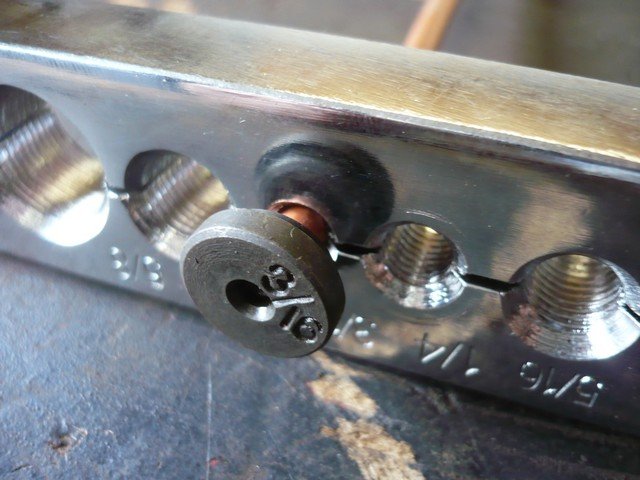
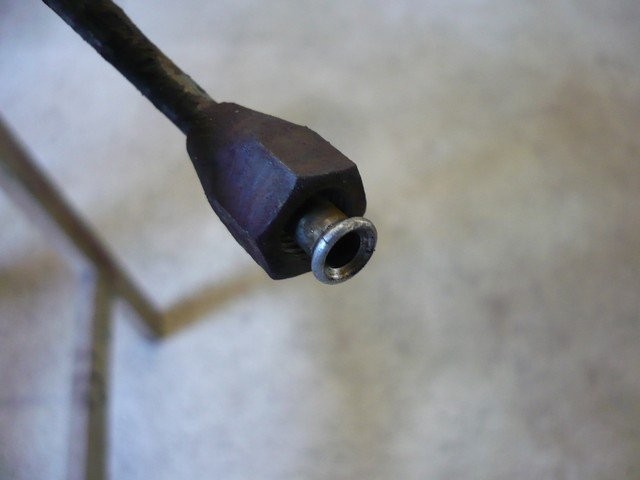
Strictly conform to original.
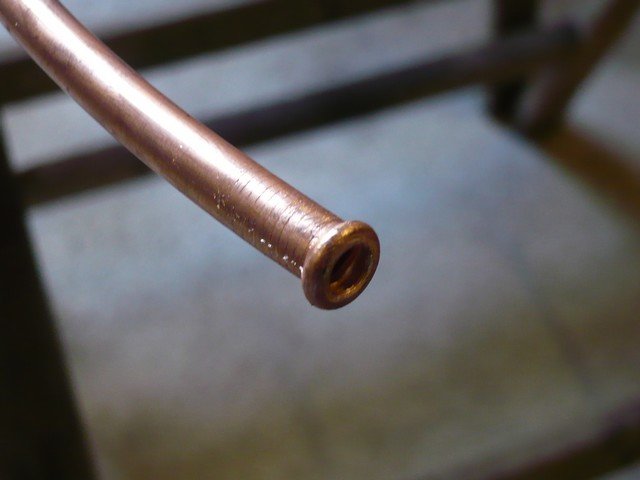
It’s possible to create female form.
The advantage of these little kits, compared to a workshop stamping press is that you can carry the tool to do forms directly on the chassis.
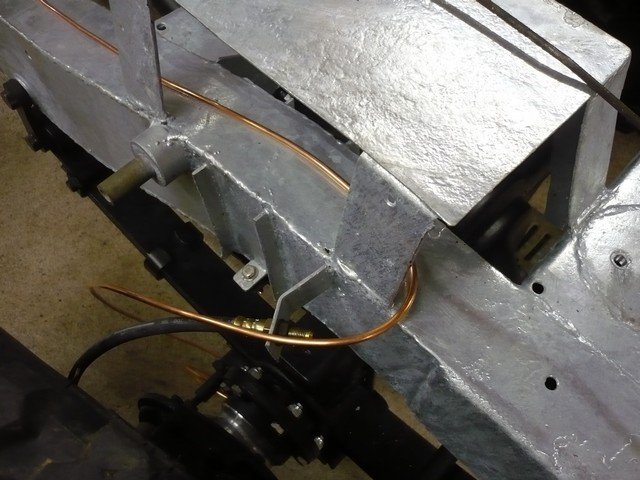
Beginning of piping.
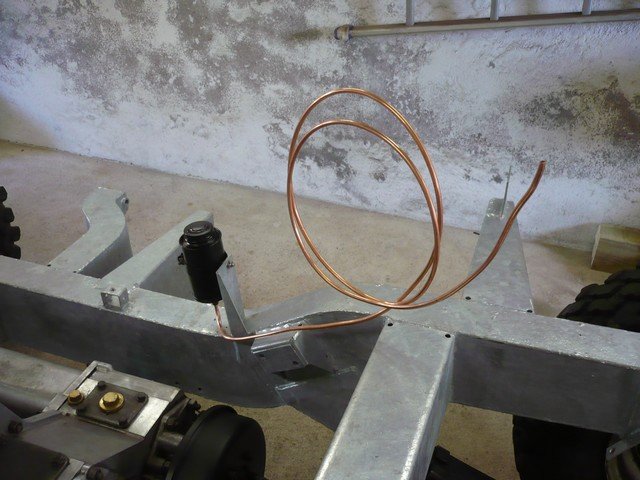
Then I held the pipe to make it conform to the desired way.
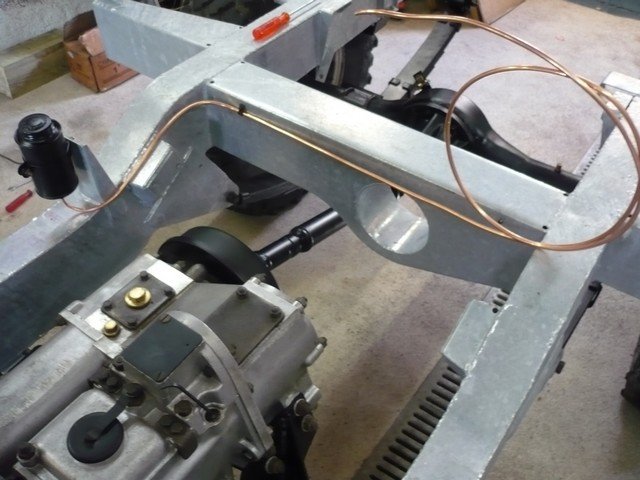
Roundings are very easily by hand or on the knee. The hardest part is to make nice straight lines, without waves. It takes a little time and attention to detail.
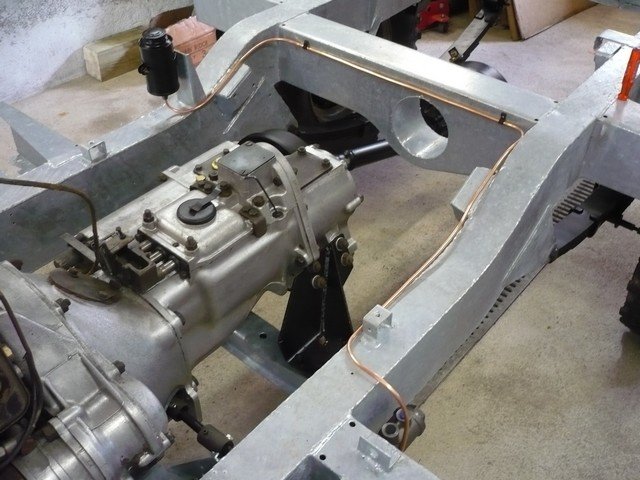
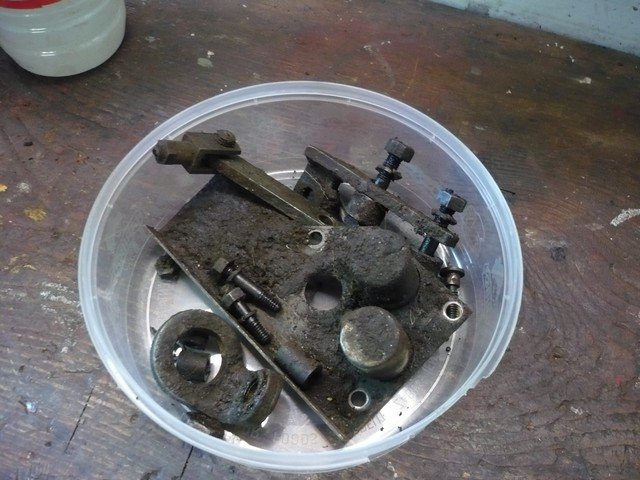
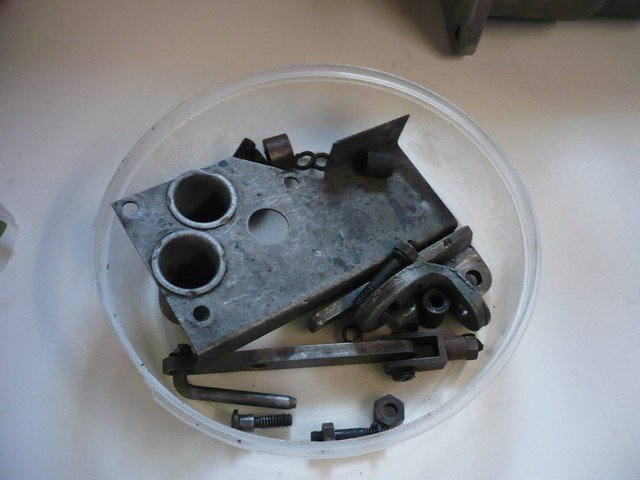
Old brackets.
After cleaning.
The brake pipes take the original way.
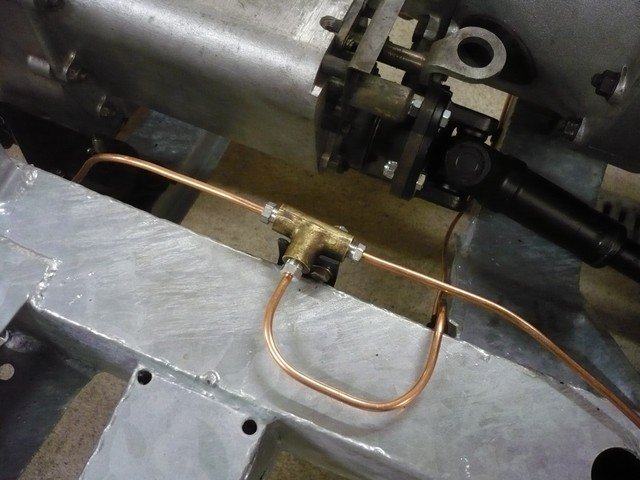
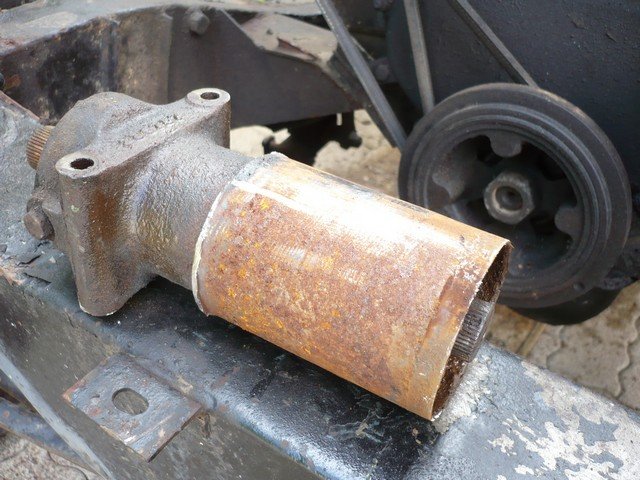
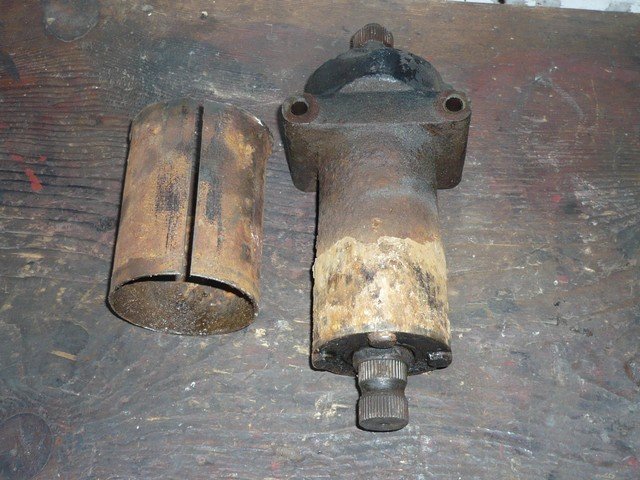
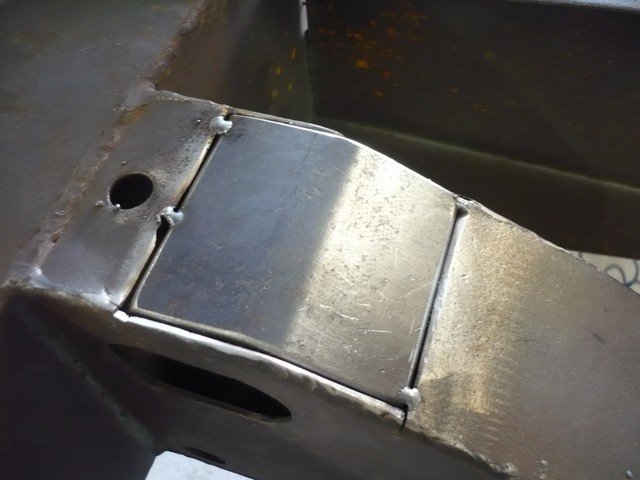
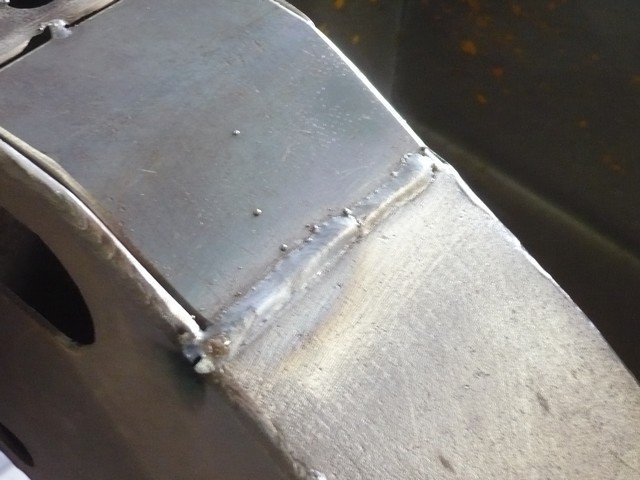
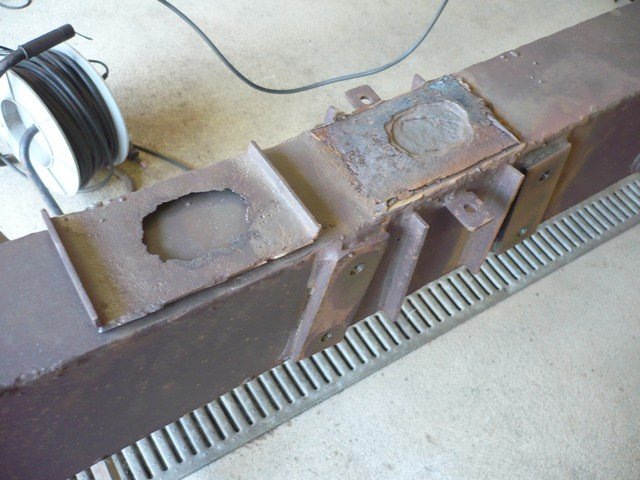
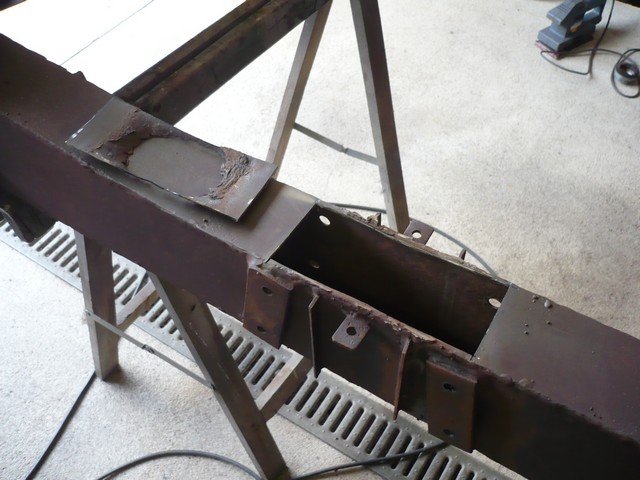
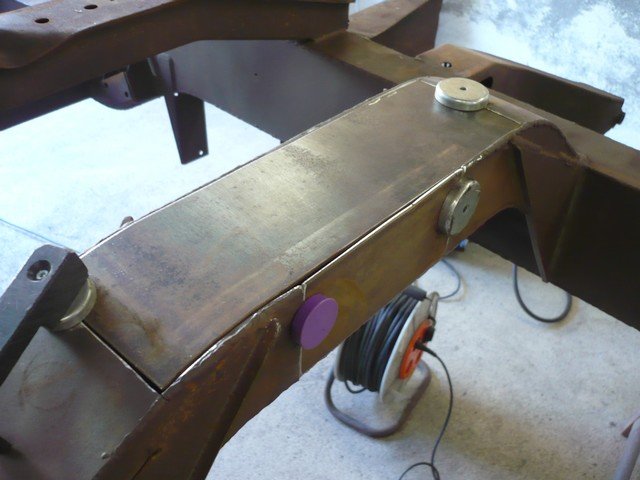
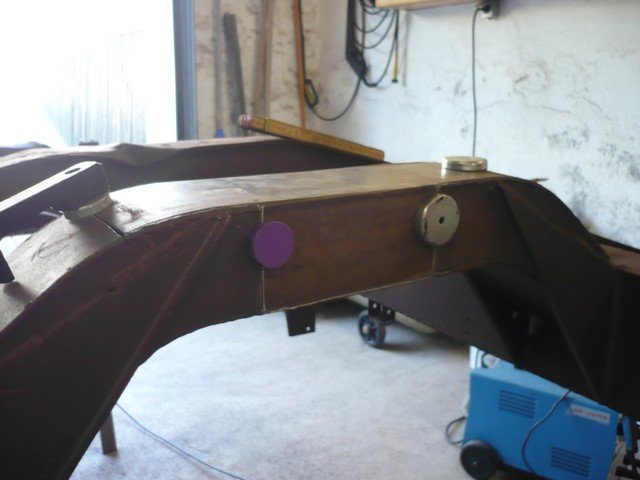
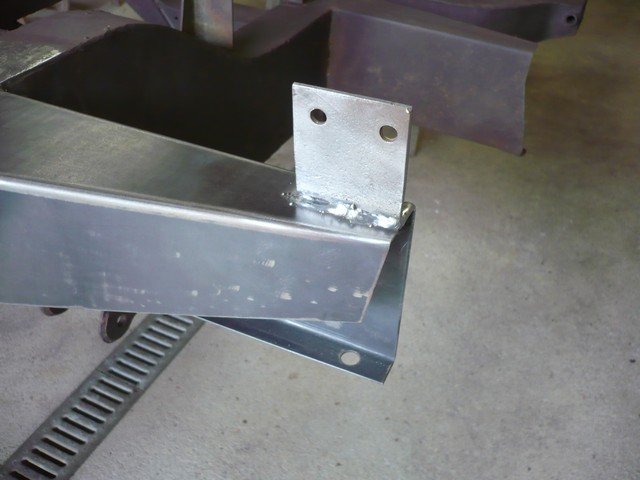
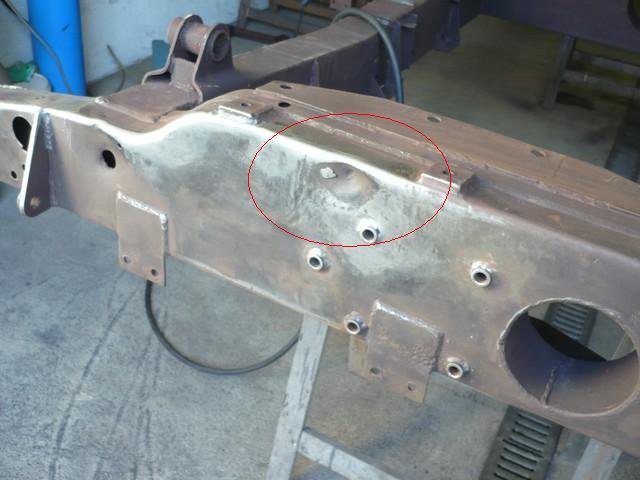
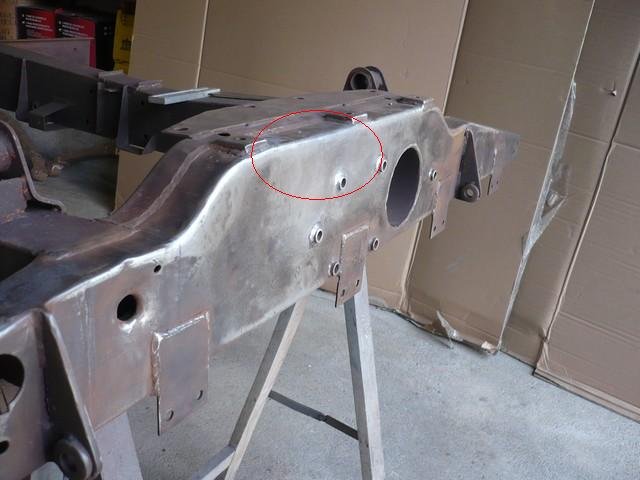
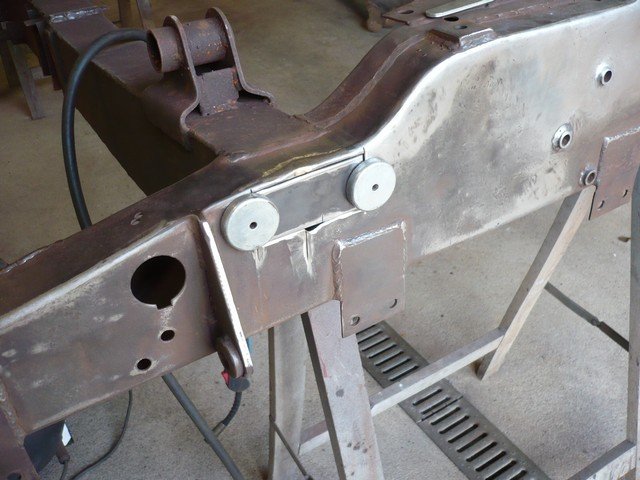
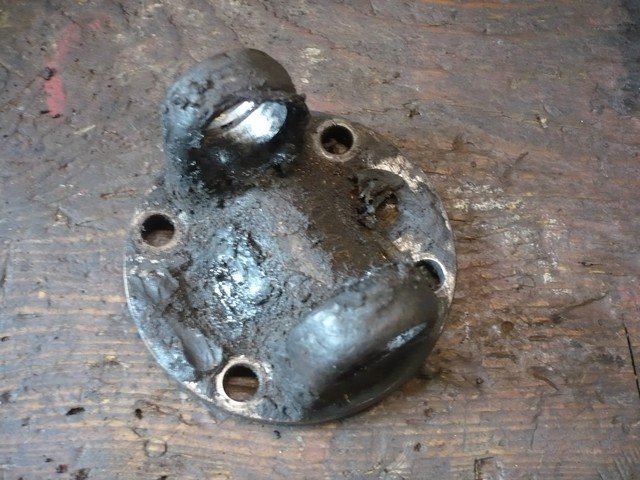
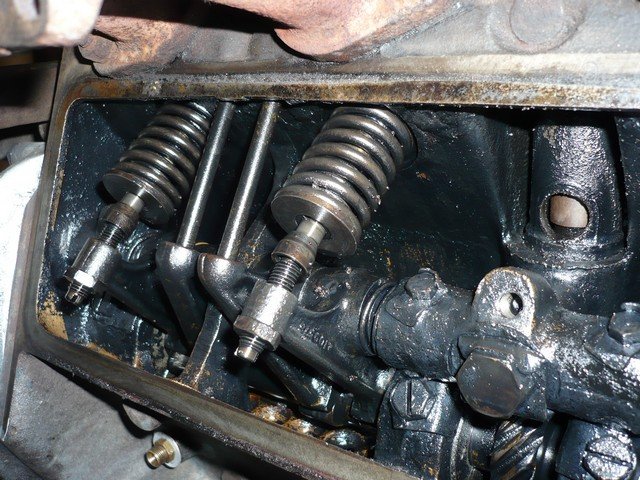
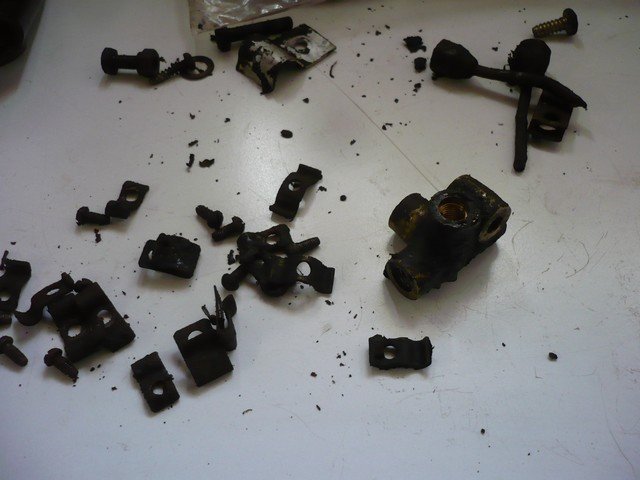
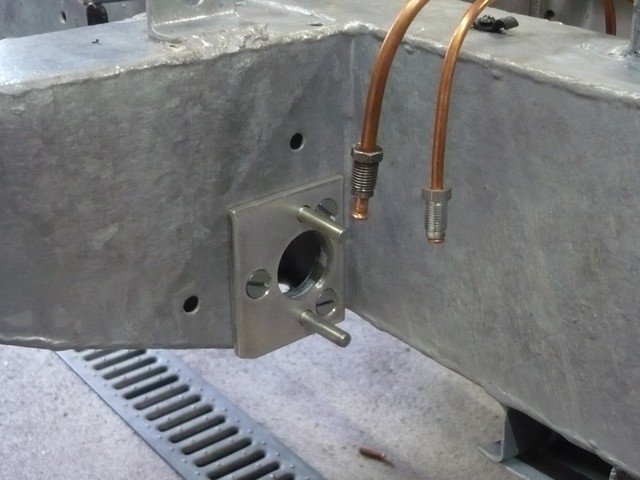
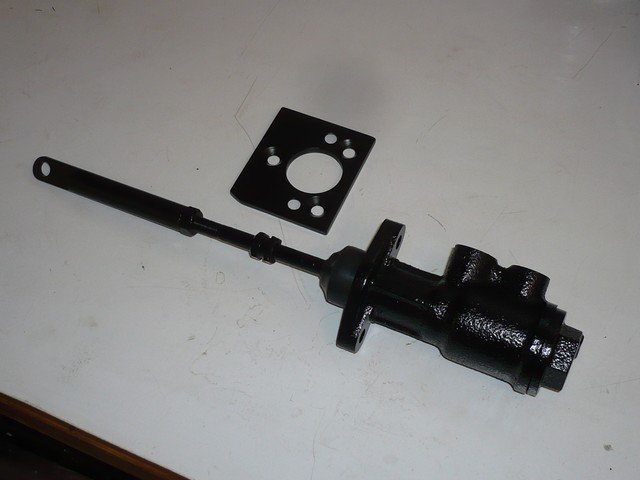
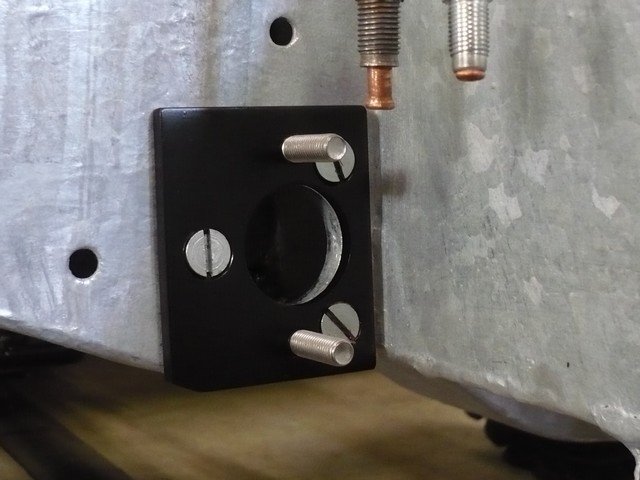
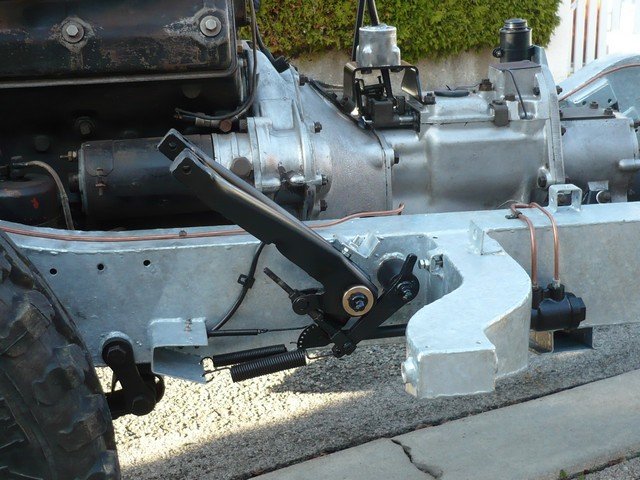
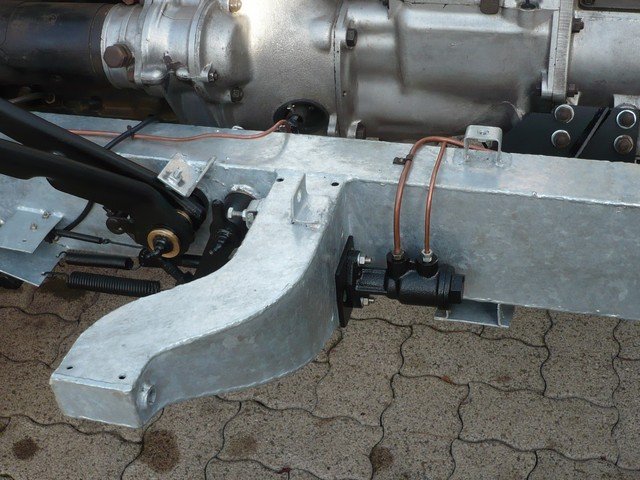
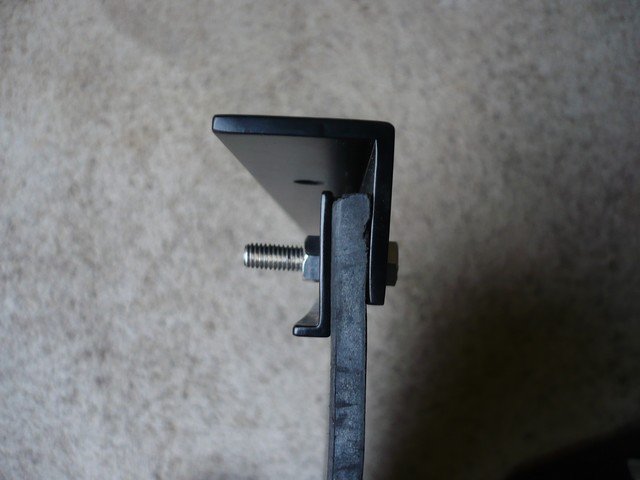
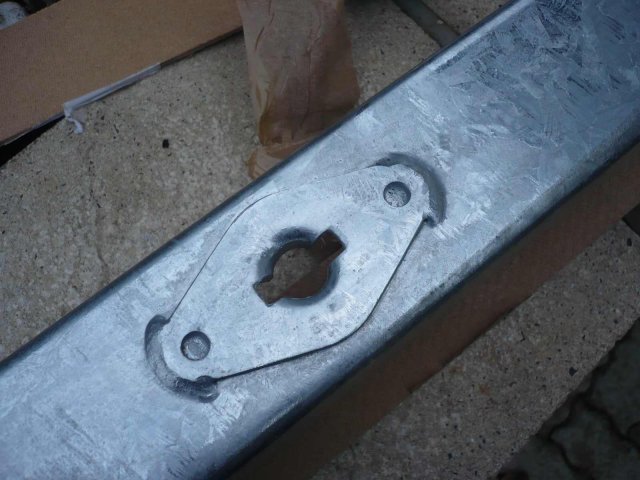
The Series I 86 " master cylinder is becoming scarce. And as you know, what is rare is expensive. Between 300 and 400 € depending on the supplier. To work around this heresy, it is possible mounting a master cylinder of the first Series II.
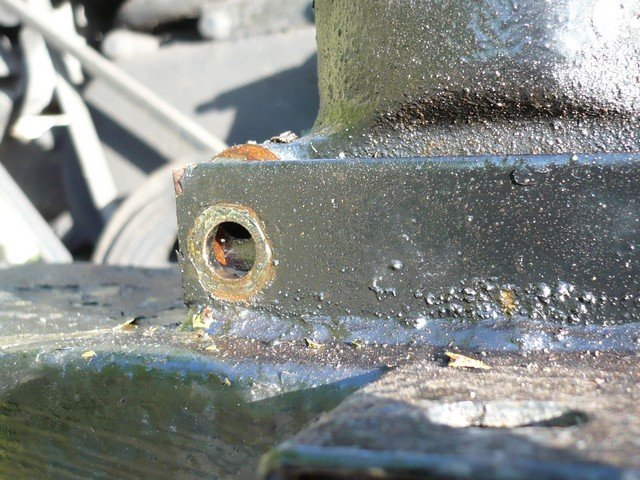
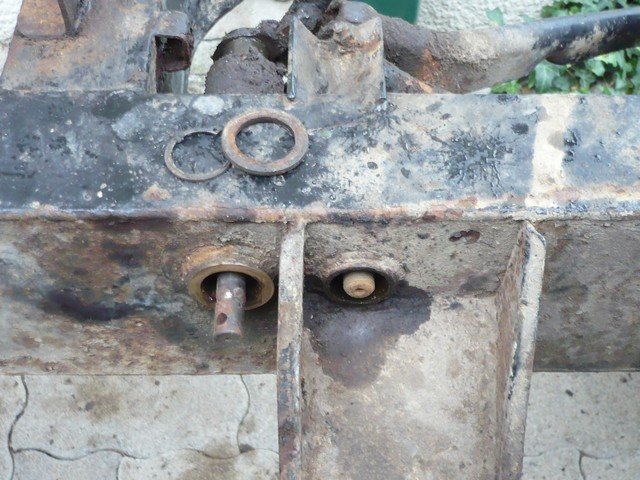
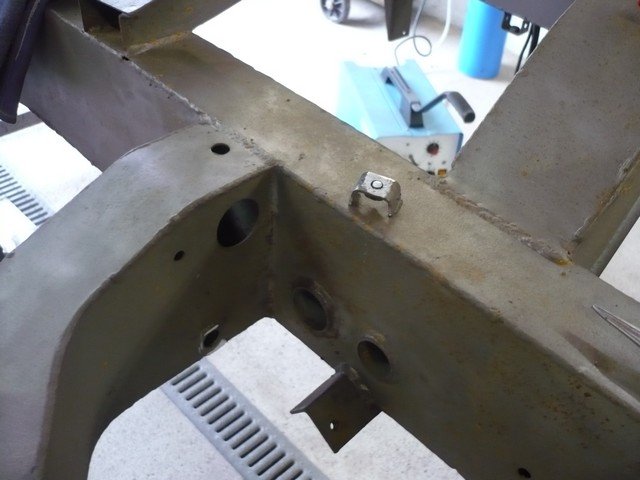
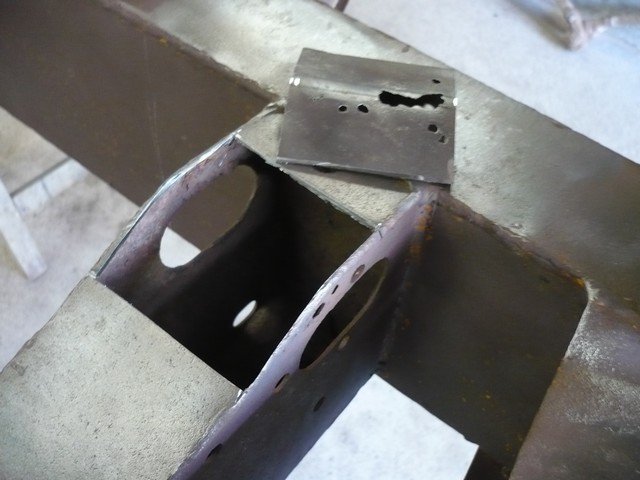
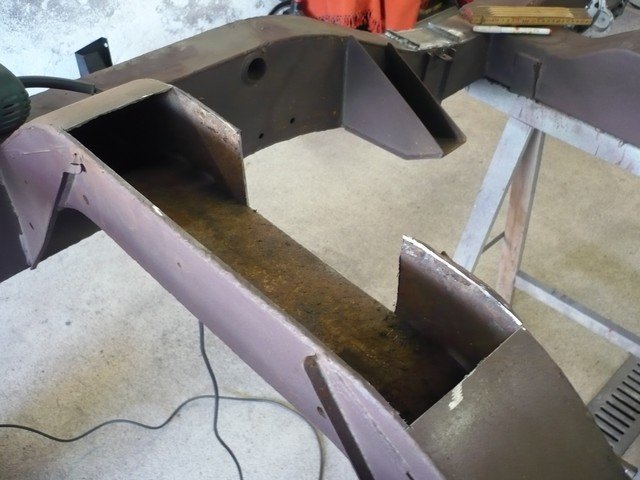
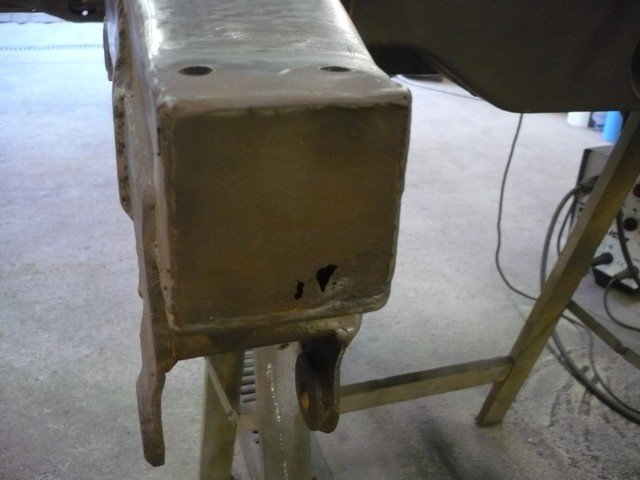
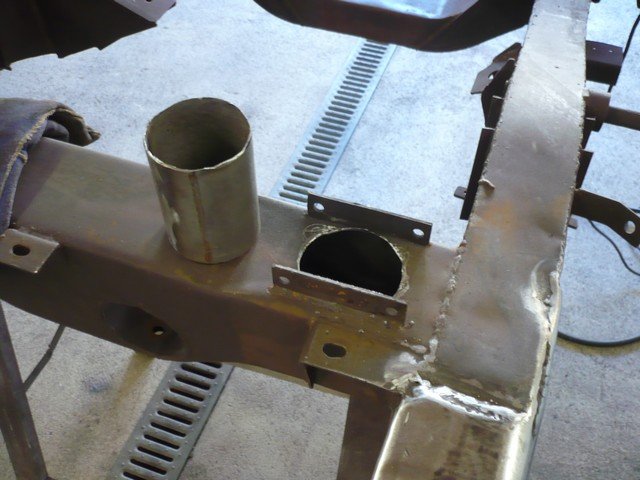
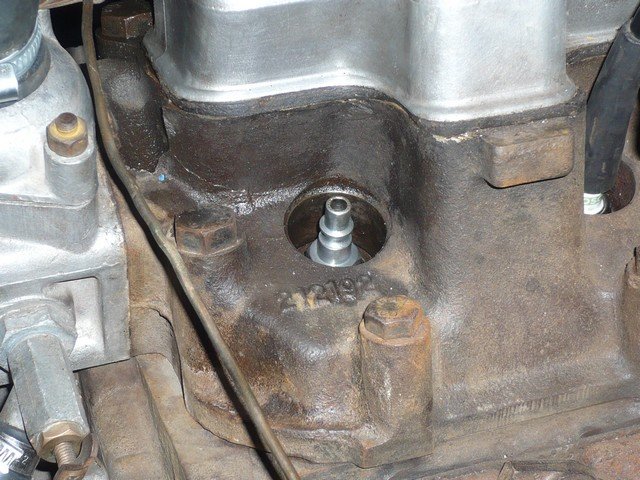
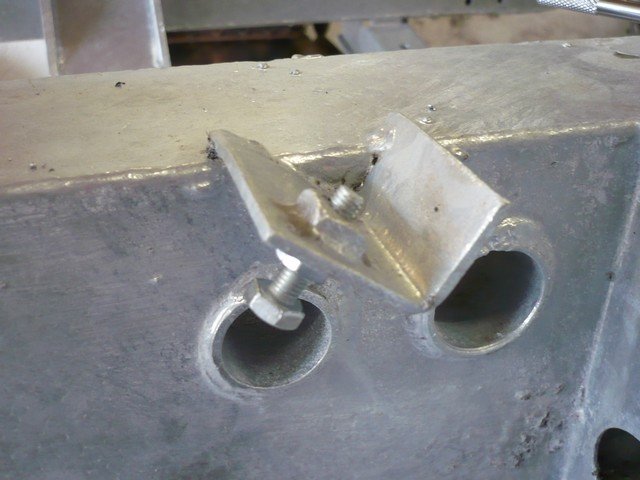
The problem: Series I MC is attached to the chassis with three holes:

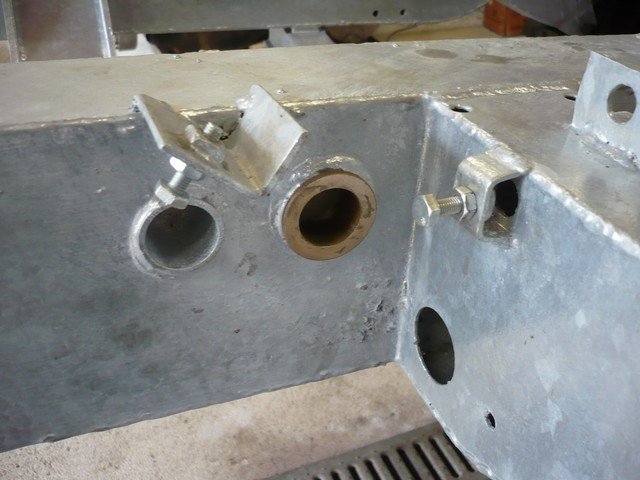
Series II MC is attached to the chassis with two holes:
No way to drill my frame. So I have to thinking...
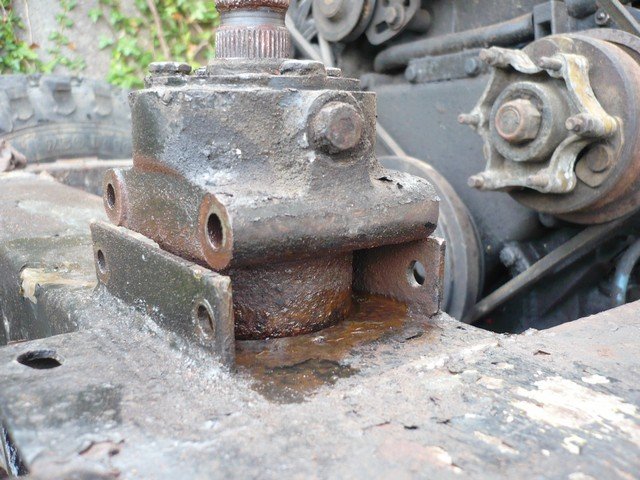
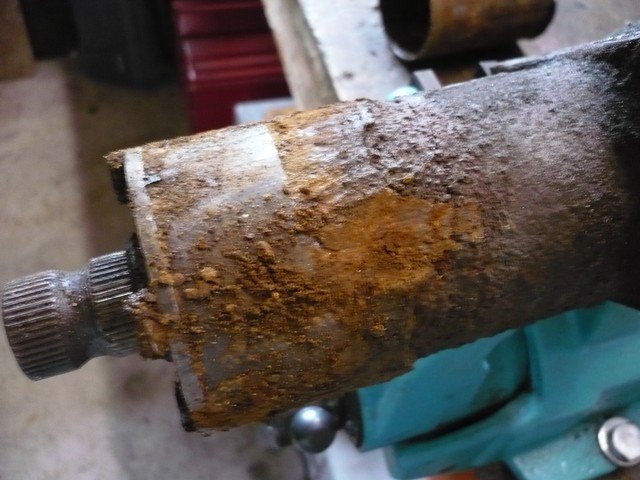
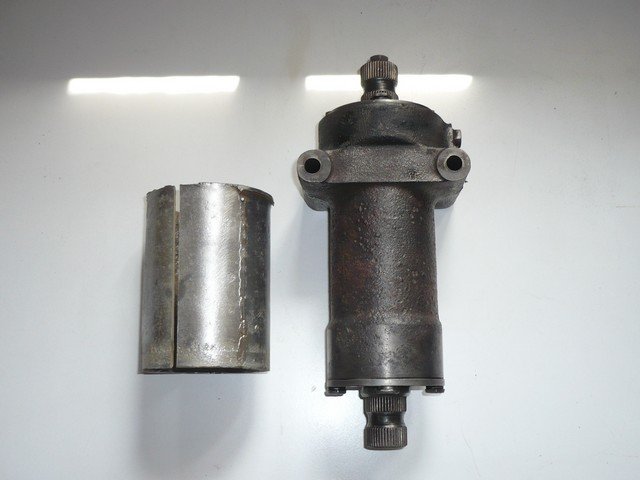
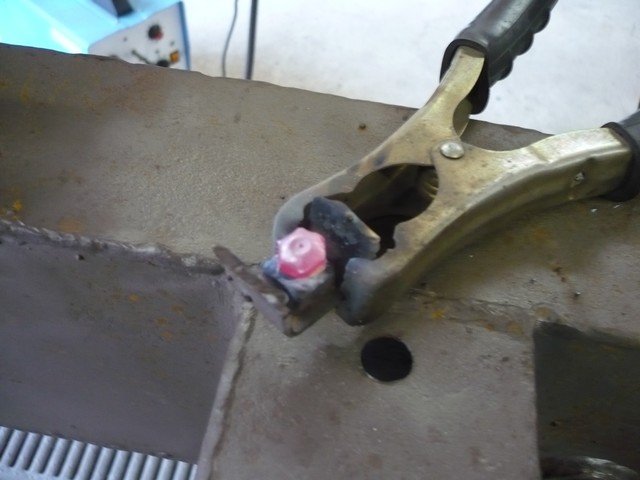
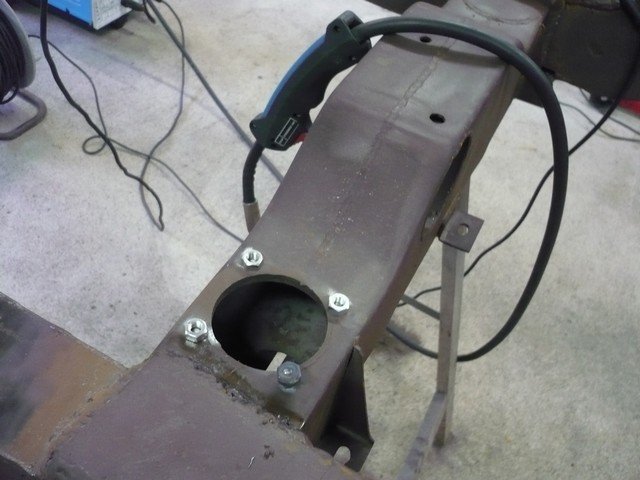
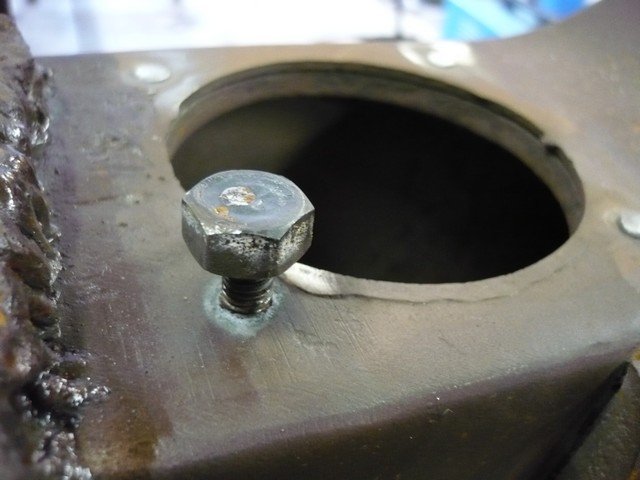
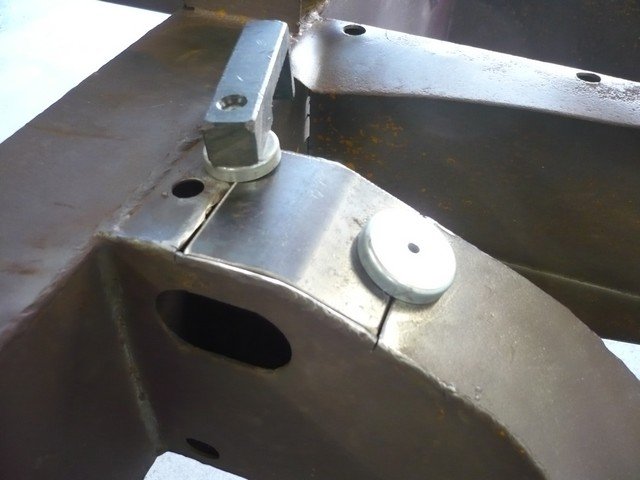
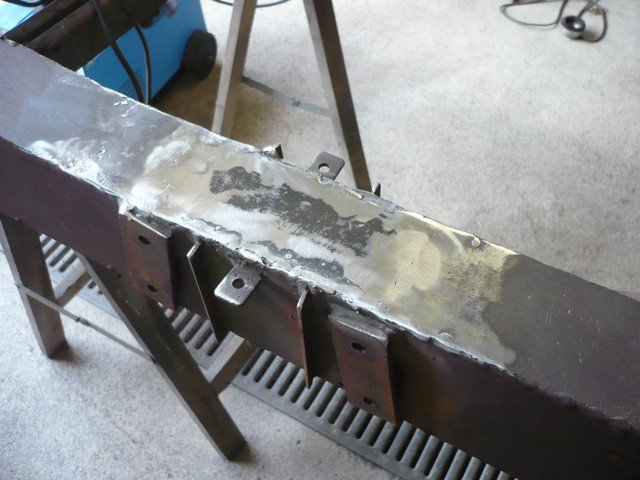
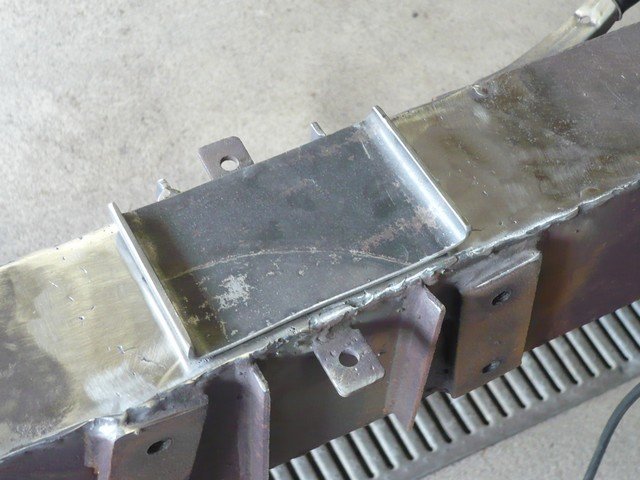
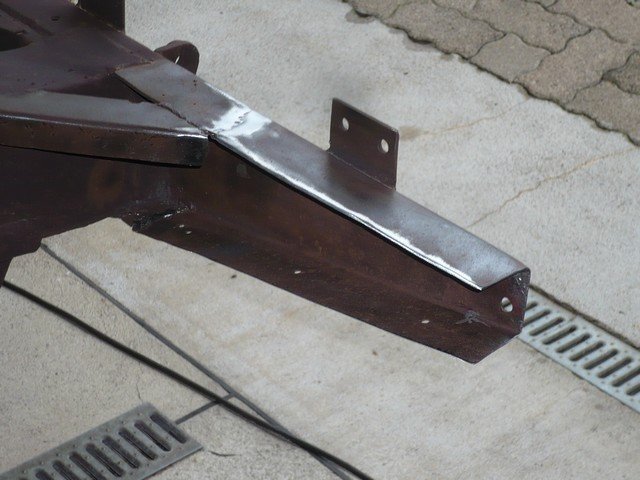
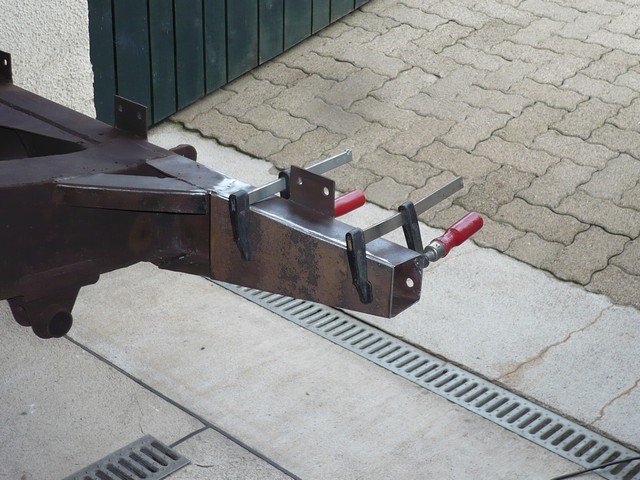
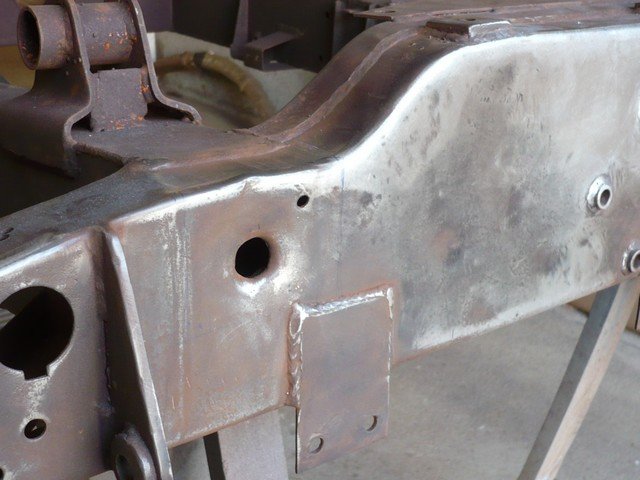
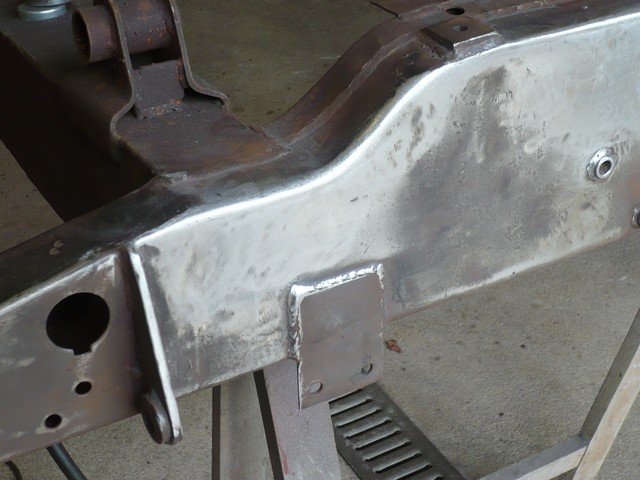
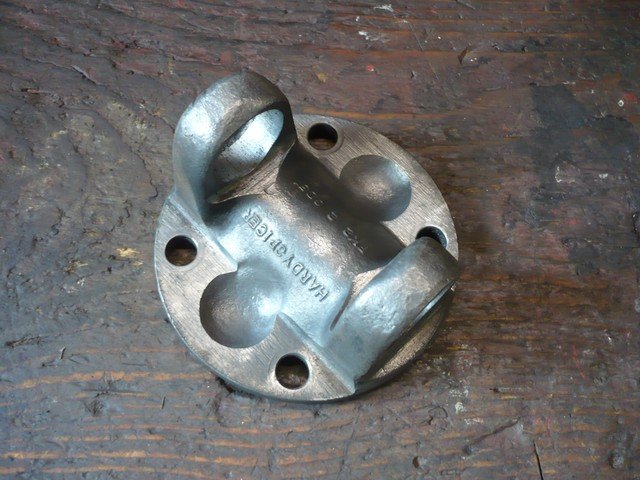
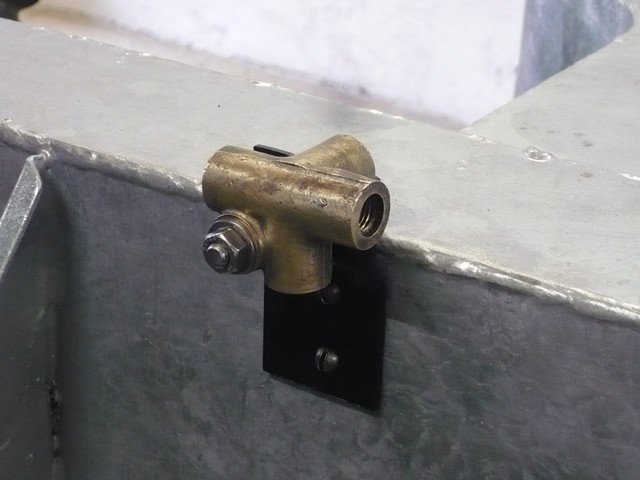
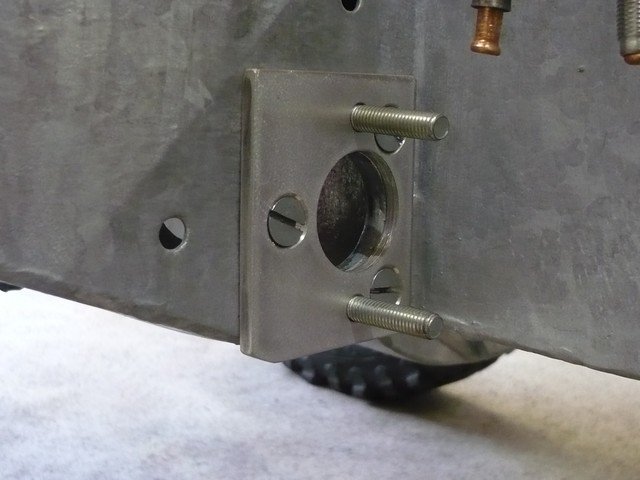
I made an aluminum spacer 5 mm thick. I fixed this spacer on the frame with 3 countersunk screws , and I set the master cylinder on the spacer, with countersunk screws!
Side 1:
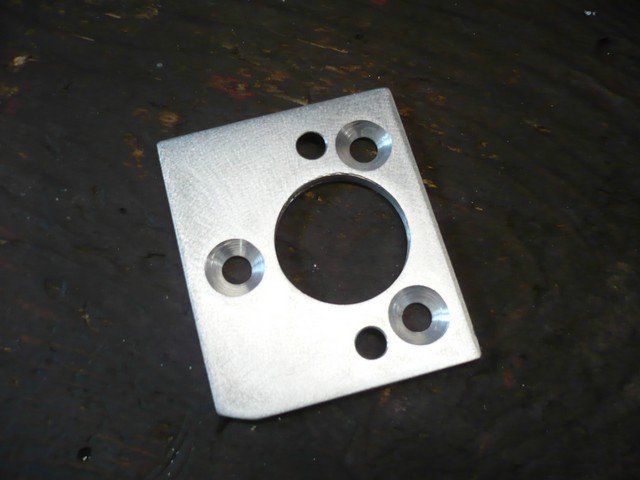
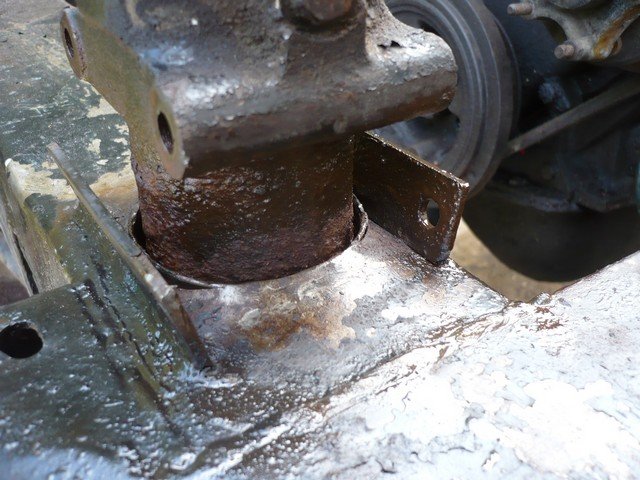
Side 2:

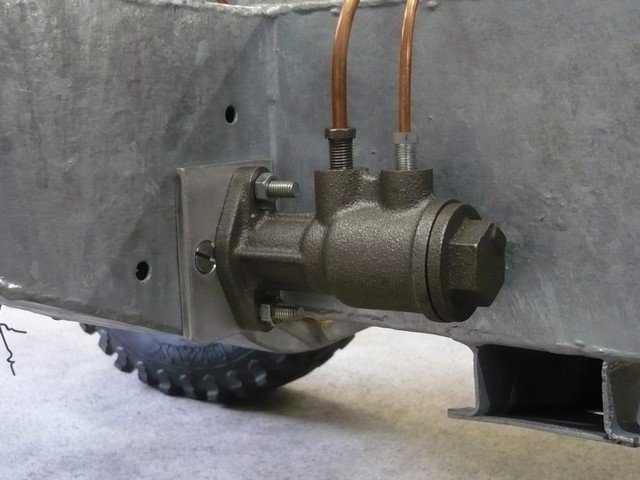
Here is how to win € 300 easily, while leaving the original chassis.
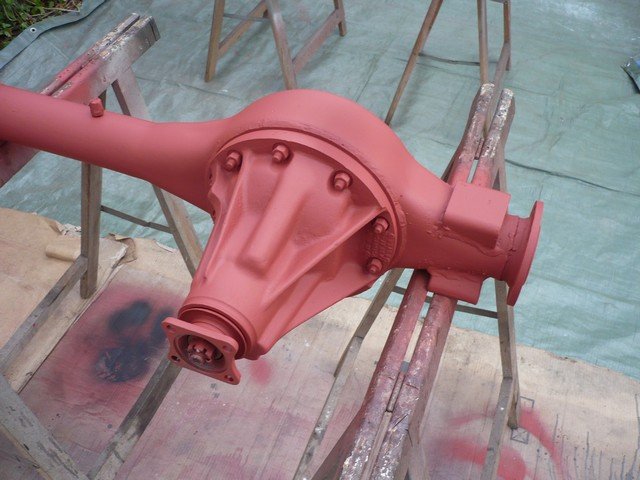
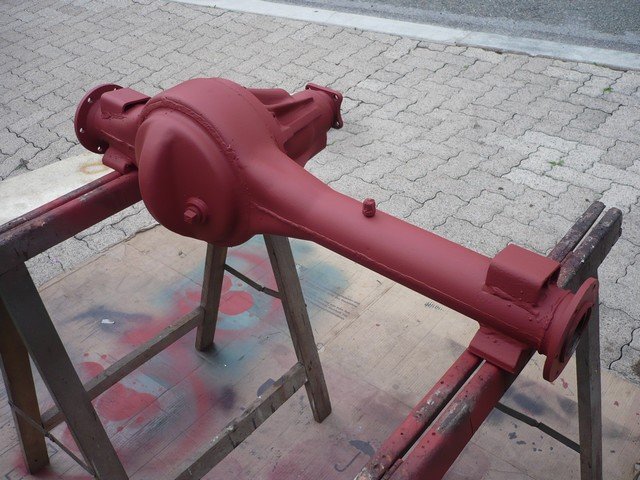
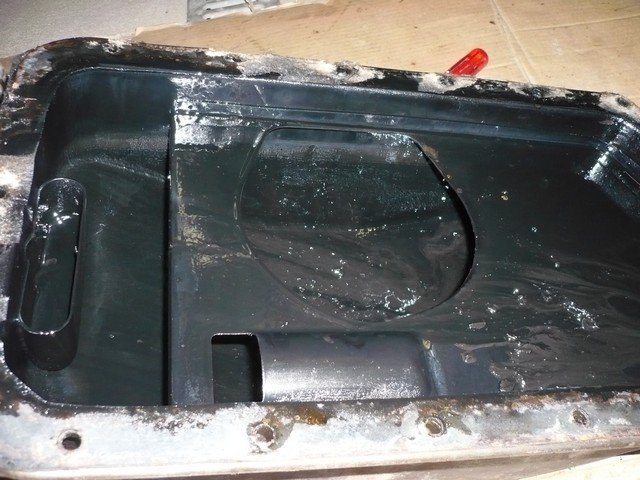
Primed and coated.
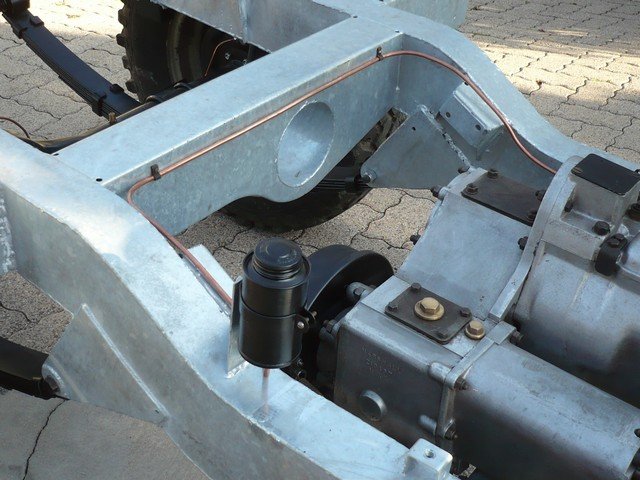
 Réfection du faisceau électrique du chassis.
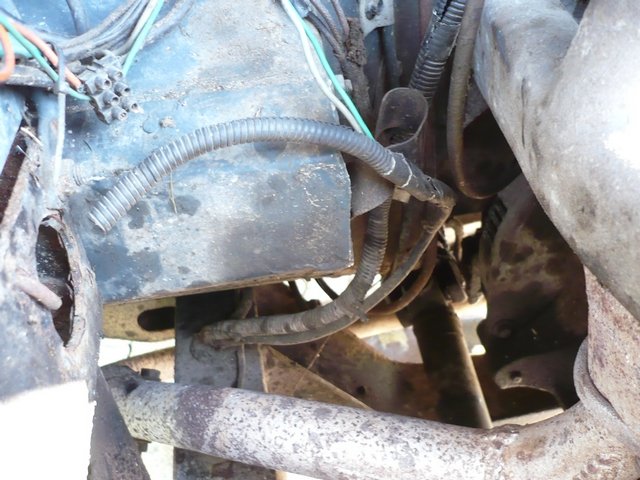
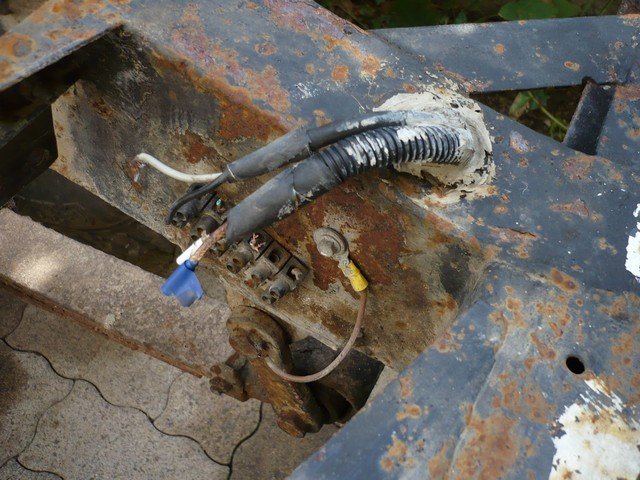
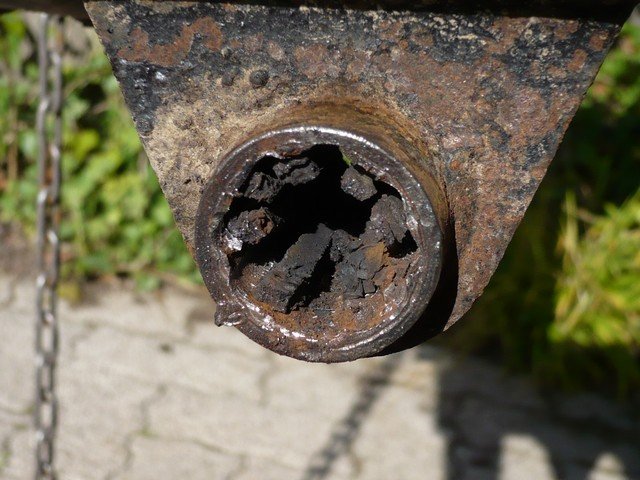
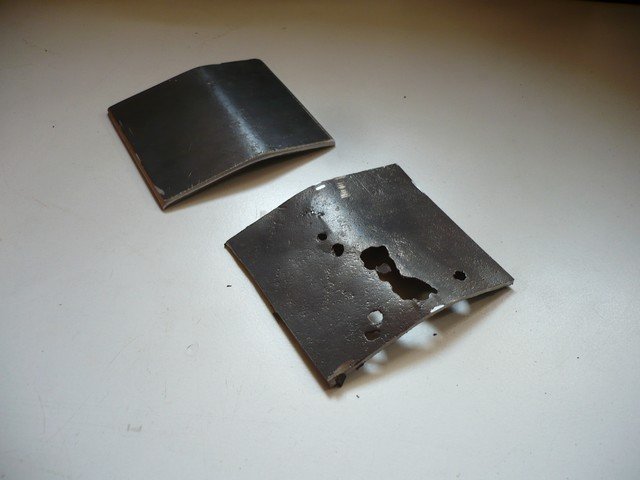
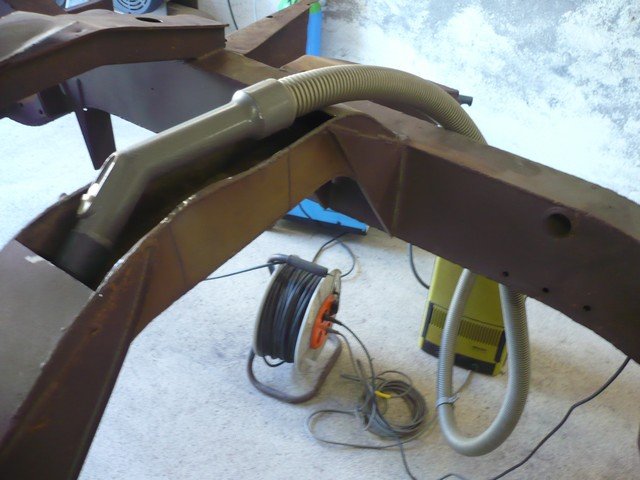
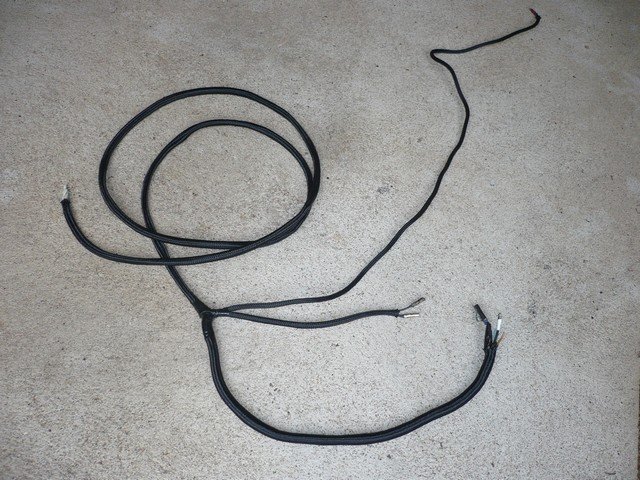
The harness goes into the chassis. Once the body in place, it is almost impossible to access. So be sure of its condition.
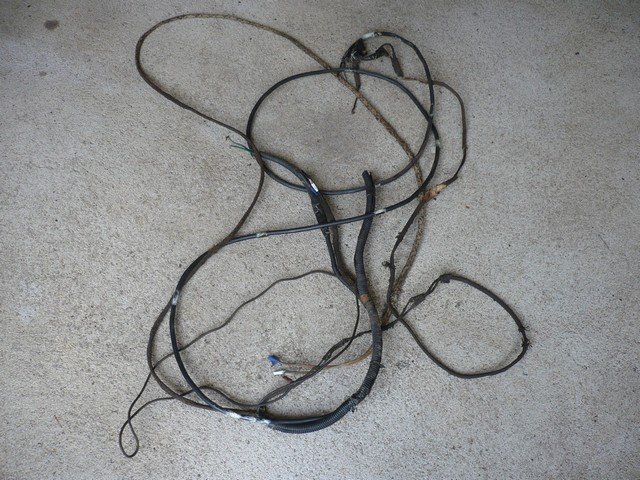
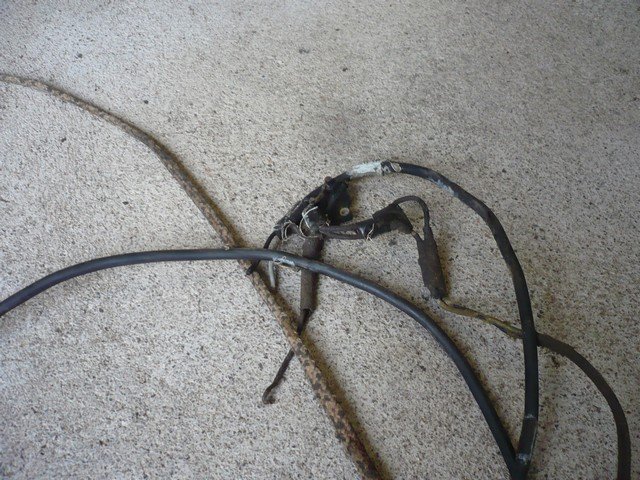
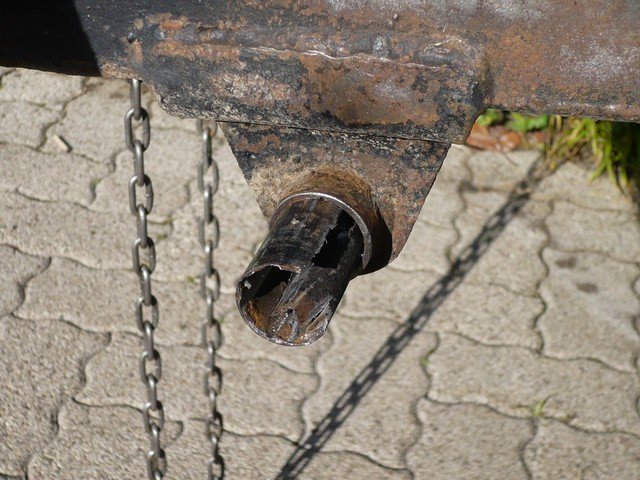
Often only the sheath is damaged (filled with mud and / or cut by vibration).

After removing the old sheath, I found the wires in perfect condition.
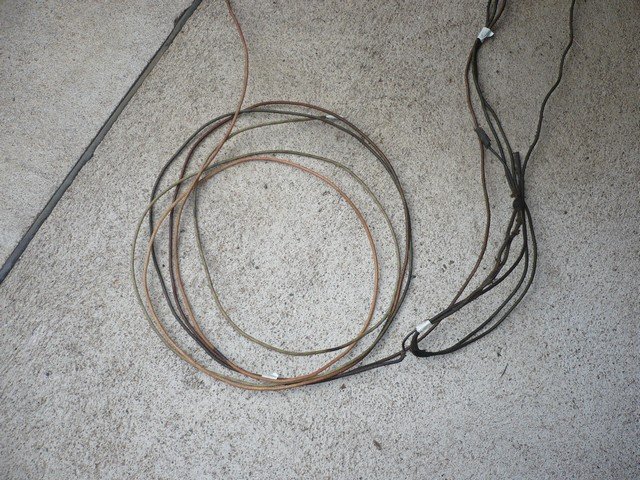
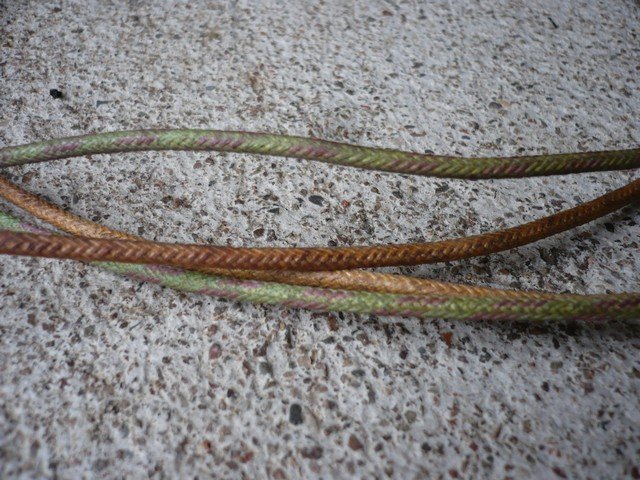
I decide to keep them as they are in perfect condition.
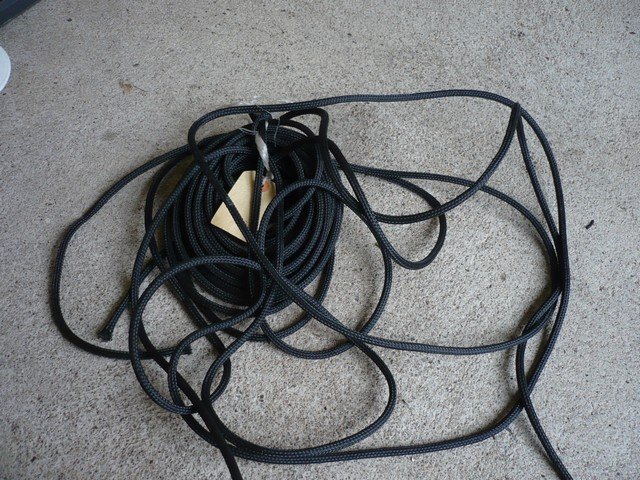
To protect them we must put them back in a sheath. I use nylon sheath, which has substantially the same appearance as the original but is much more resistant to dirt and cuts.
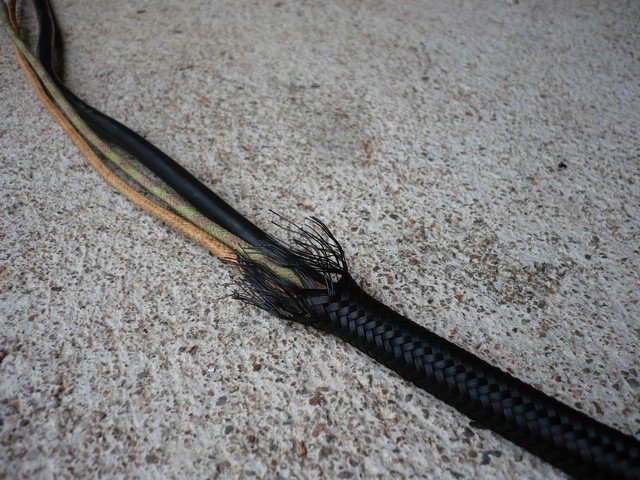
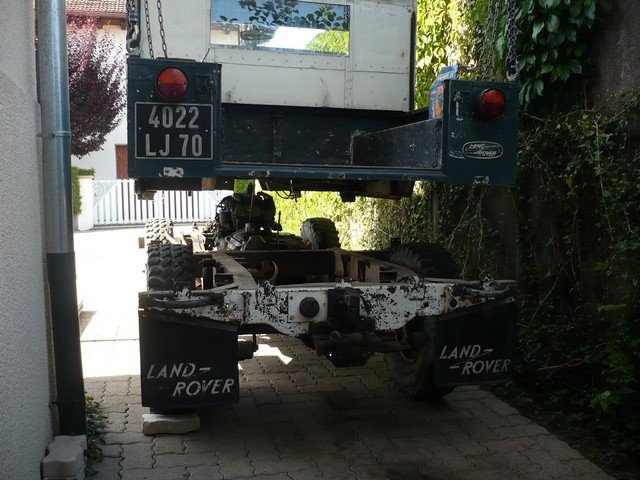
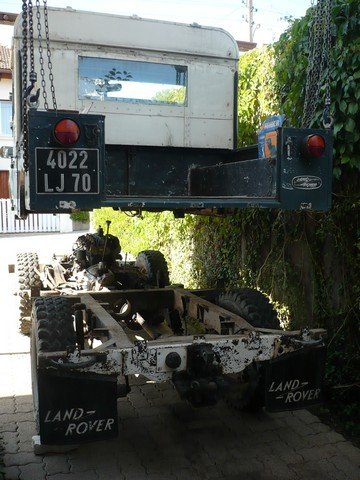
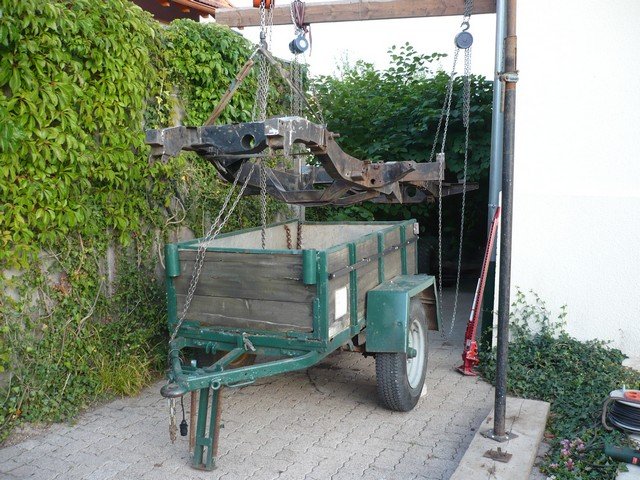
Harness goes through the chassis.


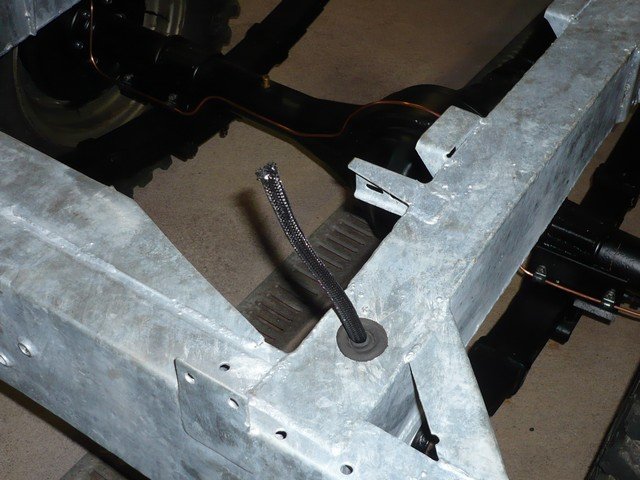
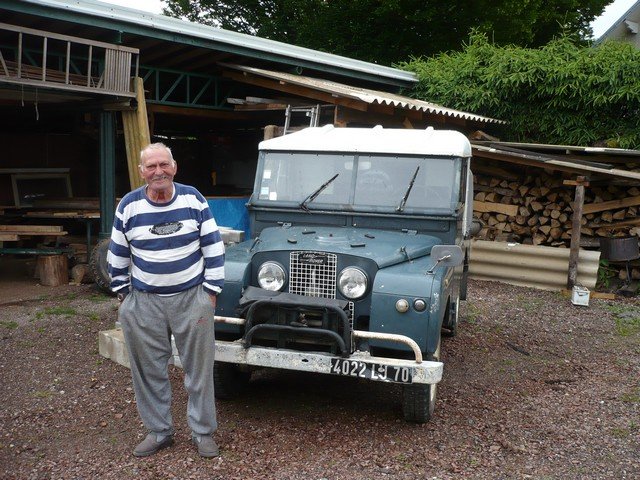
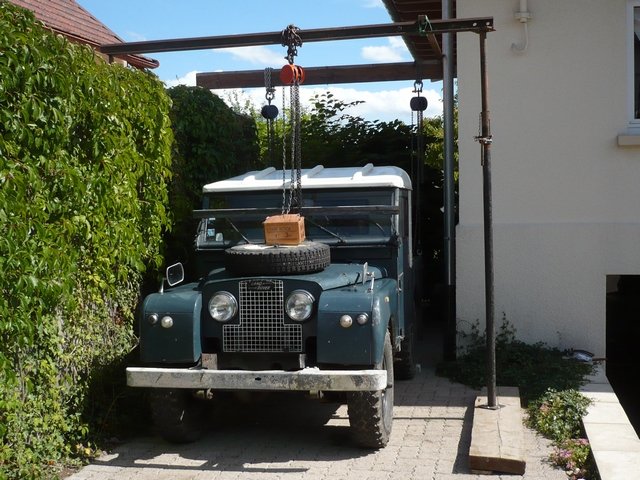
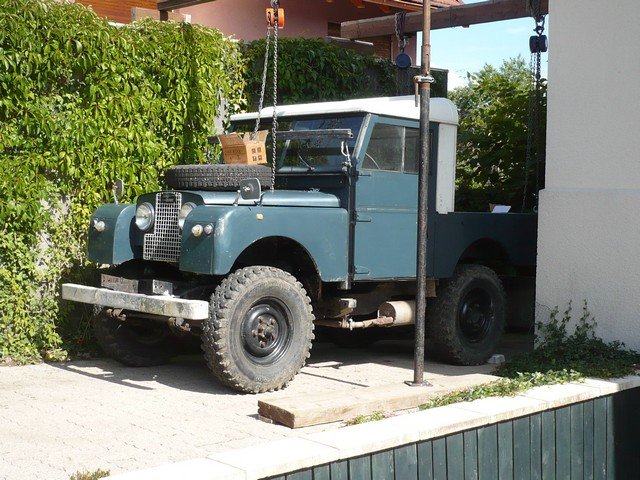
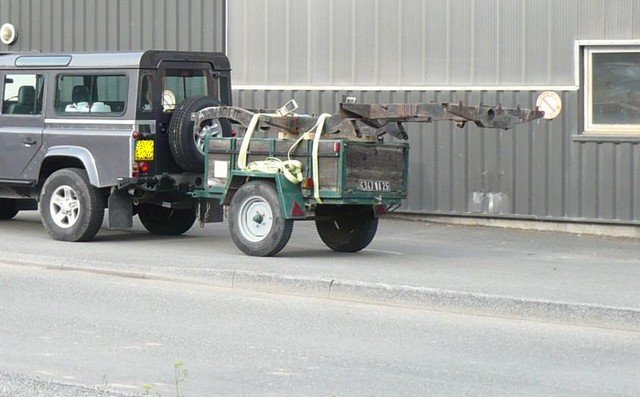
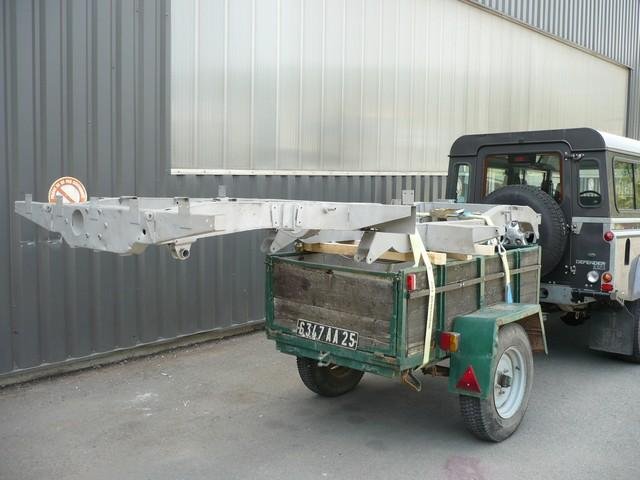
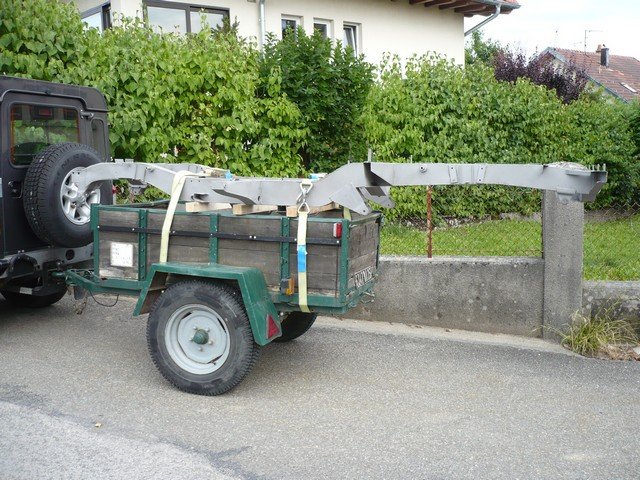
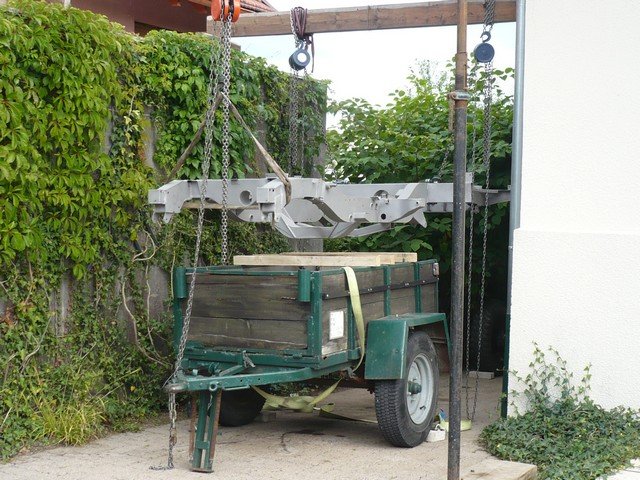
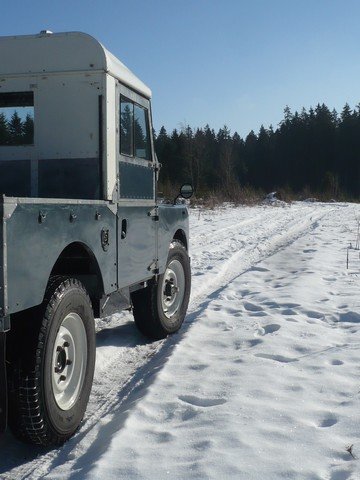
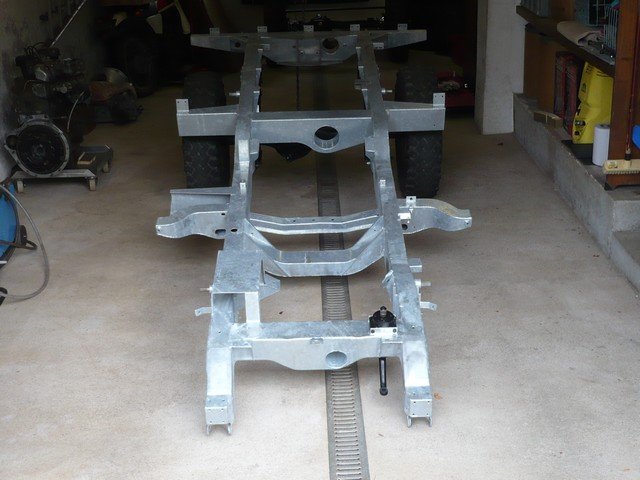
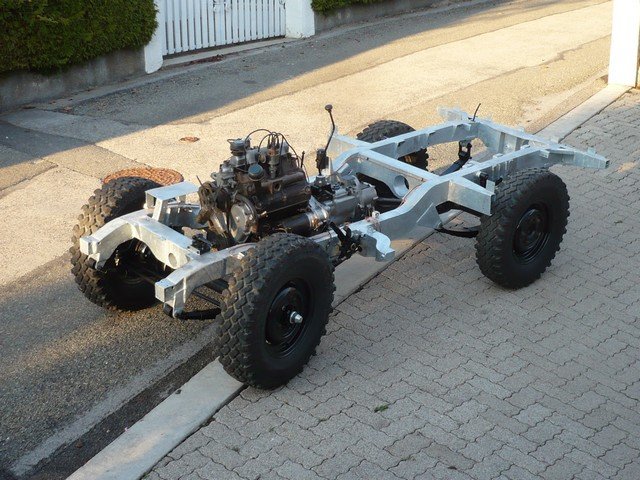
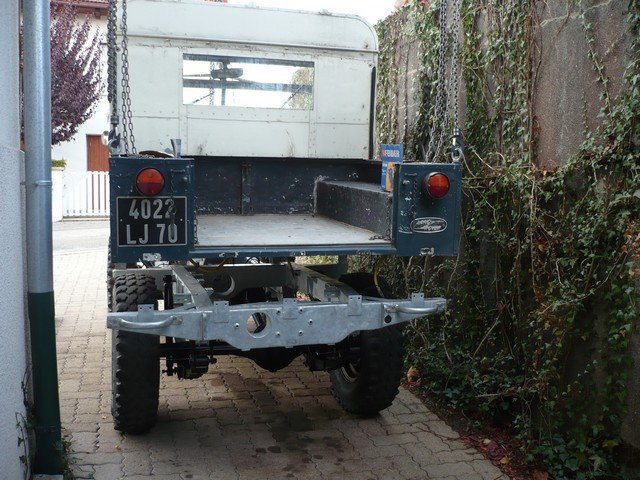
Chassis can now leave the worshop !

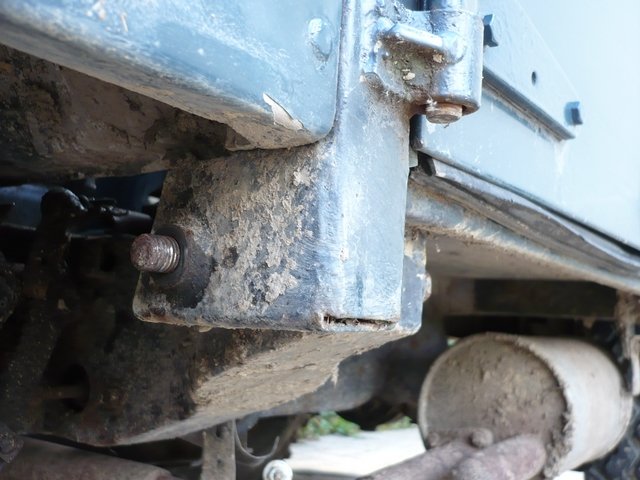
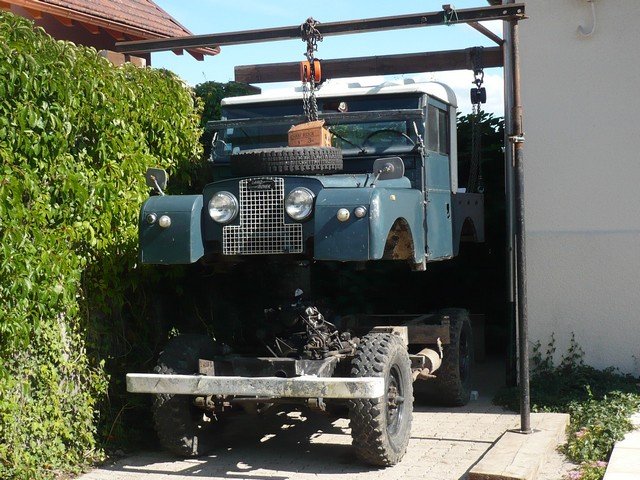
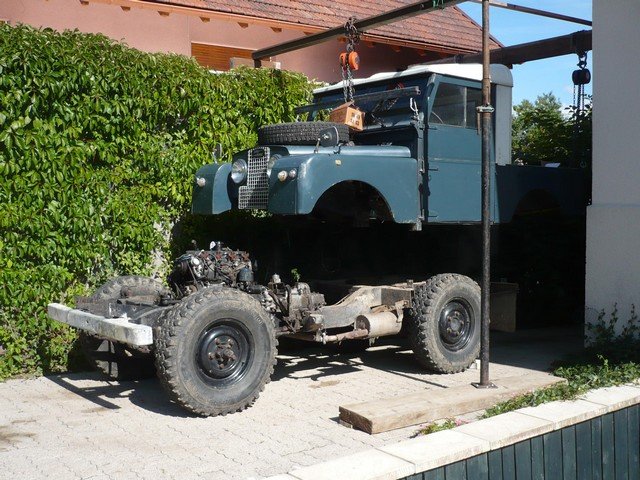
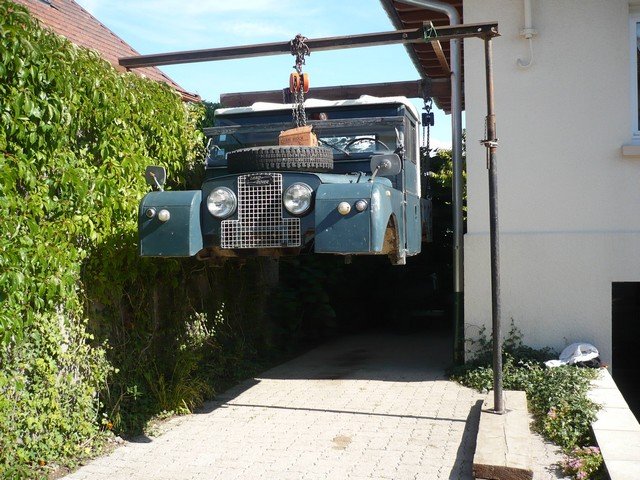
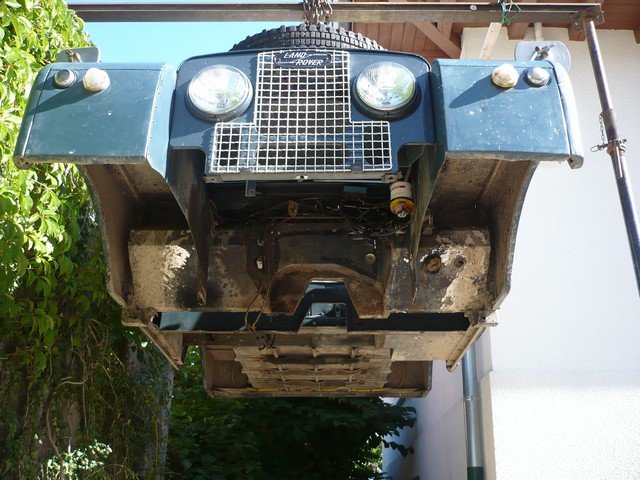
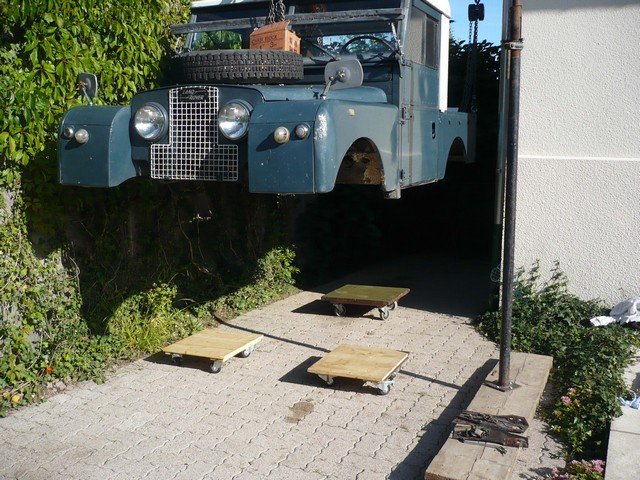
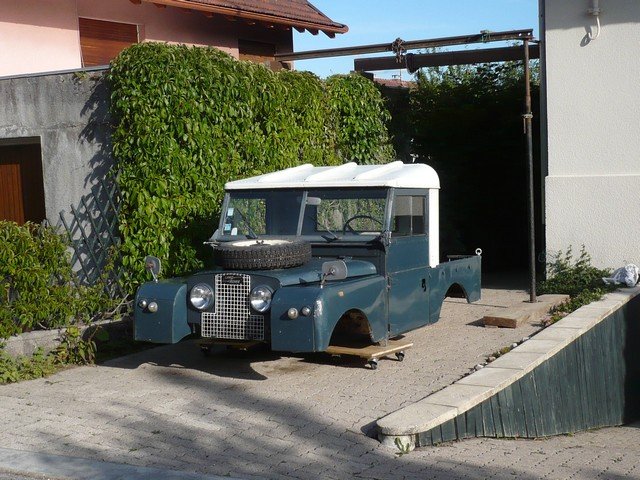
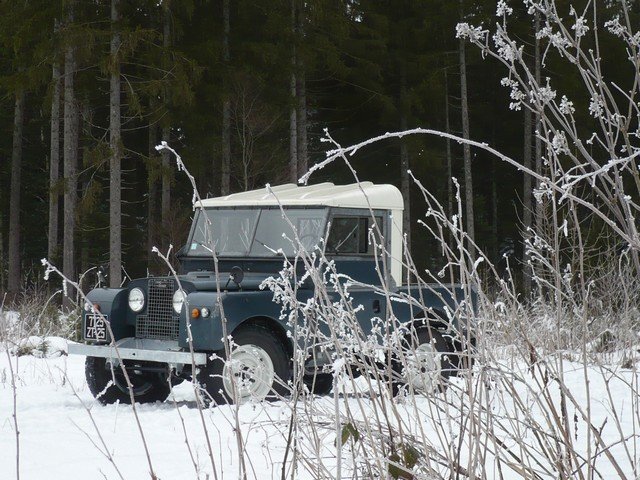
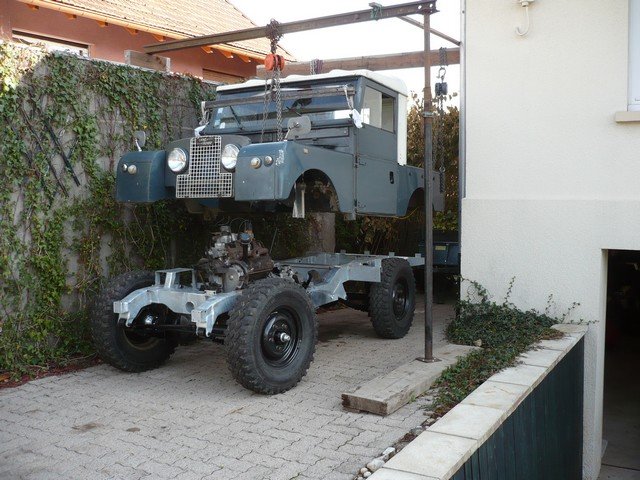
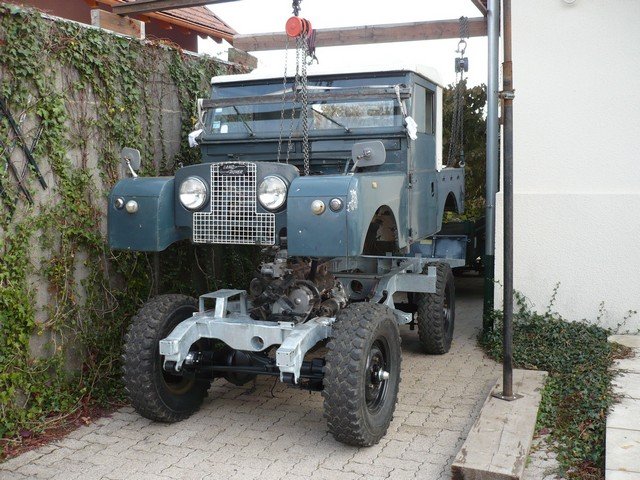
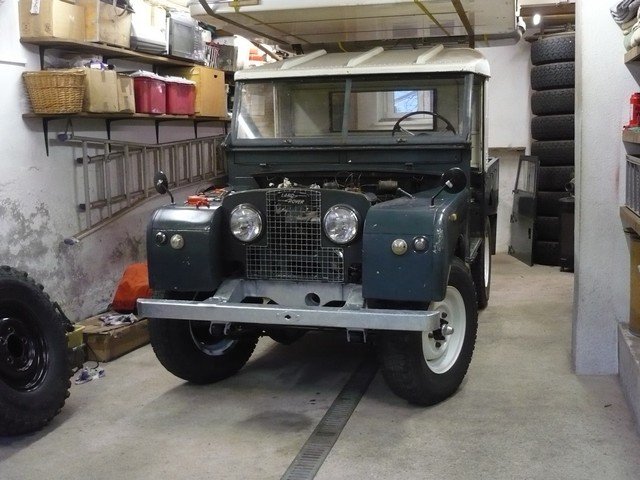
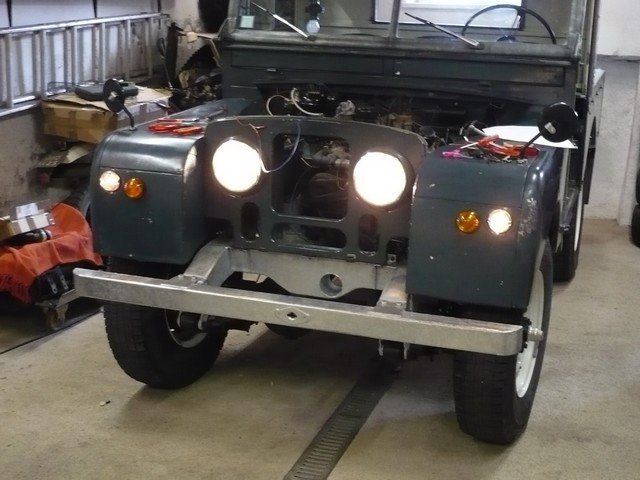
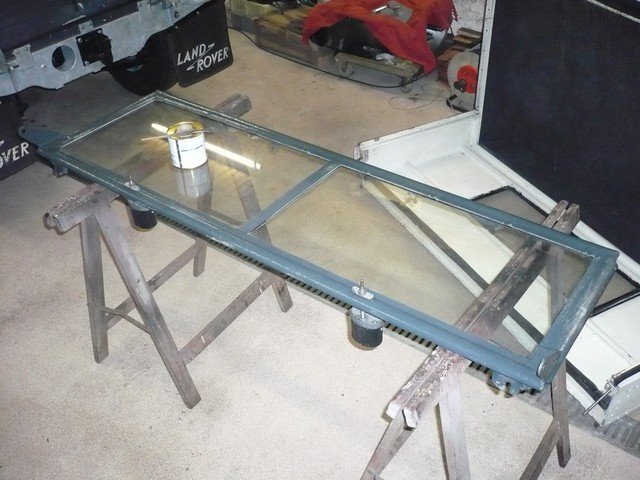
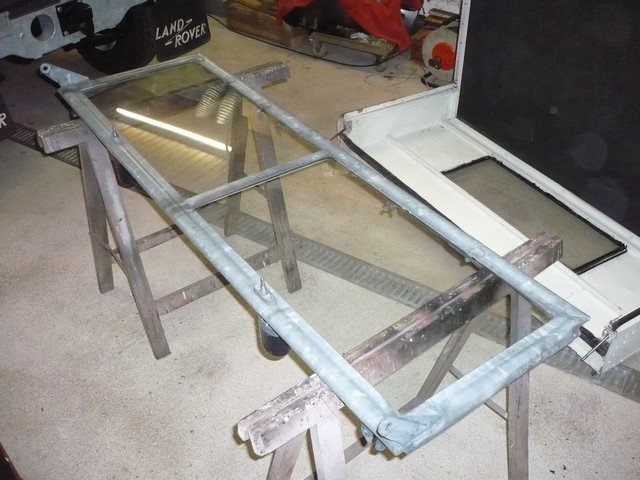
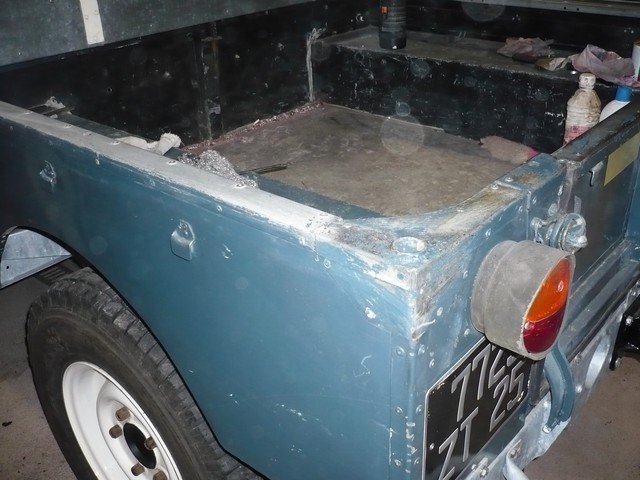
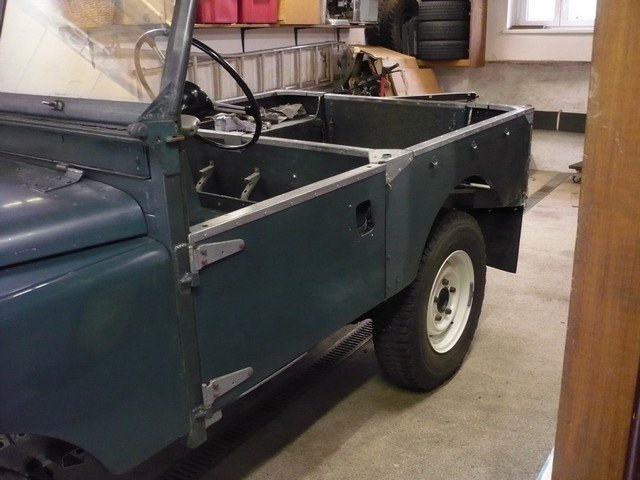
 Body reassembly.
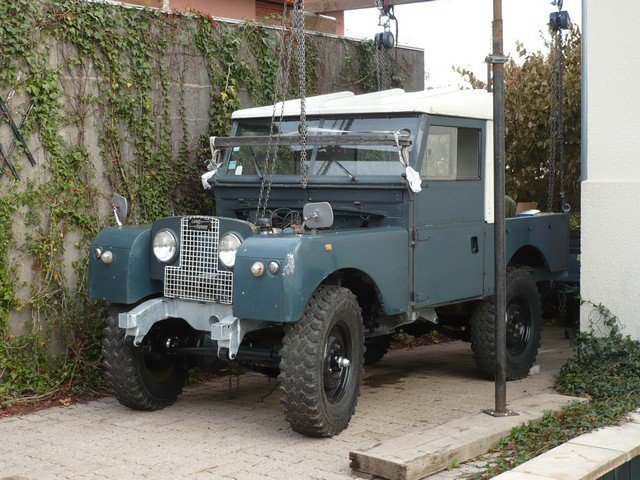 Details.
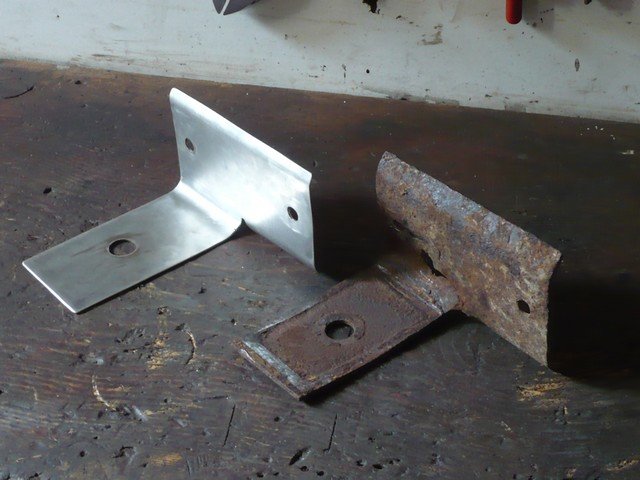
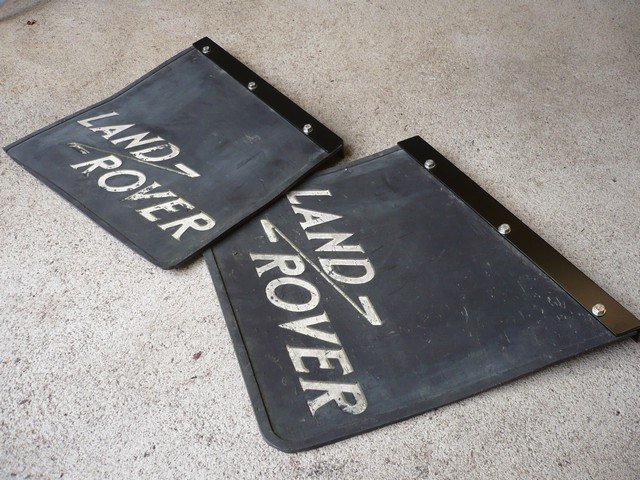
Mud flaps brackets are rusty, but mud flaps are genuine ones !
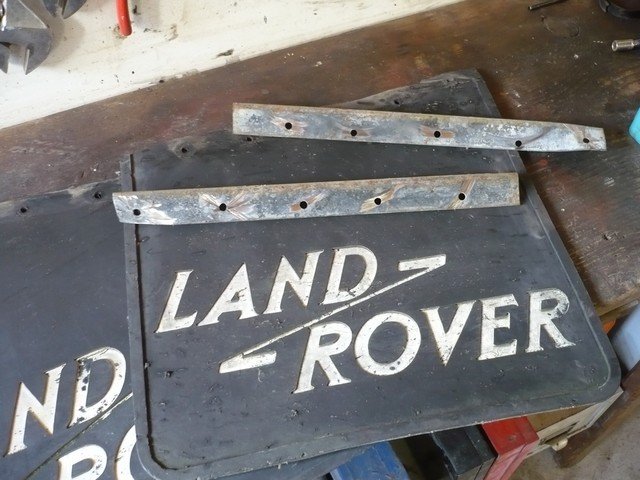
I manufacture new aluminium brakets.
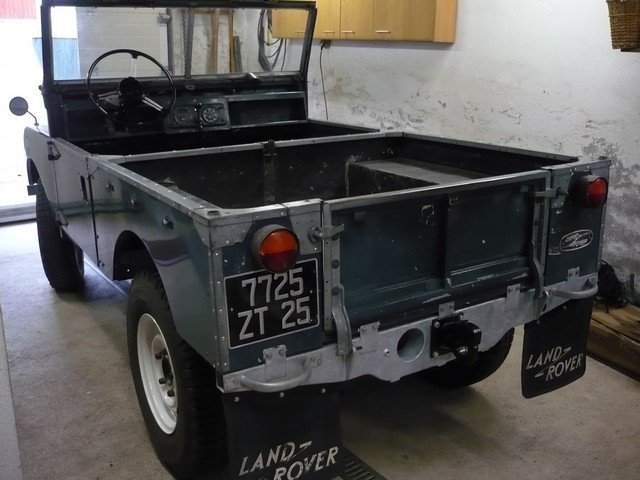
The steering column is reburbished. It a late series one column, with balls.
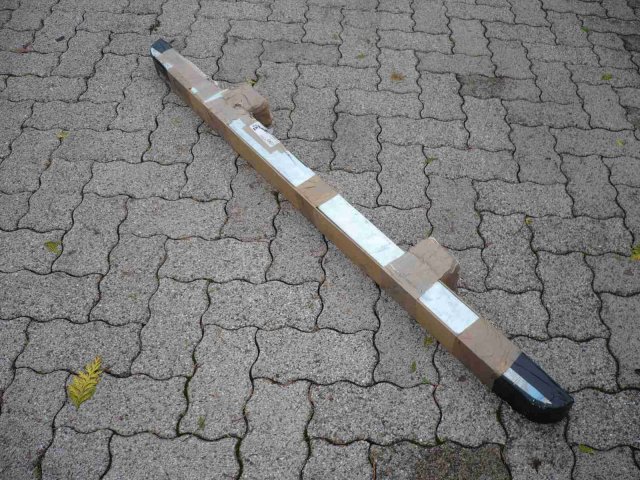
The front bumper was a Series III one, too large.
New bumpers available from craddock or other suppliers are not conform to original and I don’t like them.
I found a new bumper from Wasworth, perfectly fabricated as original standards.


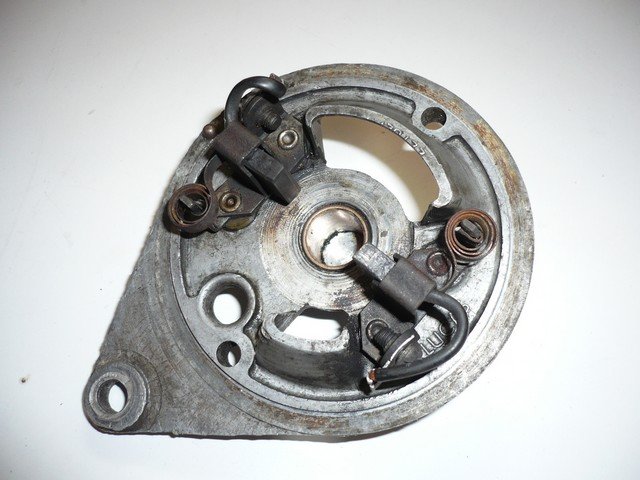
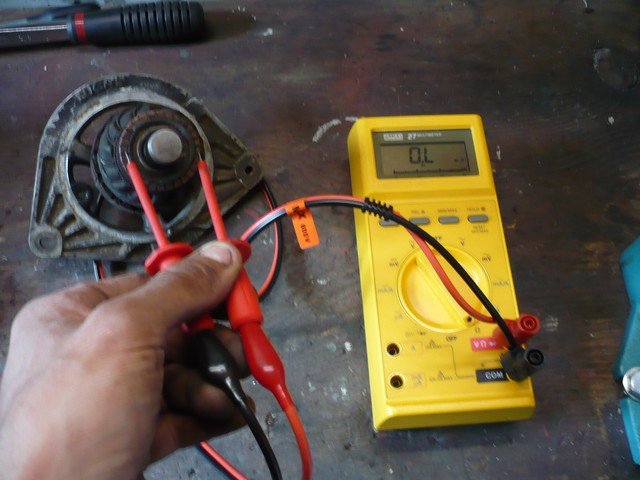
Repairs to the wiring harness took a lot of time. He had been completely modified to mount the diesel engine. I removed a lot of useless wires.
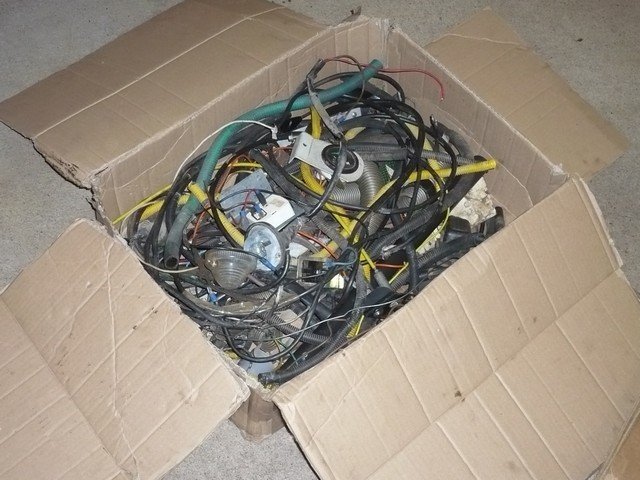
I come back to original wiring, with positive earth.
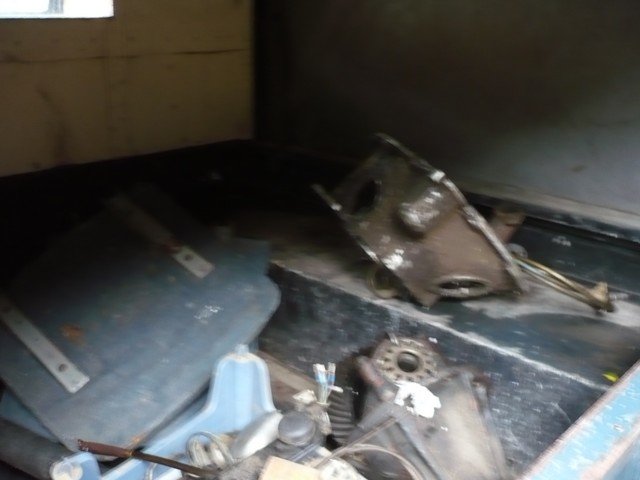
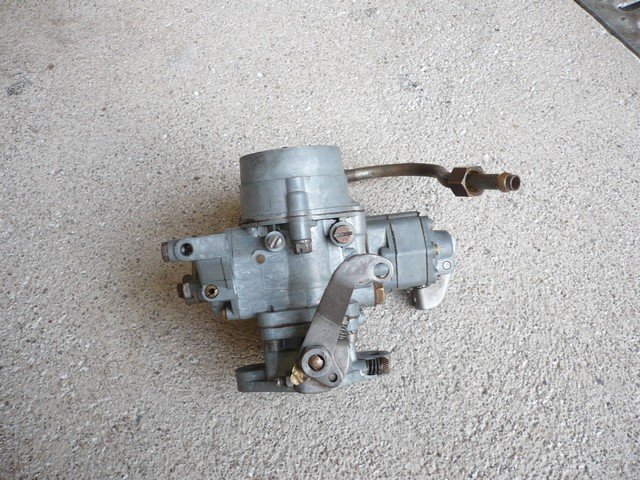
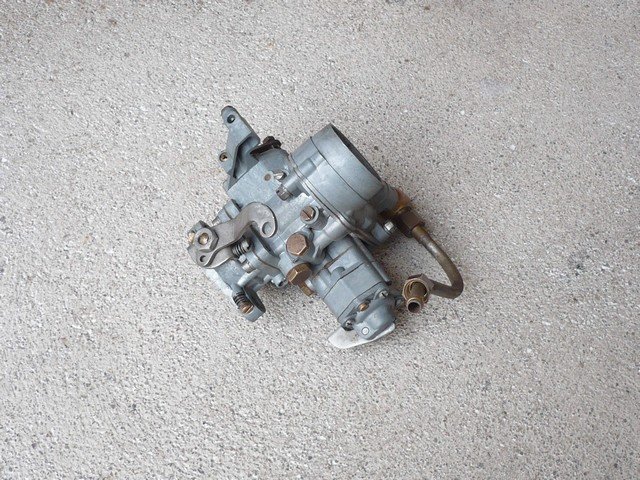
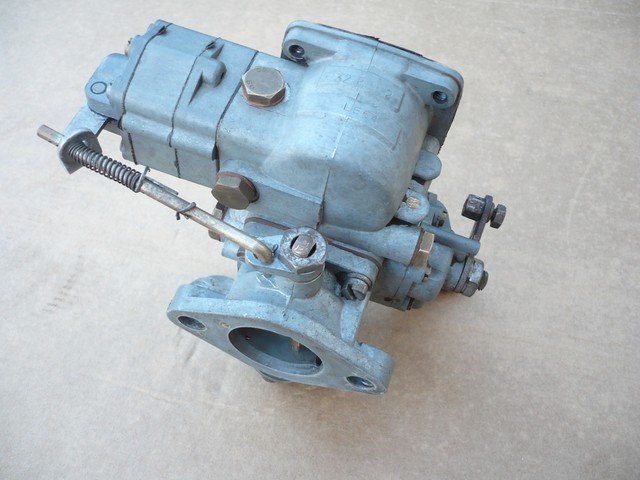
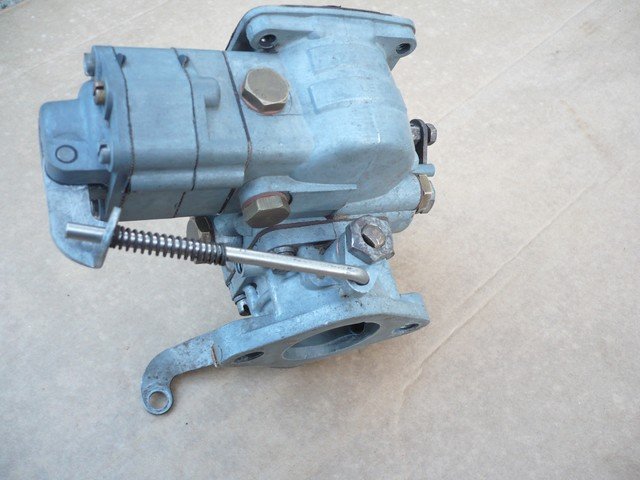
Despite the large stock of parts that had retained by the previous owner, was missing a lot to finish the assembly: fuel pump, voltage regulator, starter switch, fuel pipes, etc..
The assembly therefore needs a lot of organization to not spend all its time waiting for orders.
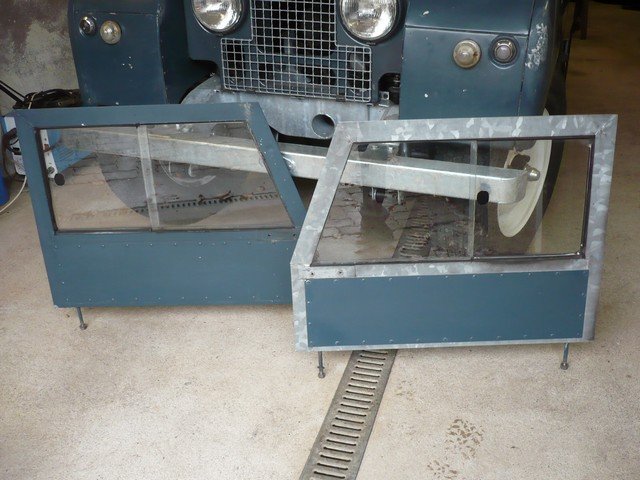
The body of the Series ones has many apparent galvanized parts. The previous owner had painted these parts. When galvanized parts are painted, I find that the vehicle loses its authenticity.
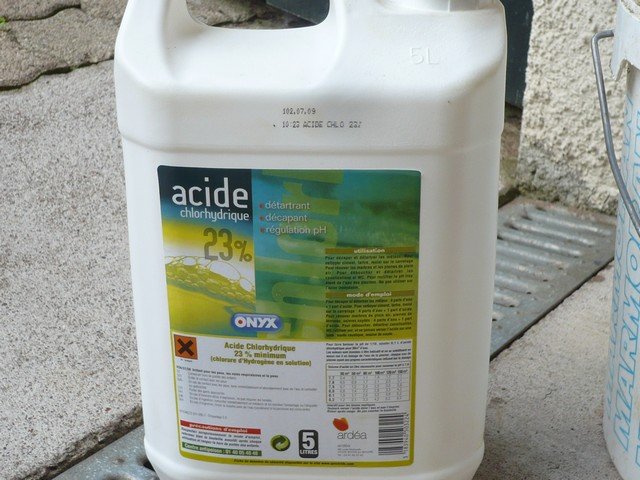
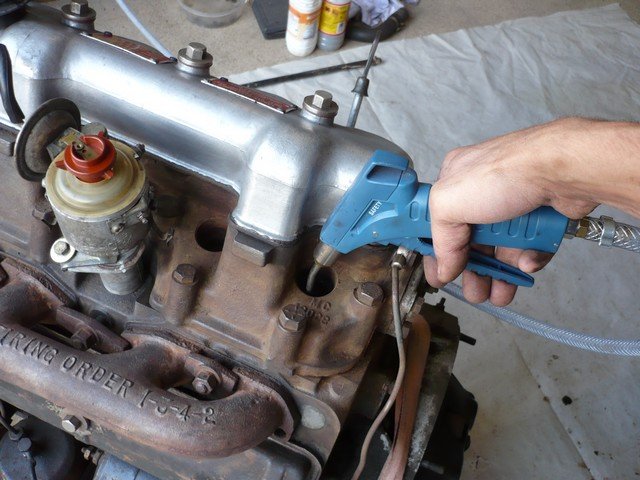
So I cleaned all galvanized parts. I use gel stripper for large surfaces.
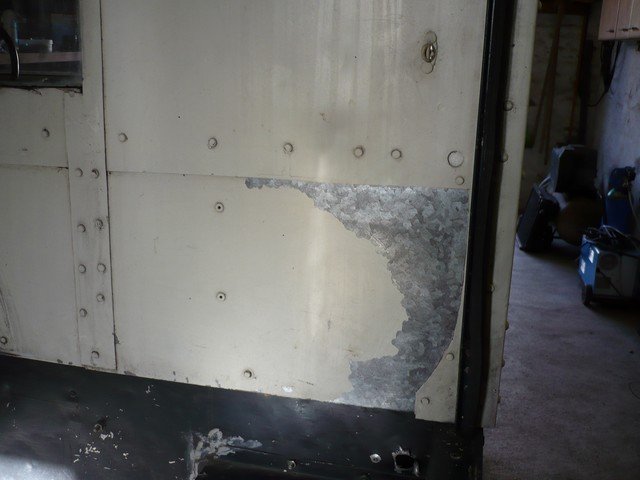
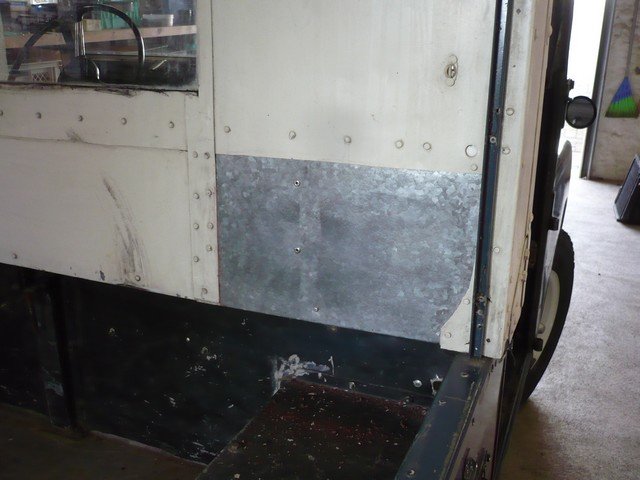
Stripping these parts requires some attention, because it should not damage the paint of the wings. Baste with cleaner would be too risky. I made the wings limits with a small screwdriver for breaking the paint without touching the wing.
Galvanised parts was intact and very beautifull.
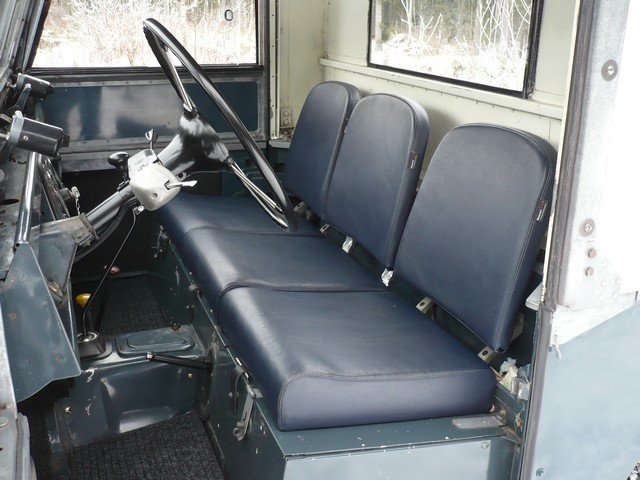
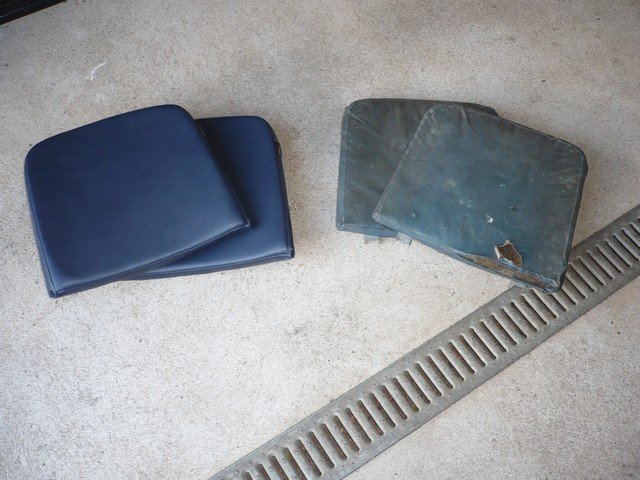
I fit new seats from Exmoor.
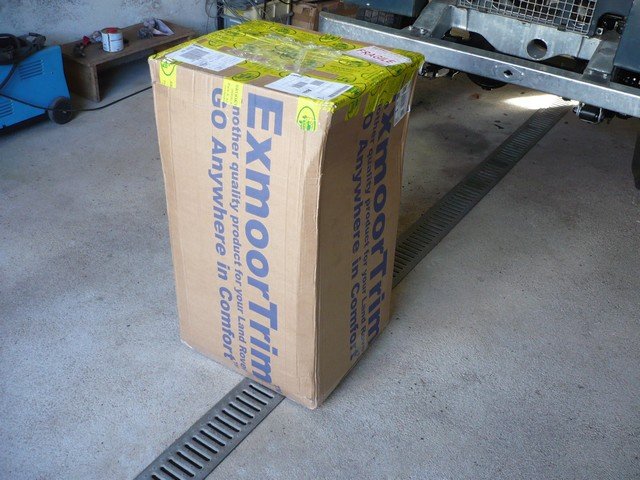
In better condition than originals ones.
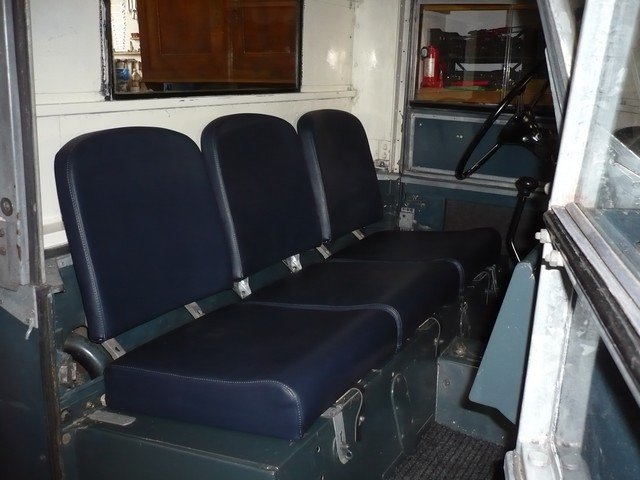
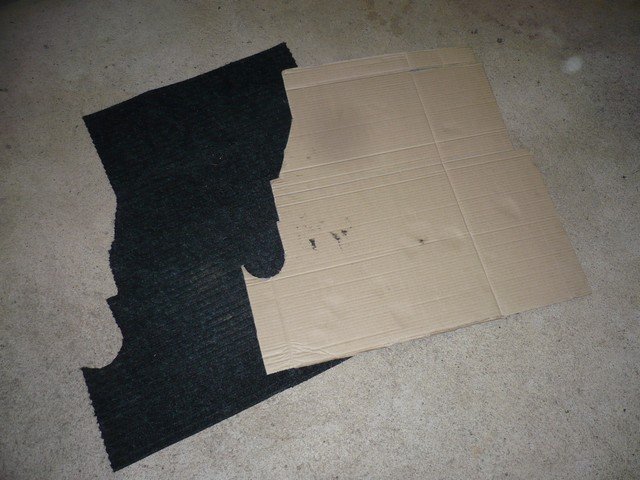
I made floor mats in renforced latex based carpet , washable with karcher. I have that in my Series II and III for years, it's really good. It does not wear out, and we are not afraid to have muddy feet.
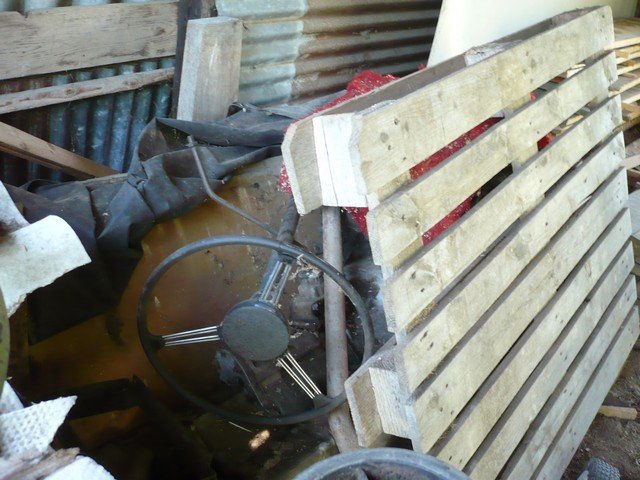
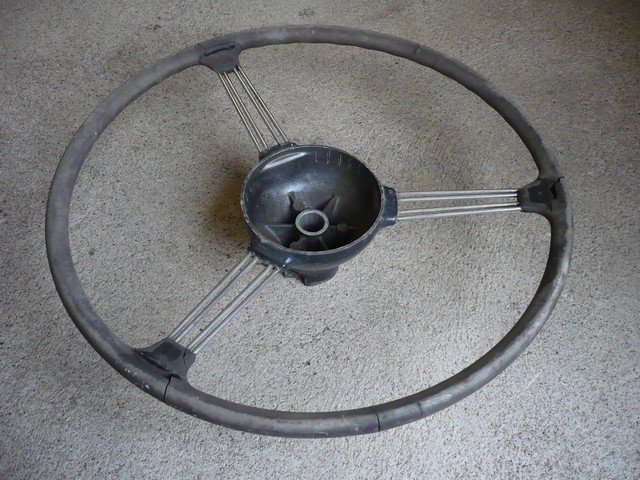
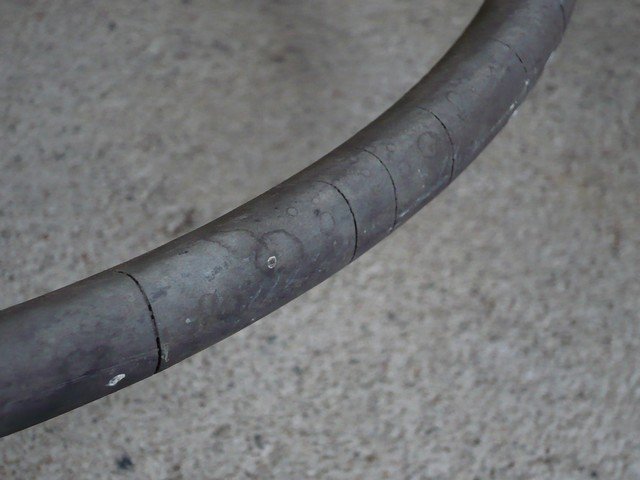
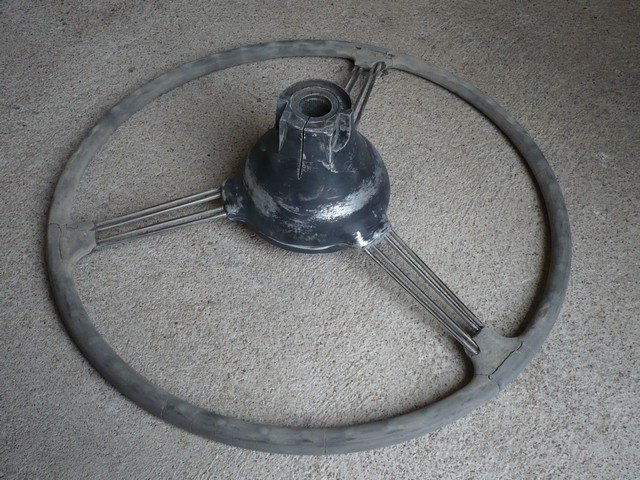
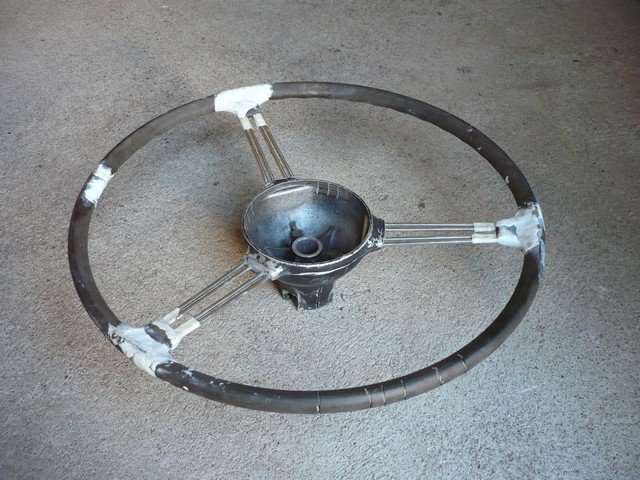
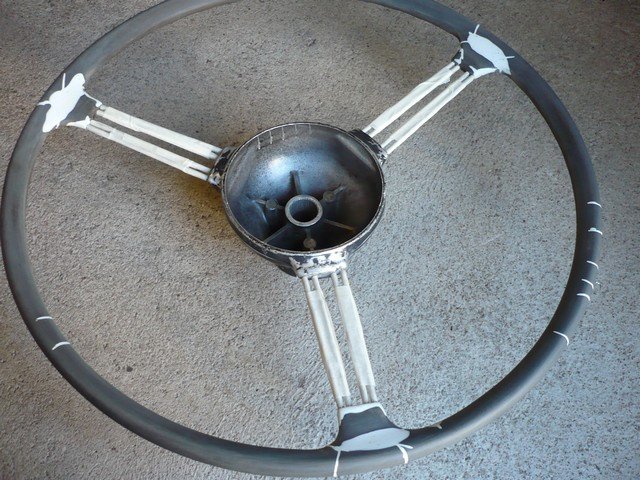
 Steering wheel restoration
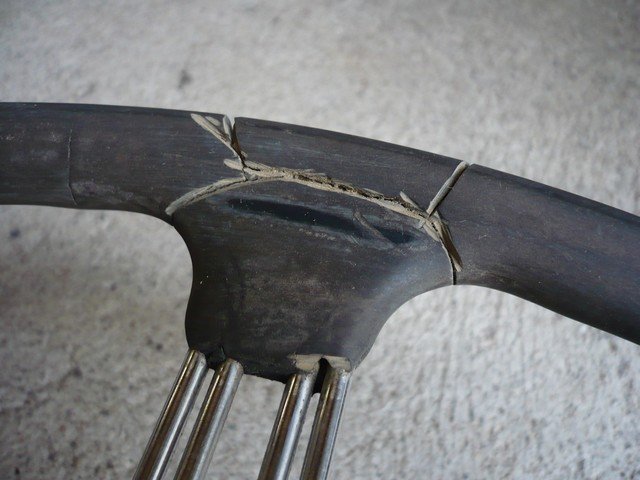
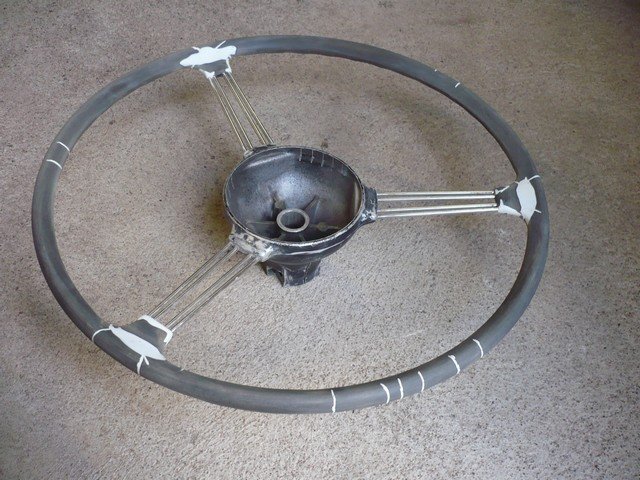
Bakelite steering wheels does not age well with time, the material cracks. With wet hands, it breaks down. It is possible to restore this kind of steering wheel at lower cost.
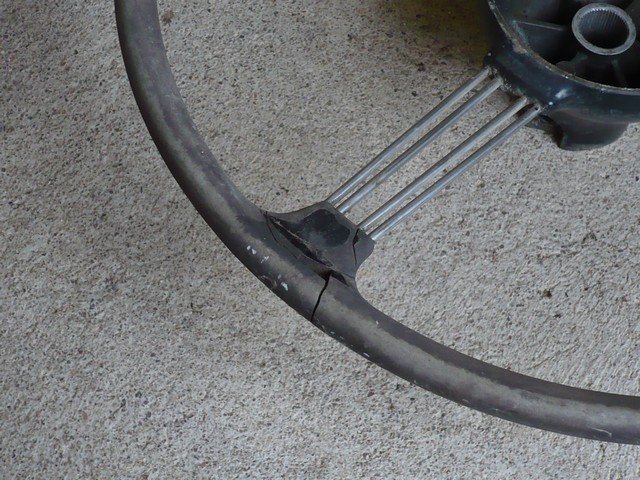
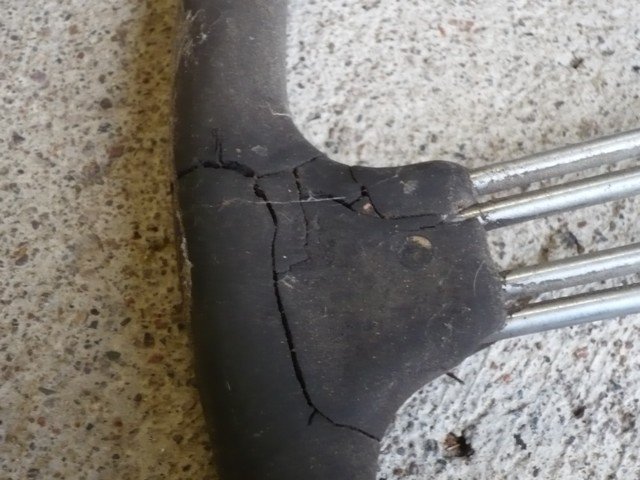
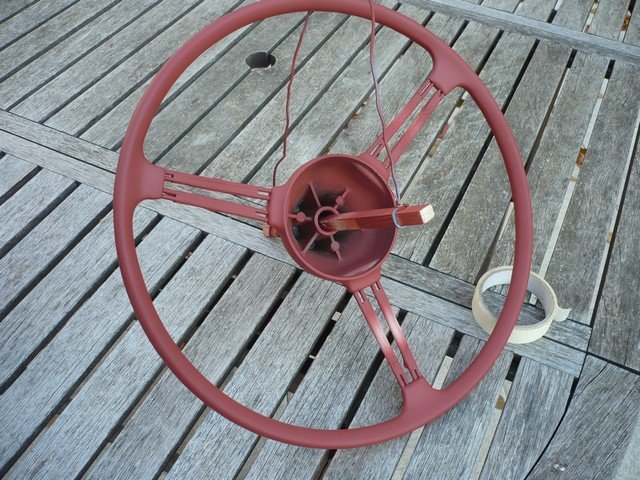
Sanding with P240.
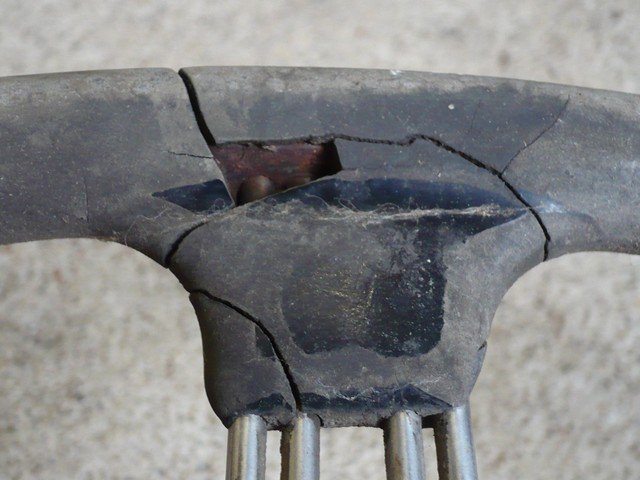
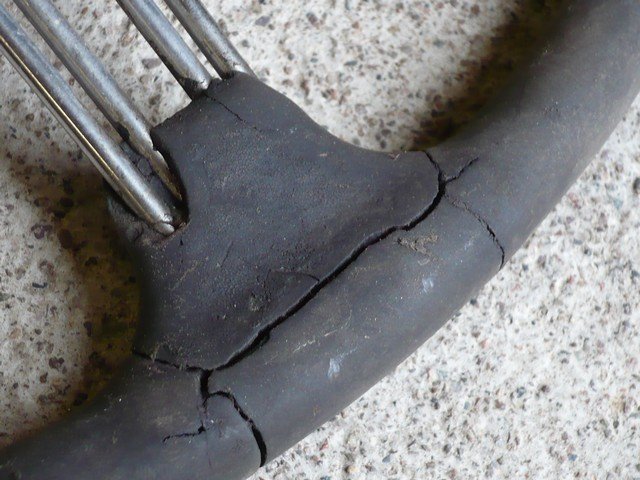
Then I enlarged the cracks with a small disk on a Dremel.
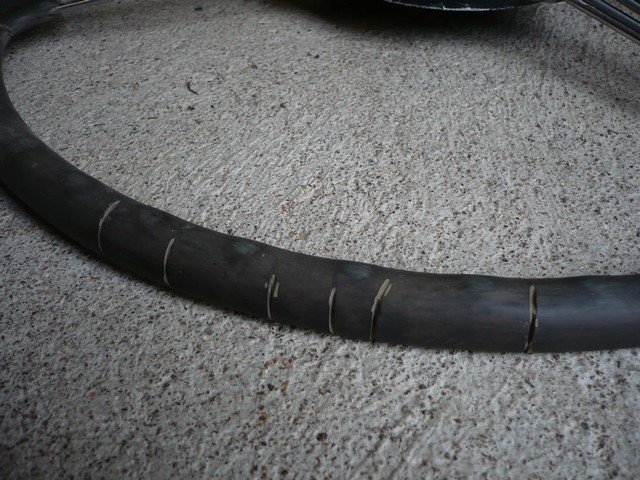
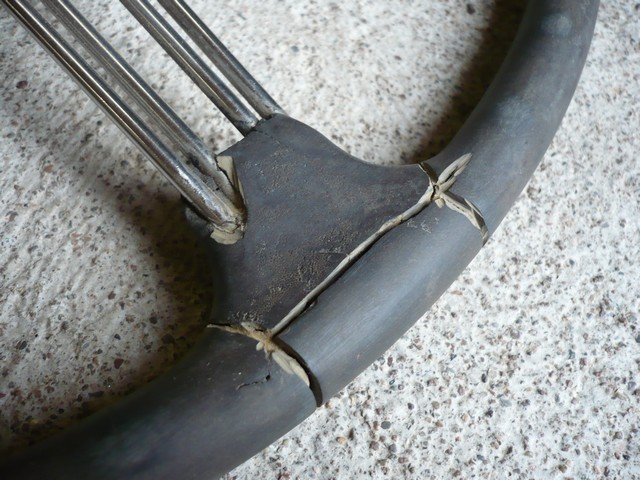
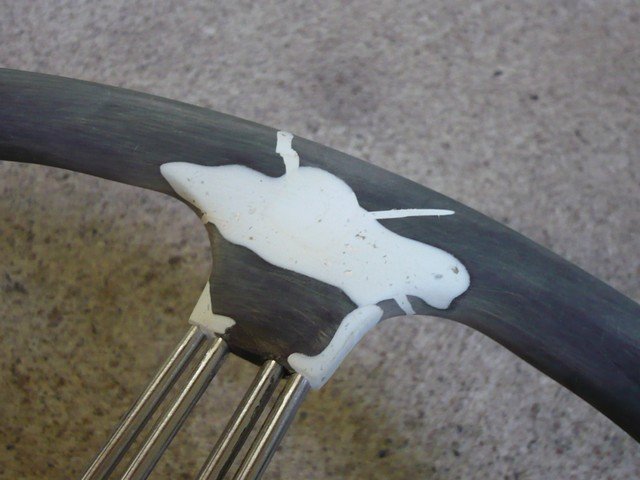
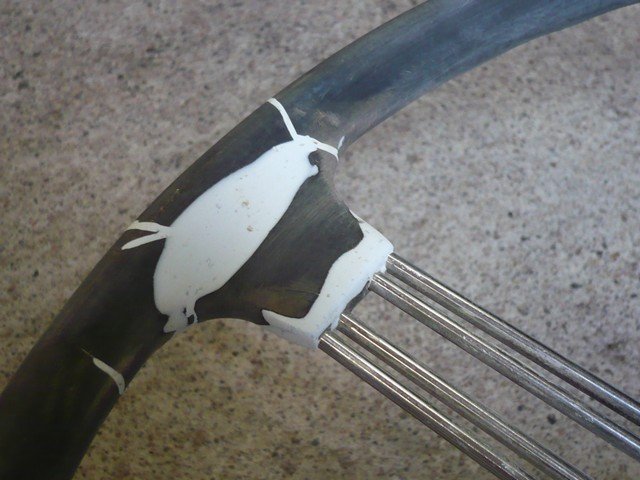
After cleaning with acetone I fill the cracks with a two parts epoxy resin (resin + hardener).
Then you have to sand the resin and create the same form as the original. The quality of the result depends directly on the care you provide at this stage.
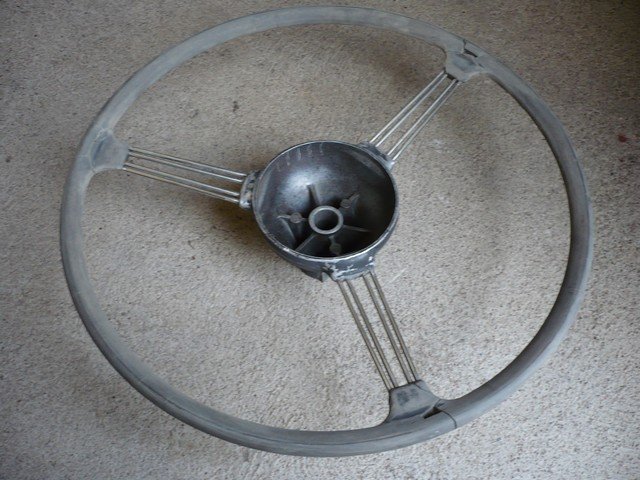
Protection :
Primer.
Polyurethane two parts coating.
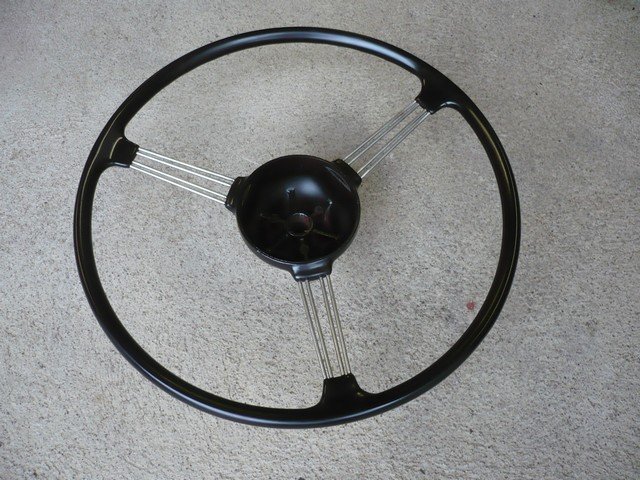
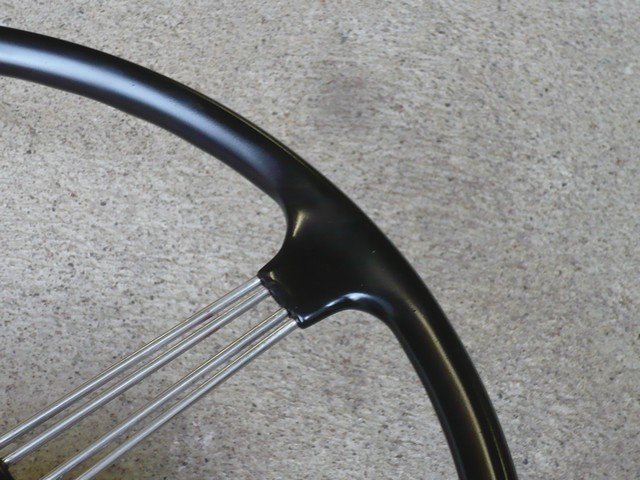
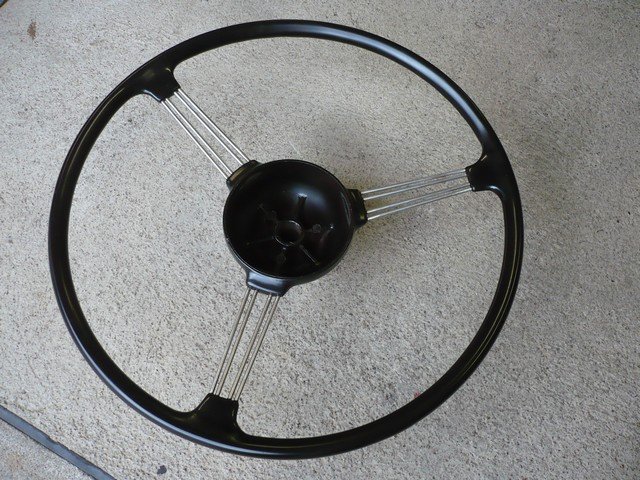
That's how to refurbish a steering wheel that some would have directly scrapped.
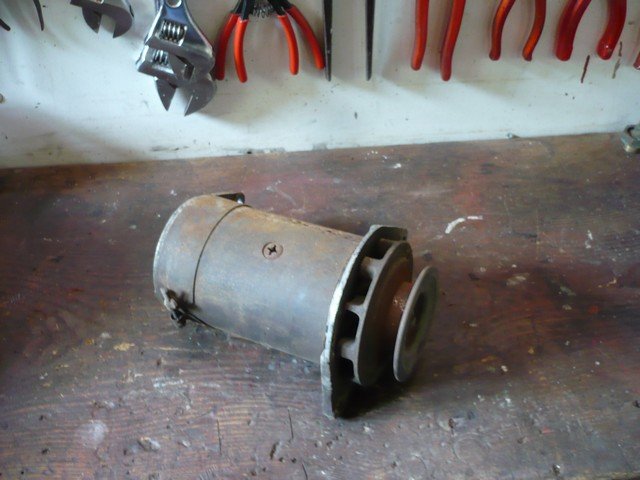
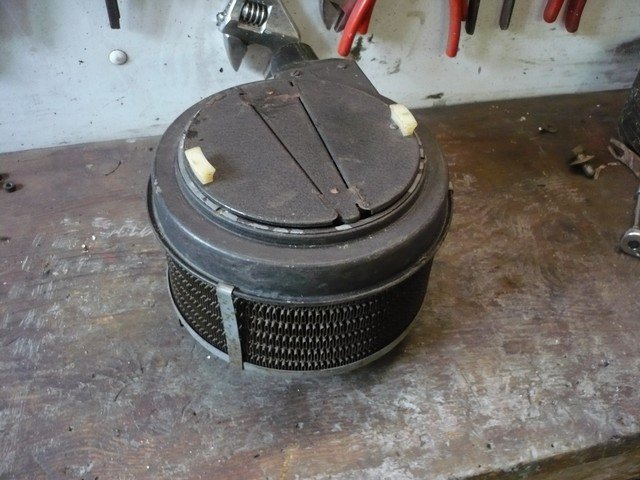
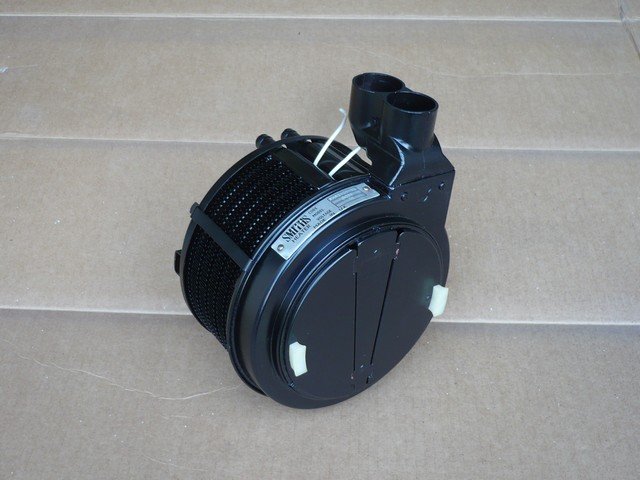
Heater modifications
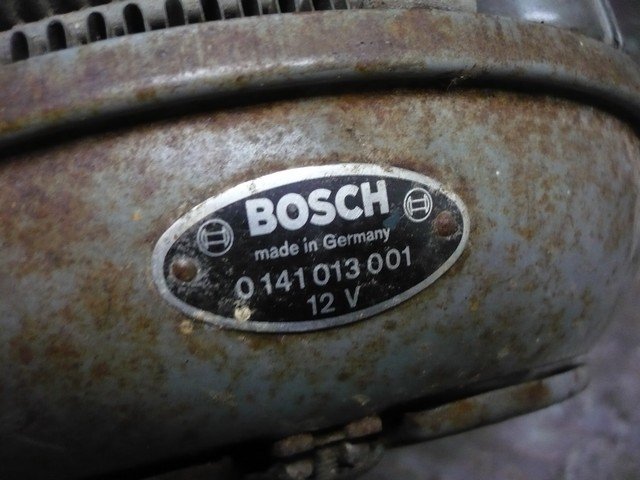
The heater is not an original one. It’s a Bosch one.
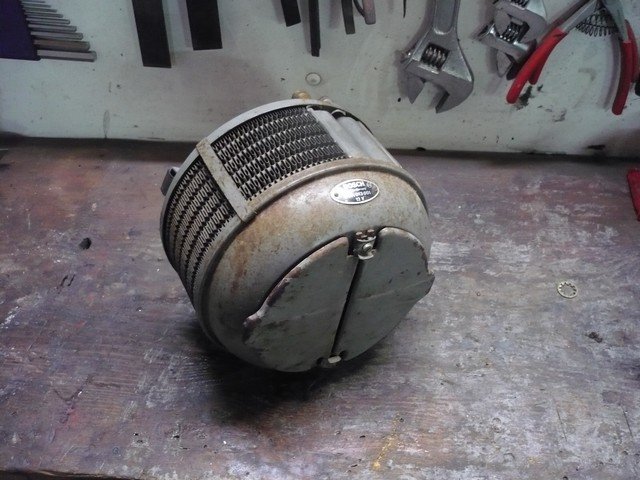
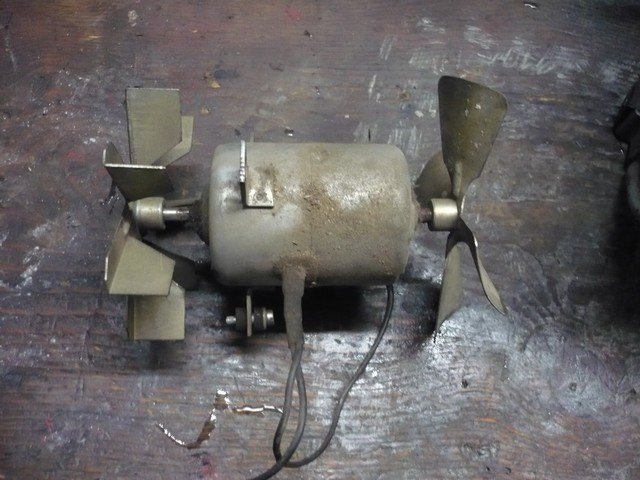
It has a two fans motor.
It works well but design is not adapted to a Series.
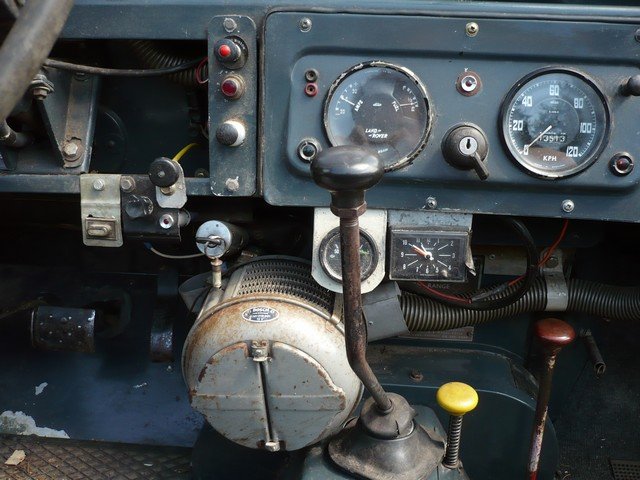
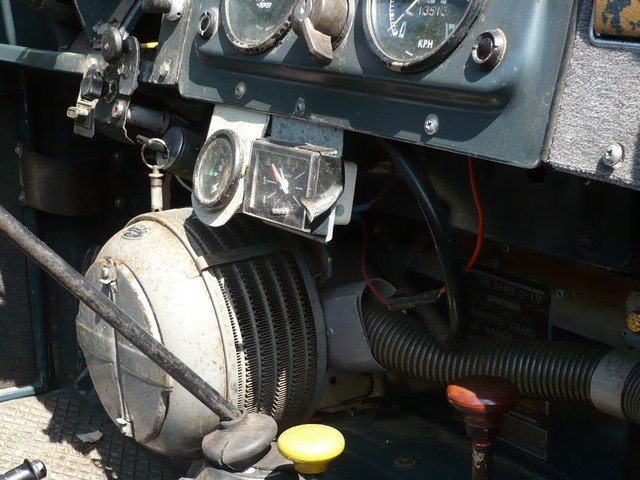
It would be better to have a Smiths heater. But they have become very rare, often because the matrix is damaged.
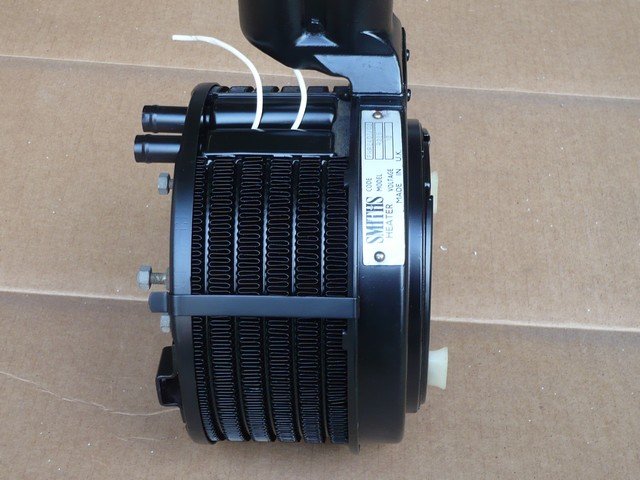
I decided to modify the Bosch heater and to "disguise" as a Smiths heater.
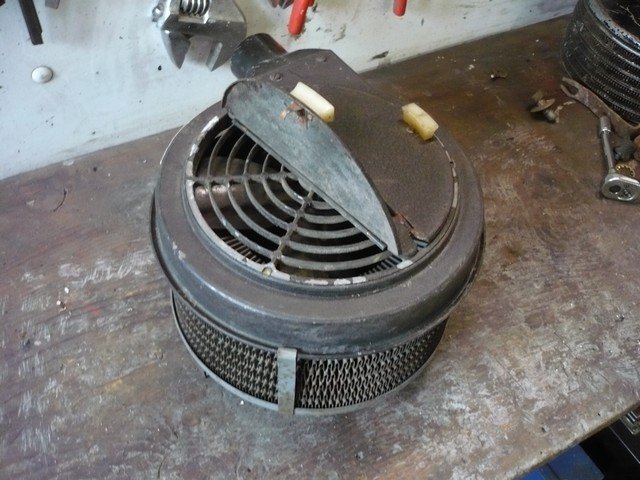
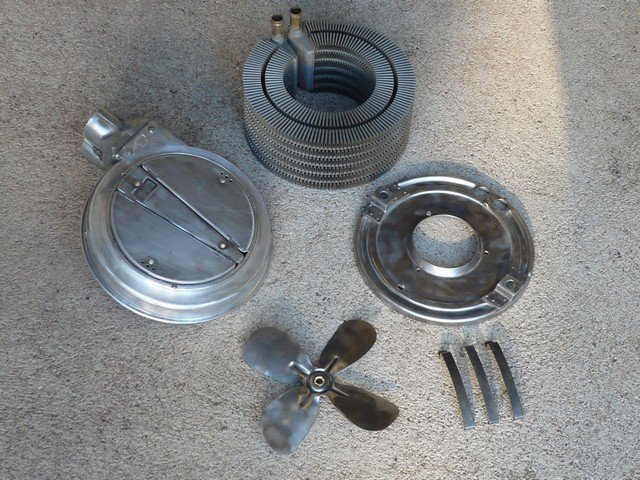
I disassembled the heater to take the matrix and I get a few parts of Smiths heater in my parts inventory .
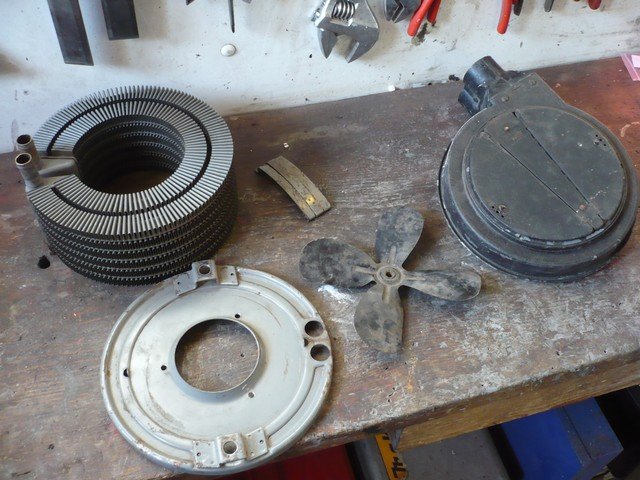
The matrix is almost identical to a Smiths, and it only require to enlarge the 3 holes in the rear flange to fix the motor.
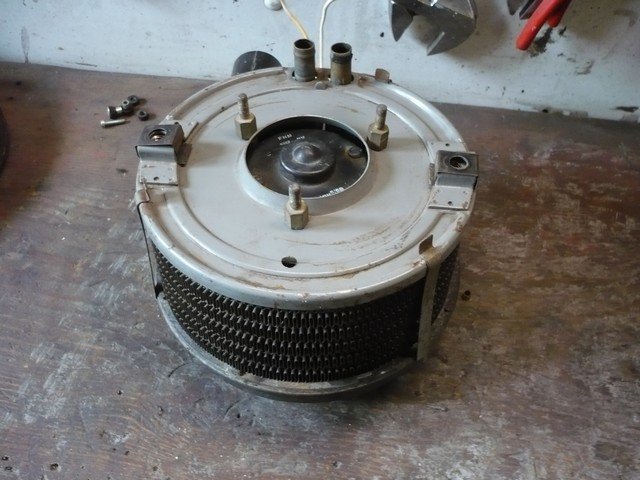
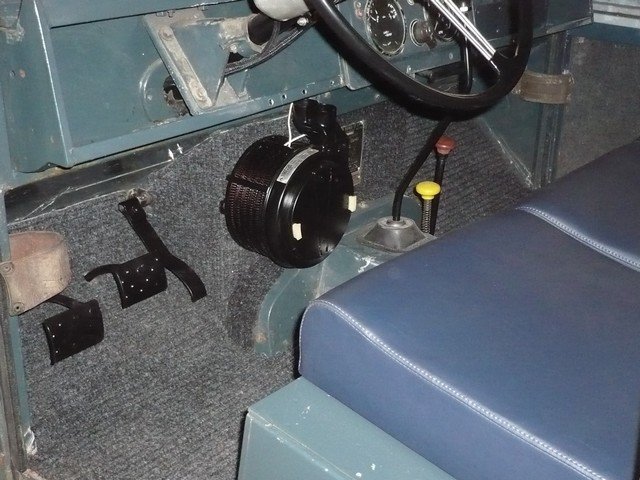
Moreover, these holes have exactly the same pitch as that of the Smiths and therefore correspond to the holes onto the bulkhead.
Disguise Bosch heater needed half an hour.
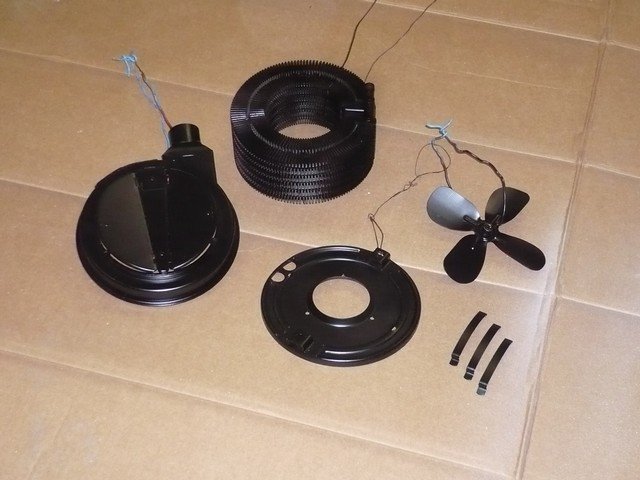
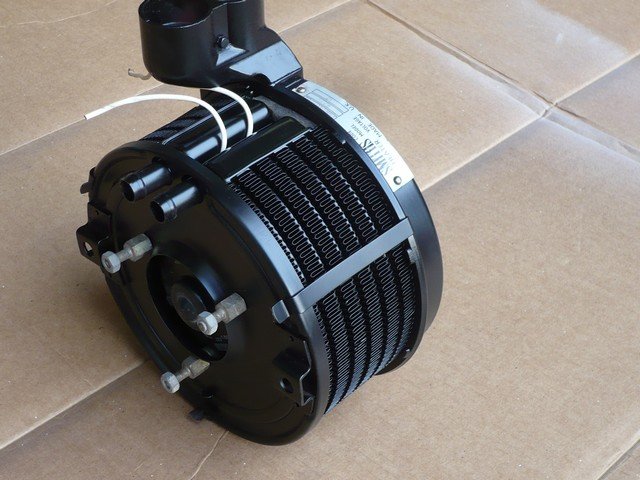
Reassembly.
Primer + coating.
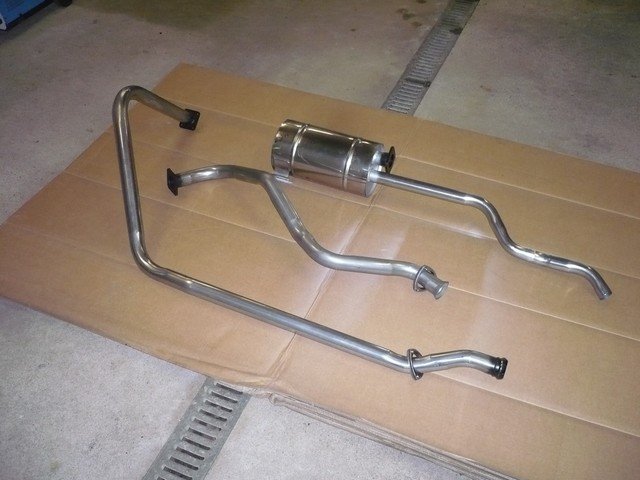
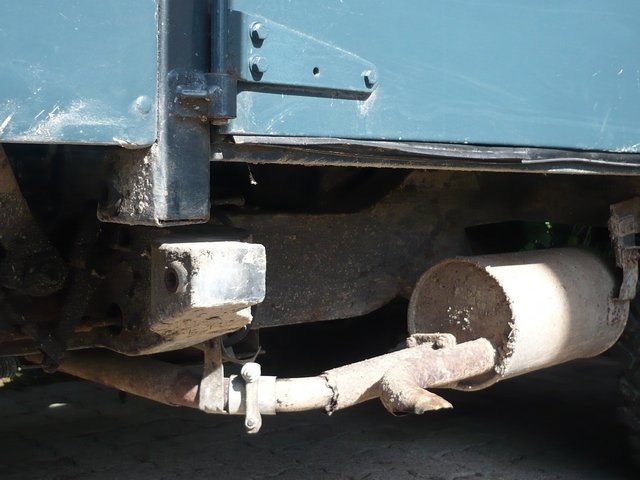
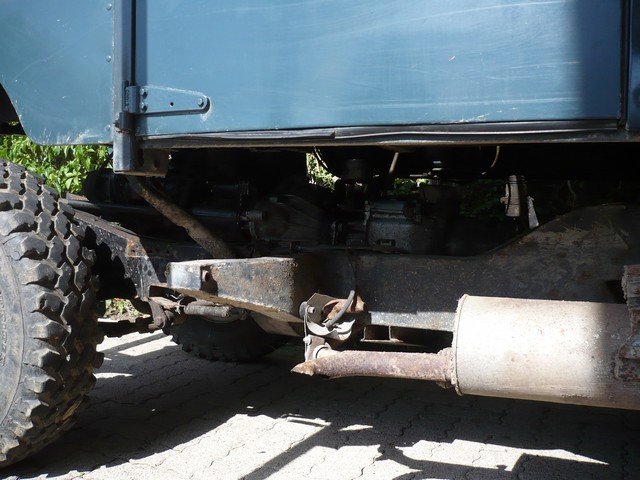
 Exhaust.
I bought a stainless steel exhaust from Rimmer Bros.